4-Layer Cake

In my last post about how we survived the longest 24 hours ever, I said that while waiting for the air conditioner to be fixed, I made a cake.  Well, I took pictures of said cake. I found the recipe/idea for this cake online a few weeks ago and wanted to try it out.  I didn't really have a reason to make a four-layer cake, but wanted to try it anyway.  I figured it wouldn't hurt to go ahead and practice so that if I ever wanted to make it for a party or anything, I'd know if I could do it or not.

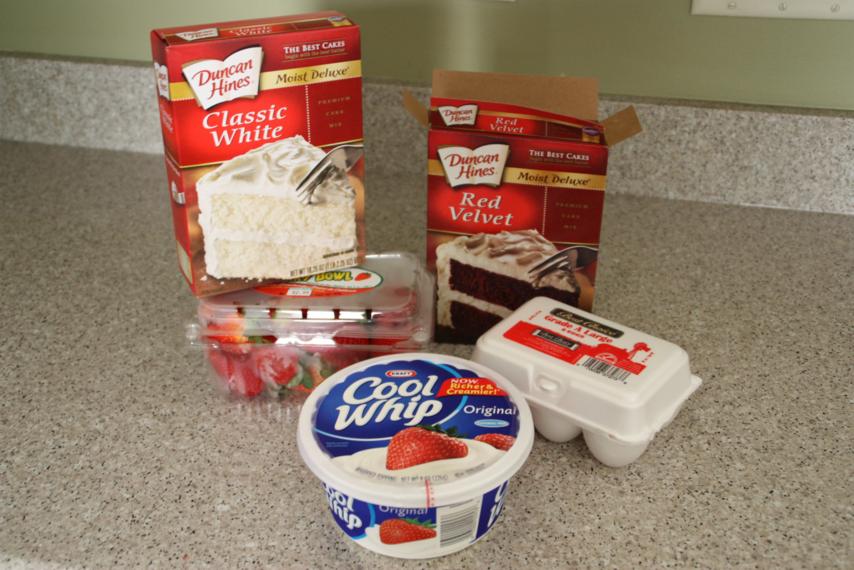
Nothing about this cake is from scratch.  It's two straight-from-the-box cakes: a white one and a red velvet one.  Besides the ingredients the cake mix calls for (eggs, oil, water), the only other things needed were strawberries and cool whip.

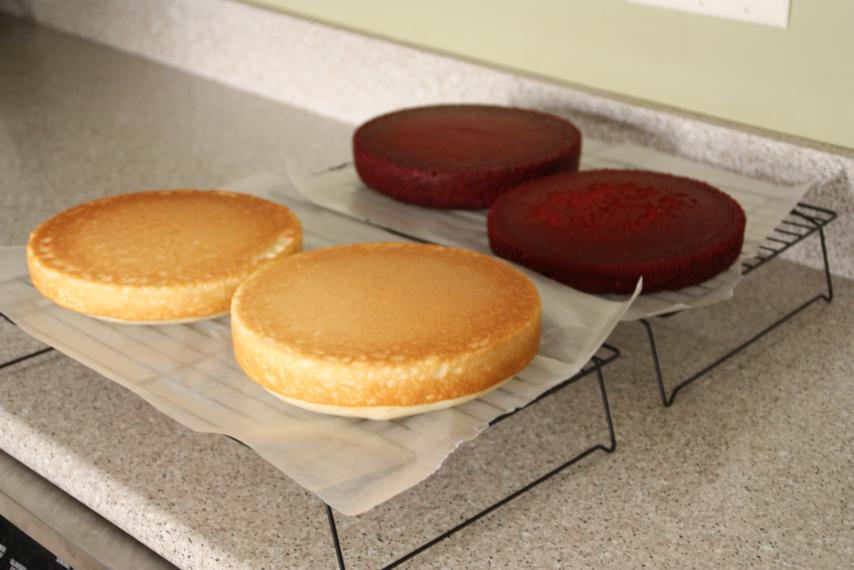
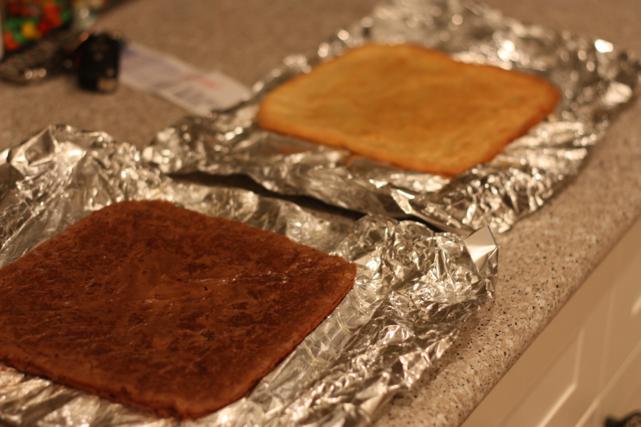
I baked my cakes using two 8-inch pans.  I did the red velvet first, rinsed the pans, and then did the white cake.

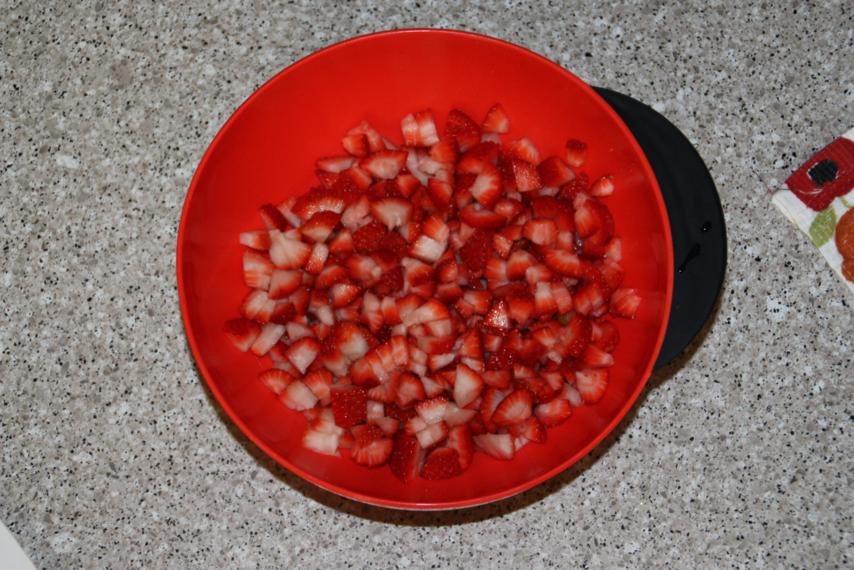
While the cakes cooled, I chopped up a whole bunch of strawberries.

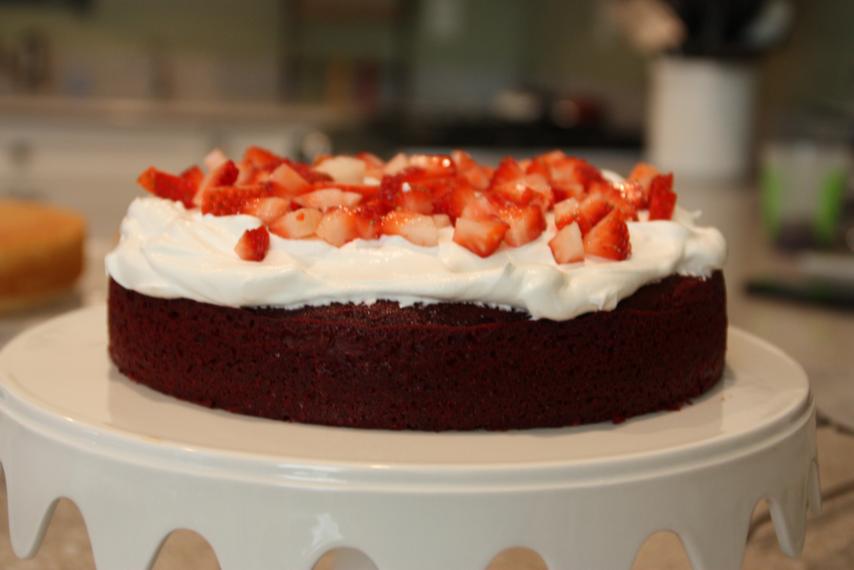
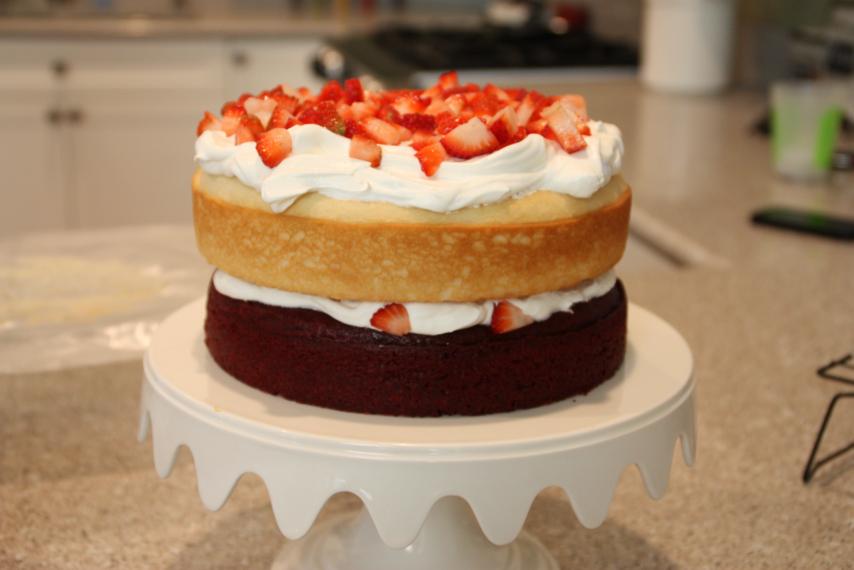
Then all I had to do was build the cake.  First, a red velvet layer topped with cool whip and strawberries.

White cake layer came next, topped with more cool whip and strawberries.

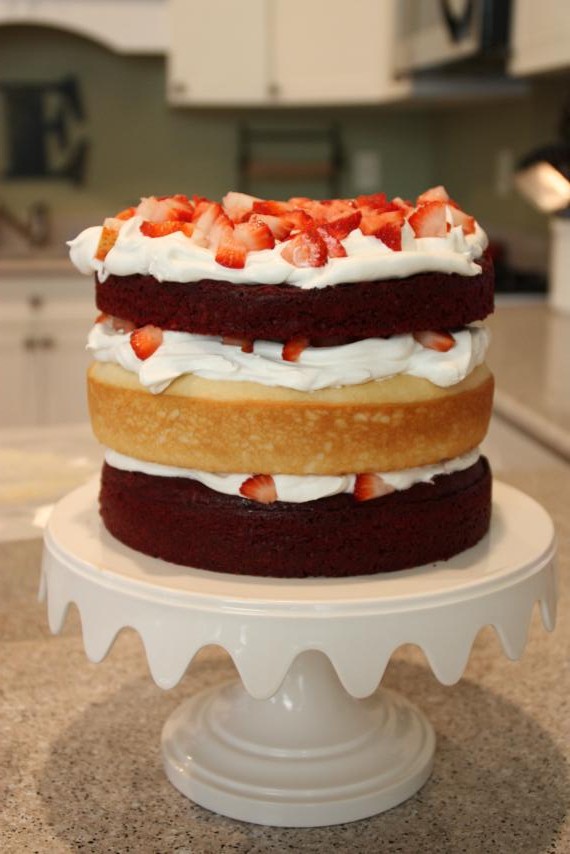
Back to red velvet.

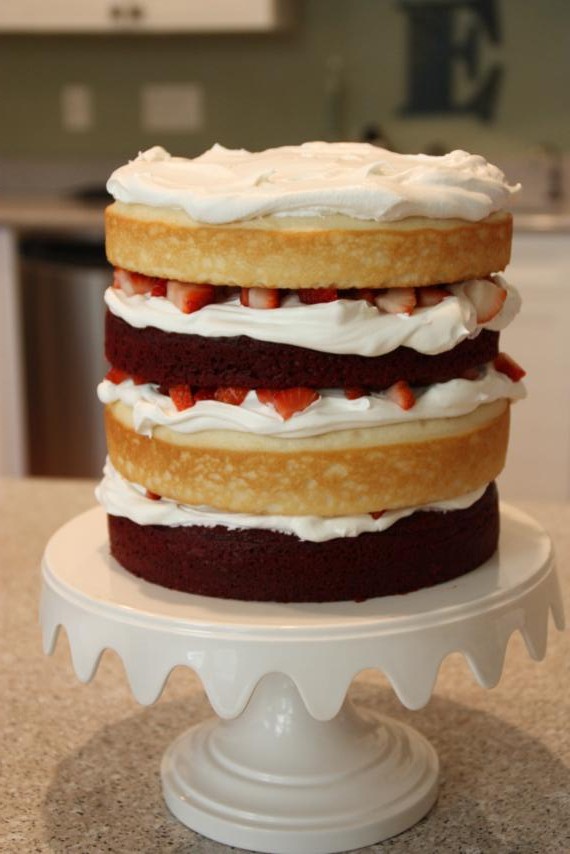
And finally, the last white cake on top.

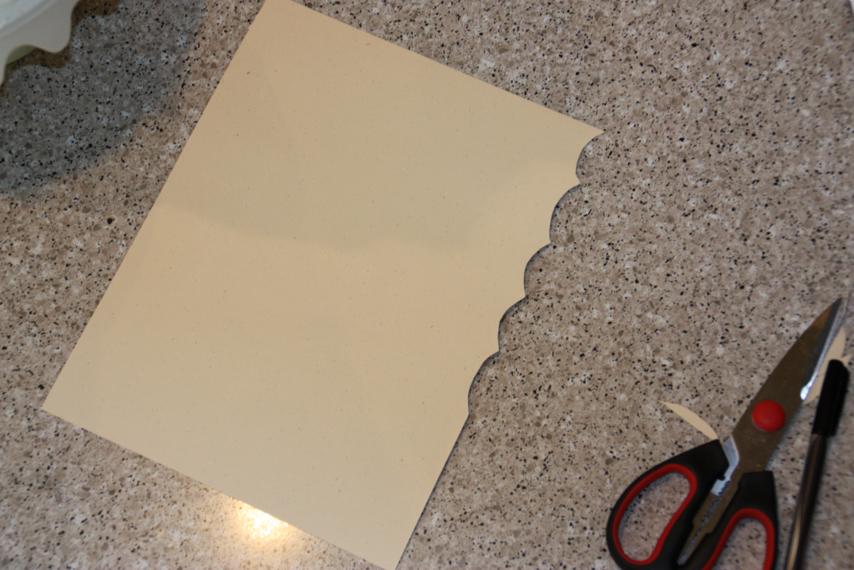
Up to this point, everything about this had been easy-breezy and I was smooth sailing.  But it was time for the tricky part.  Following the directions from online, I cut my template out of a piece of cardstock.

I covered the sides of the cake in what I thought was a thick layer of cool whip.  Turns out I didn't get it thick enough because my template scraped down to the cake.  Live and learn, I guess.  No pictures of the process since all hands were involved (mine using the scraper, Doc's to rotate the cake stand), but I placed the template up to the edge of the cake and rotated the cake stand, allowing the template to scrape the cool whip into a scallop edge and knock off the excess.  (Make sense?  She explains it better.)

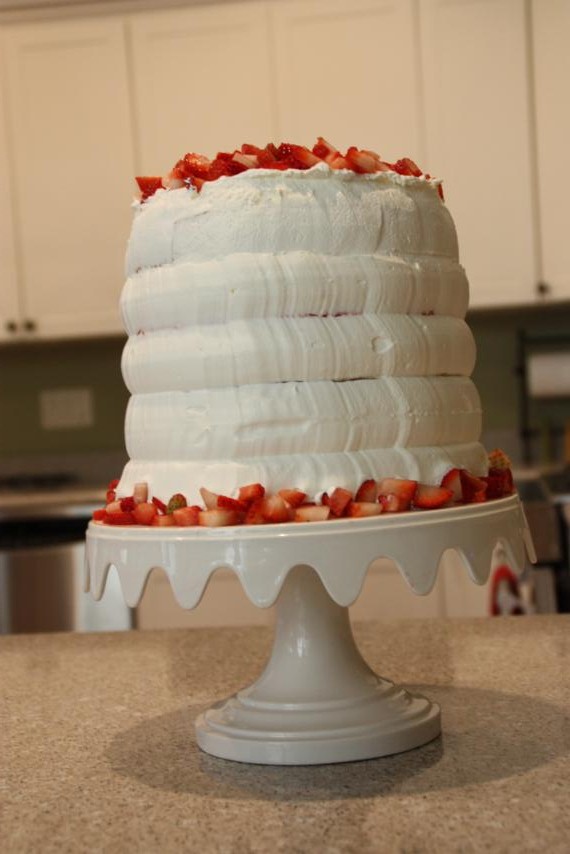
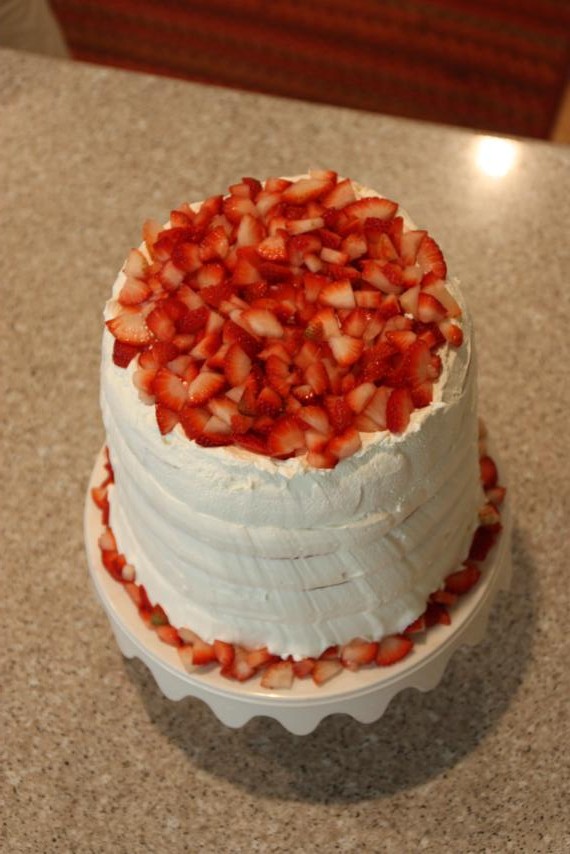
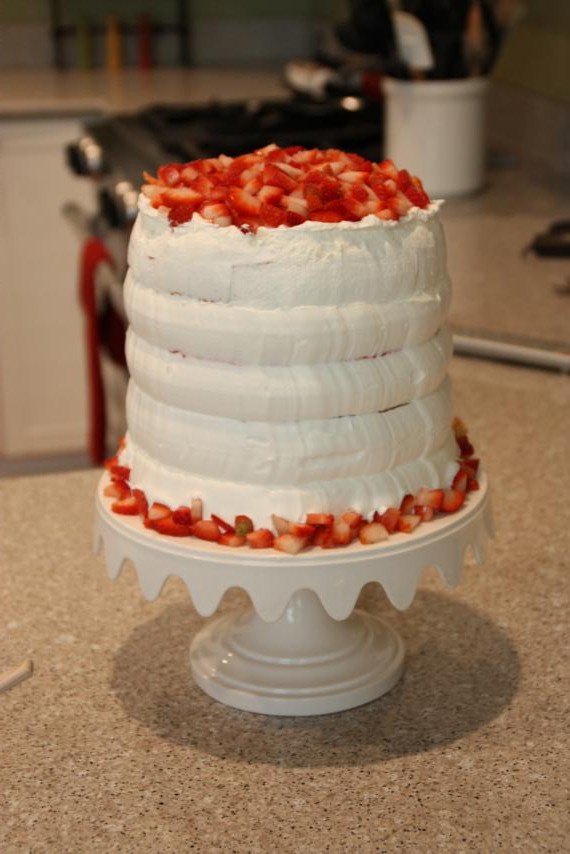
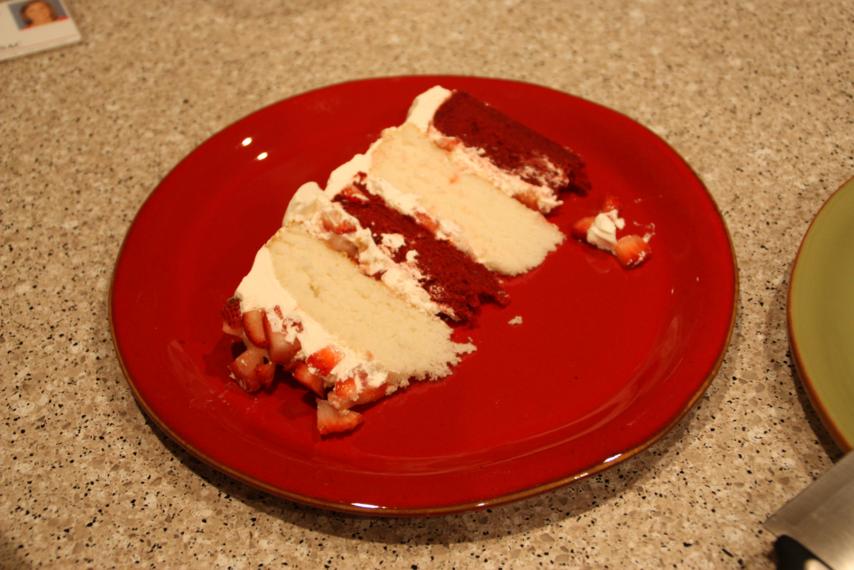
Not nearly as pretty as my inspiration, but not too bad for a first try, right?

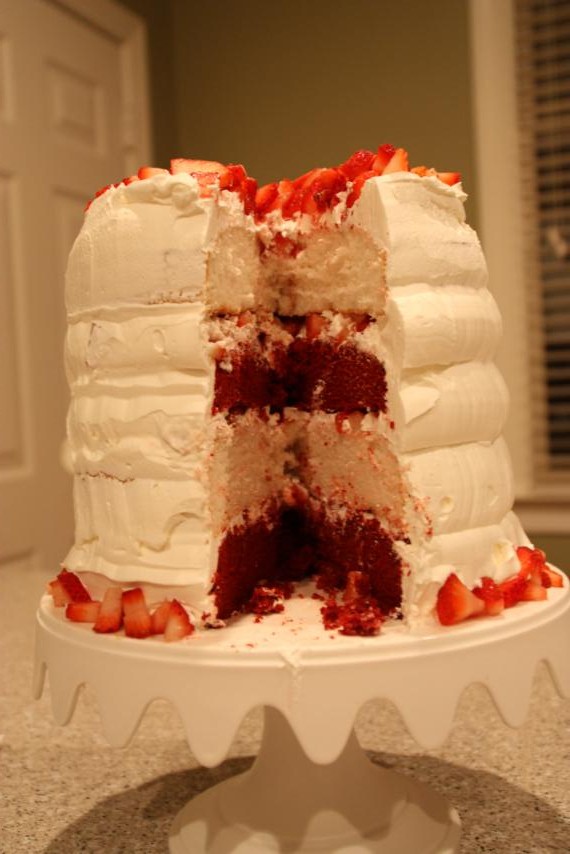
We had dinner with our friends Sarah and Charlie that night, and then invited them back to our house for dessert.   I was excited to cut into it.

The final verdict?  Pretty tasty.  Since it's lots of cool whip instead of icing, it was nice and light.  The strawberries gave it a good summery taste.  As Sarah suggested, it would make a great 4th of July cake - you could even dye the white cake blue!  Maybe I'll give it a try...

Dinner Party

The week of Valentine's Day, we received a love package from Doc's parents.  In that package?  Two new cookbooks! So what do you do when you've got a couple new Martha Stewart cookbooks?  Well, you invite some friends over and try out not one, but six new recipes.  You warn your guests that dinner could either be totally awesome, or a total flop.

Lucky for us, it turned out to be totally awesome.

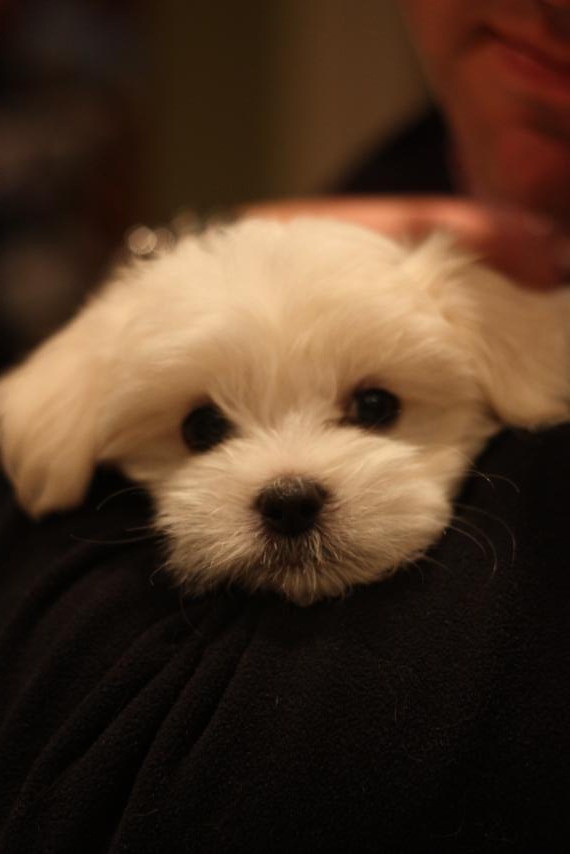
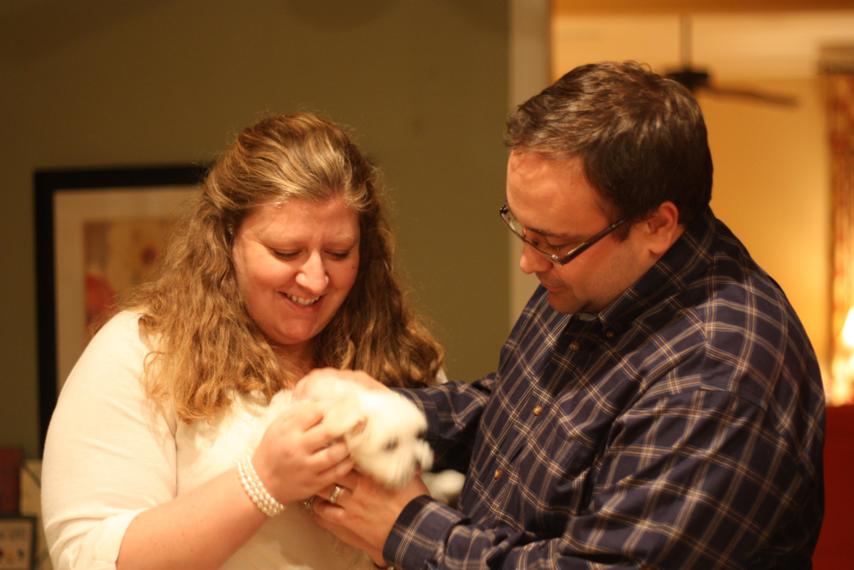
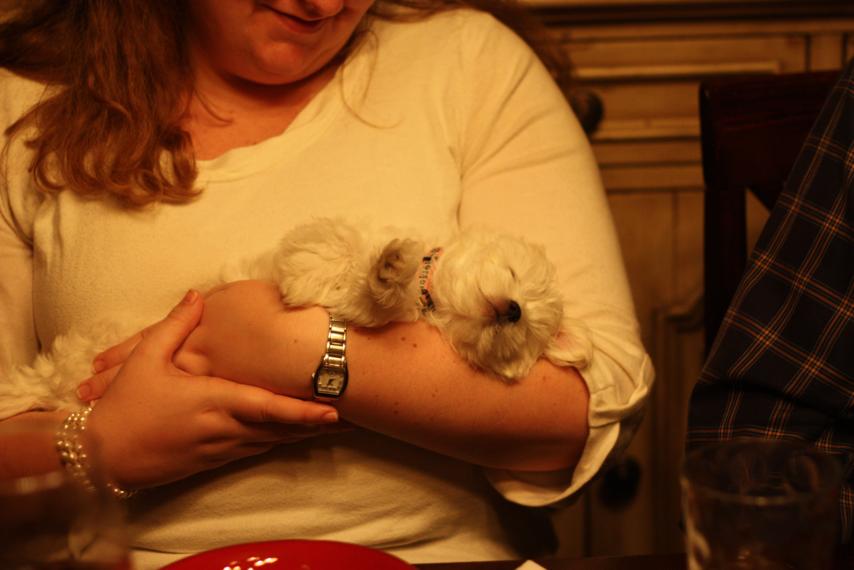
But before we could even think about eating, everyone had to meet Miss Lolli.

She was a good little fluffer-bunny for our friends.

Ok, enough of that.  Now let's get to the food.  Doc had the day off (President's Day) so he spent the day picking out new recipes and doing the cooking.  He decided on two appetizers, two entrees, and two desserts.

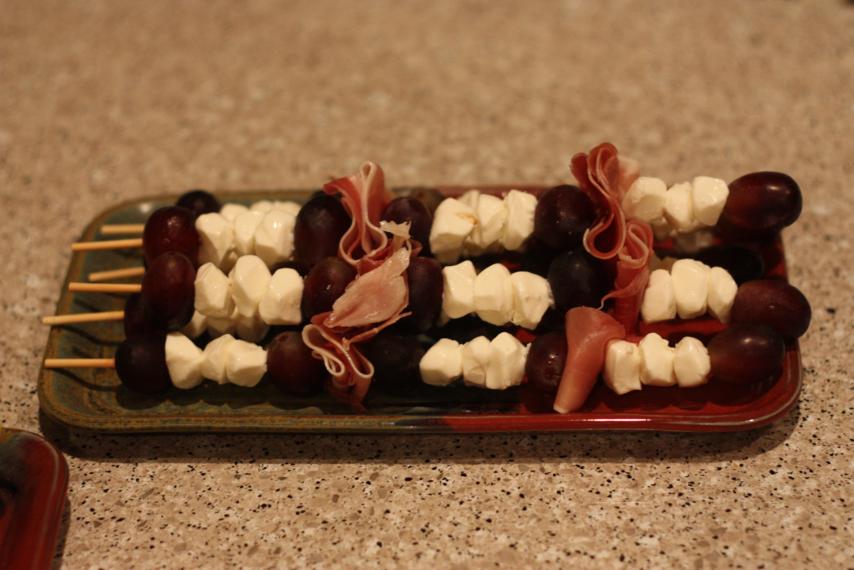
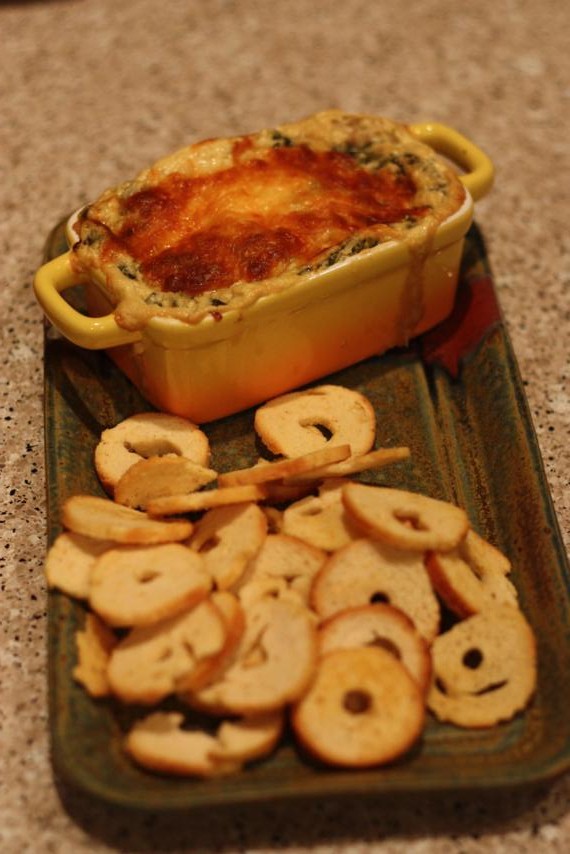
Up first?  Hot Spinach Dip and Mozzarella and Grape Skewers.  The skewers are the only thing I can say I helped on, and all I did was assemble.

Red grapes, mozzarella cheese, and prosciutto - a tasty combo.

The dip was scrape-the-dish-dry awesome.  We finally got to use the little casserole dishes I bought forever ago, so each couple had their own dip.

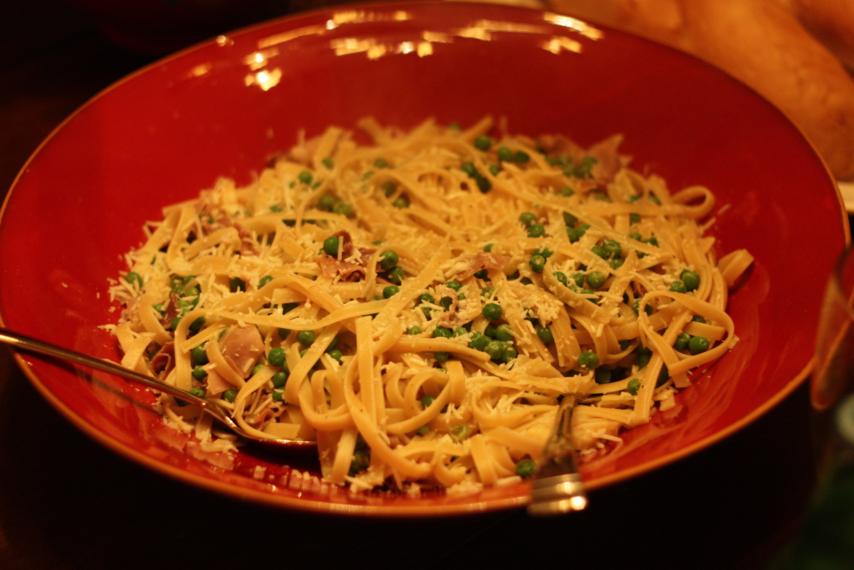
While we all stuffed our faces, Doc manned the stove and got the entrees ready.  And before we knew it, we were at the dinner table with big bowls of Pasta with Proscuitto and Peas...

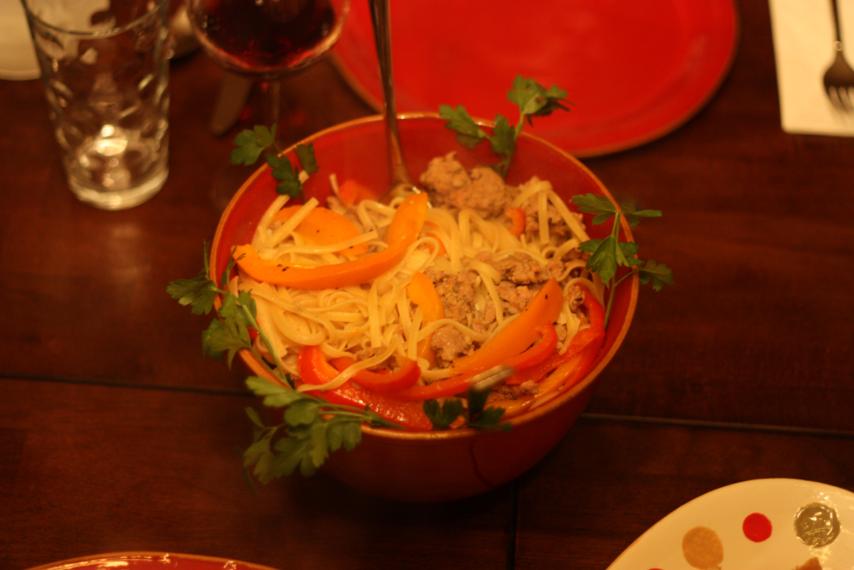
...and Linguine with Sausage and Peppers.

Yuuuummmm.  Not only were these both very flavorful and delicious, but the recipes also made so much that all six of us were able to eat the first night, my parents and I had it again the next night, and there was still some left for my mom to take it for lunch on the third day.

Now, for the best part - dessert.  As I mentioned earlier, Doc decided to make two desserts instead of one - he sure knows how to make a girl happy!

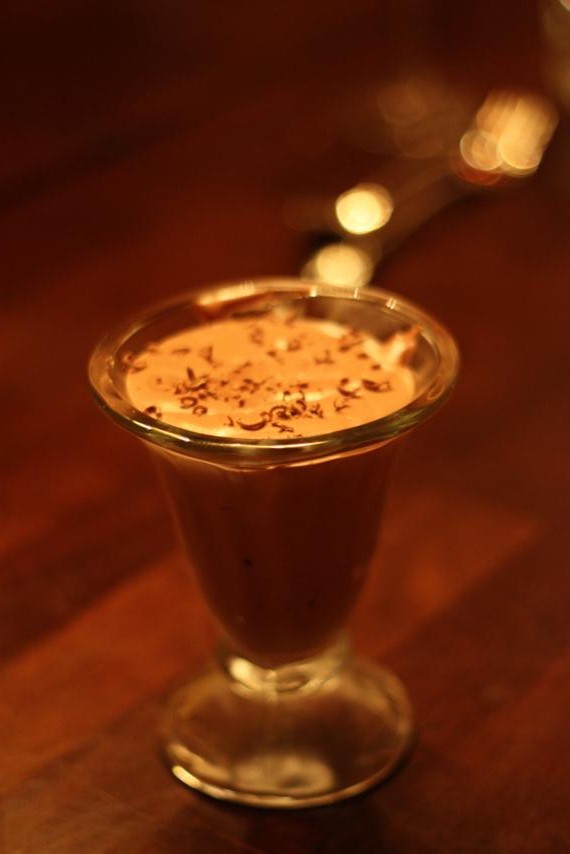
First was a real Chocolate Mousse, not just a quick and easy three-ingredient mousse that I would make.

The mousse was good - really good - but the other dessert was A-W-E-S-O-M-E.

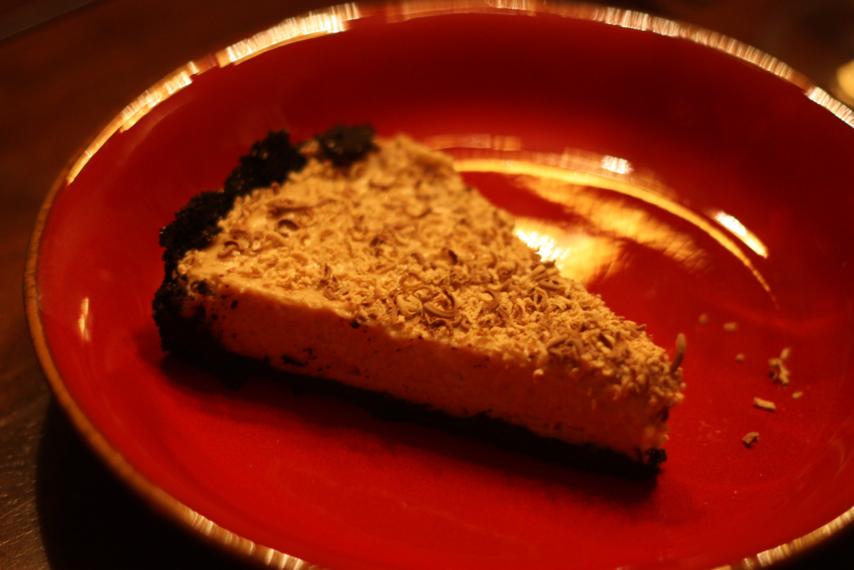
Chocolate Peanut Butter Pie:

The picture may not look like much, but trust me - this pie is GOOD.  So good that I've already requested in for my birthday dessert.  And since I love you guys so much, I'm going to share the recipe.  You should make it.  Trust me, just do it.

Chocolate Peanut Butter Pie

  • 30 chocolate wafer cookies (Doc couldn't find them so he used Oreos minus the filling)
  • 4 tablespoons (1/2 stick) unsalted butter, melted
  • 1/4 cup cold water
  • 1 envelope (1/4 ounce) unflavored gelatin
  • 3/4 cup packed light-brown sugar
  • 1/2 cup creamy peanut butter
  • 1 cup heavy cream

1 - Preheat oven to 350.  Process cookies in a food processor until finely ground (to yield 1 3/4 cups).  Add butter, and pulse until crumbs are evenly moistened.

2 - Transfer crumb mixture to a 9-inch tart pan with removable bottom.  Press firmly into the bottom and up the sides.  Place pan on a baking sheet; bake crust until set, 15-20 minutes.  Let cool completely.

3 - Meanwhile, place the water in a small saucepan (off heat); sprinkle with gelatin.  Let stand until softened, 5-10 minutes.

4 - In a food processor, combine brown sugar and peanut butter; process until smooth.  Add cream; process until mixture is light and holds soft peaks, scraping down the sides of bowl as needed.

5 - Places softened gelatin over very low heat, stirring, just until dissolved.  Add to peanut butter mixture in food processor; blend to combine.  Transfer filling to cooled crust and smooth top with a flexible or offset spatula.  Chill until set, at least 2 hours and up to 3 days.

The recipe suggests chopping roasted unsalted peanuts to sprinkle on top of the pie, but Doc did chocolate shavings and I think they make the pie even better.  Use whatever you like, but I definitely vote for chocolate shavings.

All of this good food just wore little Lolli out!

Full and happy friends makes for a successful dinner, I think.

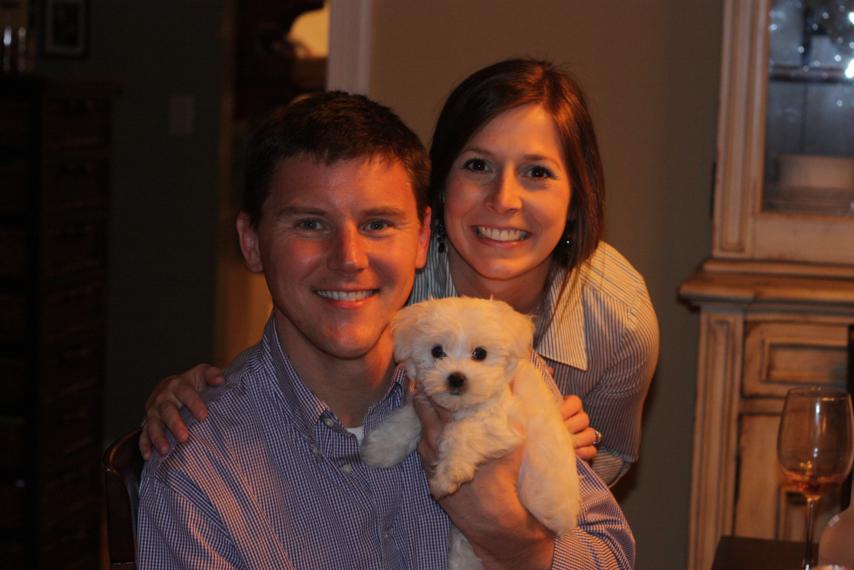
The first pic of both of us with Lolli.

Is anyone interested in any of the other recipes?  If so, let me know in the comments and I'll share them, too.  I just don't want to go to the trouble of typing them out if no one's interested.

DIY Heart-Shaped Chips

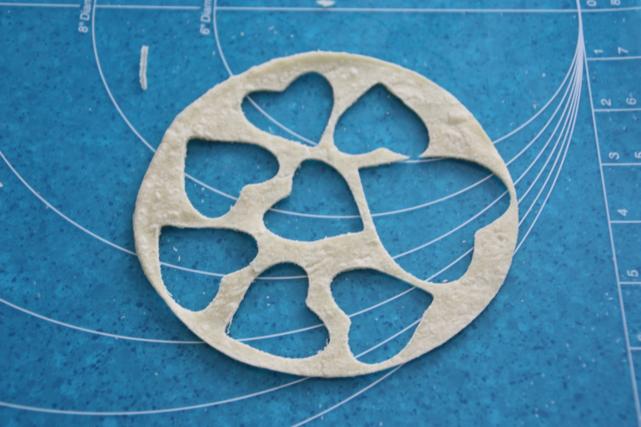
We're just a couple weeks away from Valentine's Day so it's time to start thinking about hearts!  For my bunco group that I hosted this week, I decided to make heart-shaped chips to go with the dip I made.  They got great reviews, and were really easy to make! All you need is corn tortillas (must be corn, NOT flour!) and some cooking oil and salt.  I purchased two different sized heart cookie cutters from JoAnn's and they easily cut through the tortillas.

I tried to arrange the hearts to look cute for this picture. :)

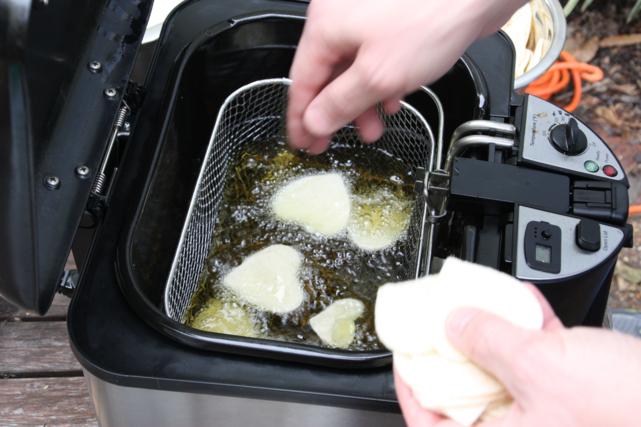
While I was cutting out the hearts, Doc was out on the patio heating the grease in our Fry Daddy.  If you don't have a Fry Daddy, these can be made in a skillet on the stove but your house may smell afterwards.

Once the oil gets good and hot, just drop the tortillas in.  They should float (if they sink your oil is not hot enough) and bubble up.

You may want to flip them over at least once while they're in there.

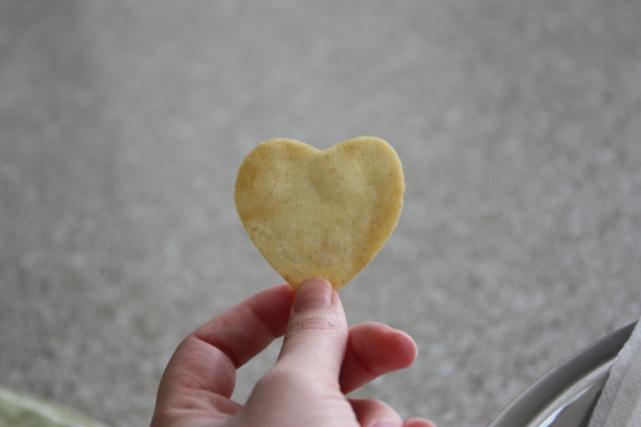
There's no exact amount of time to cook them, it just depends on how crispy you want them.  You may need to test a few before you start dropping a lot in.

When they're done, lay them out on paper towels so the oil drains off and they dry off.  We sprinkle ours with salt but that's completely optional (but really you should put the salt on, it makes them so tasty).

And that's how you make heart-shaped chips!

Now you know how to make them with plenty of time to prepare for Valentine's Day.  These would be great at a party or stuck in your child's lunch box.  We store ours in a big ziplock bag and they always last at least a week.

Enjoy!

DIY: Cupcake in a Jar

I wanted to have favors to give our guests at our party this past weekend and this cute little idea I found online was perfect for it. Or maybe it was that I found the idea and just wanted an excuse to try it. Either way, I love how they turned out. I found the idea and recipe here.

Now, I'm not a big fan of red velvet cake, but you know how I like to go all out with a theme, and red cake would match so I went with it. I doubled the recipe from the link above to make two batches. And I must say that the red velvet cake from scratch with the homemade icing may have won me over.

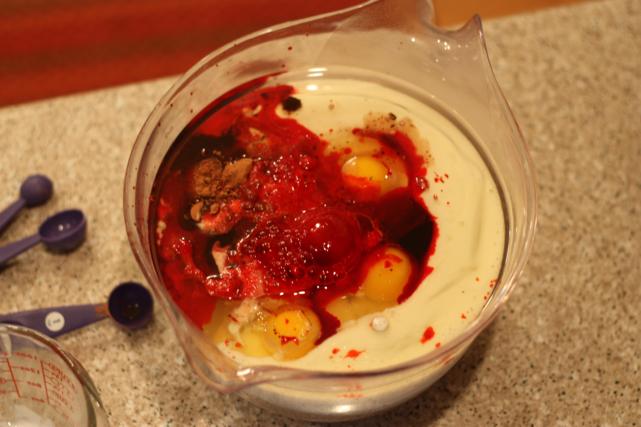
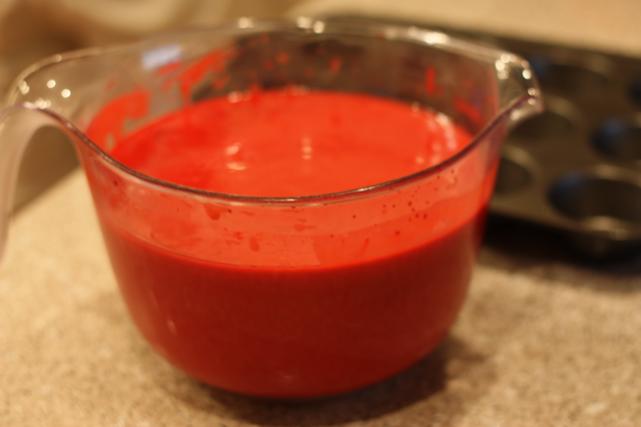
First step is obviously to make the cupcakes.  My bowl was barely big enough.

Here's a tip: when making a double batch of red velvet cupcakes, trust me when I say you do not have enough red food coloring. Even if you have the big bottle, it won't be enough. Buy more than you think you need, or else you'll end up sending your husband to the grocery store at 9:30 to get more.

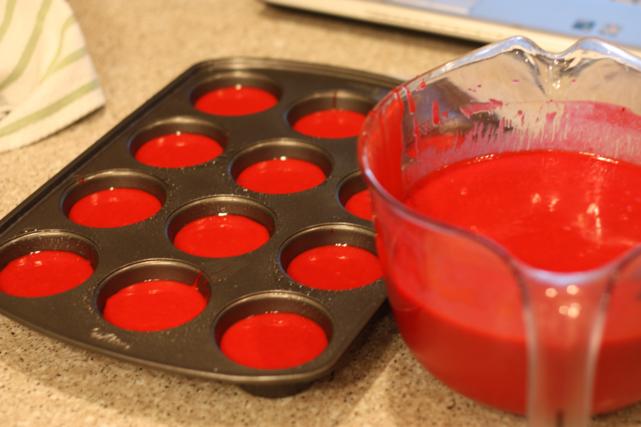
Next, fill your cupcakes 2/3 full.  The first batch I did not use cupcake papers and even though I sprayed the pan really well, they stuck like crazy. The next set I used the papers and it was much, much better. Use them.

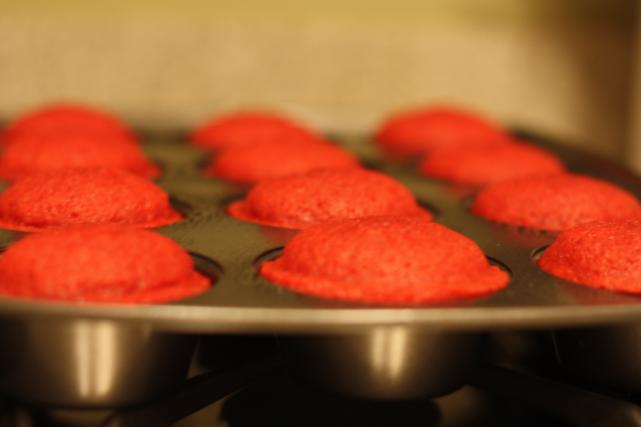
Pop 'em in the oven and let those suckers bake!

While the first batch was cooling and the second batch was baking, we made the icing.

Here's another tip: when making two batches of homemade icing, you will not have enough powdered sugar. Even if you have two boxes, it will not be enough. Buy more than you need, otherwise you'll be sending your sweet husband back to the store.

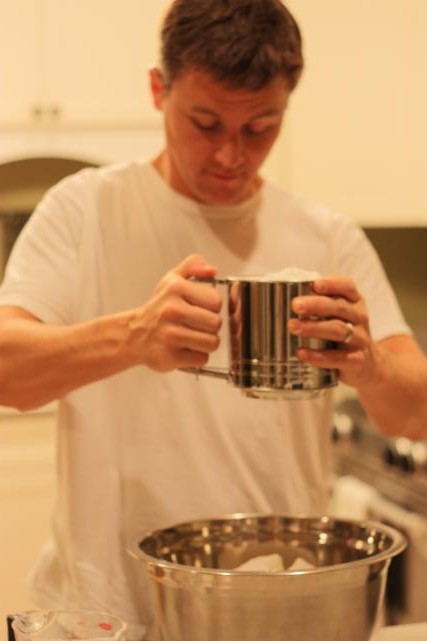
Oh, and we got to use our new sifter for this!

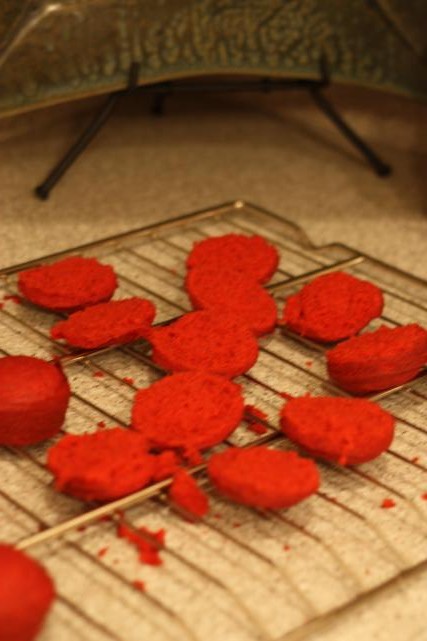
Once the cupcakes are completely cool, cut them in half. (Sorry, bad pic here.)

Place the bottom half of the cupcake in the bottom of the jar.

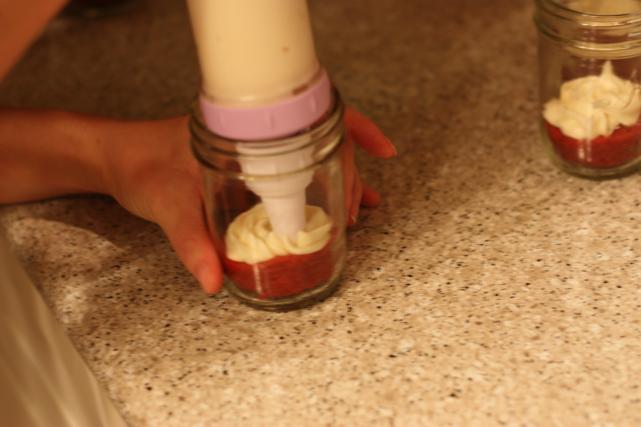
Next up, squirt some icing in!

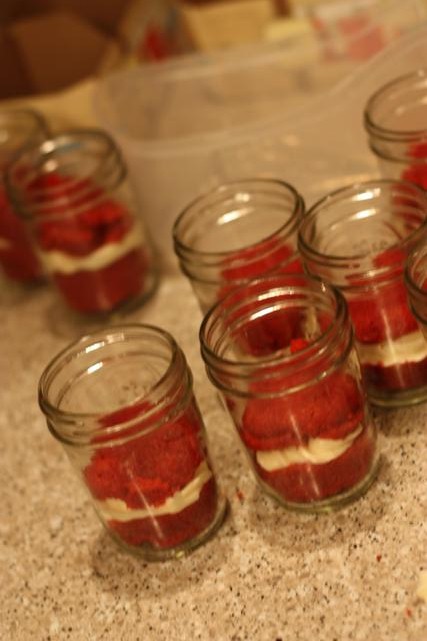
After the icing, you want to take the remaining half of the cupcake (the top half) and smoosh it down on top.

And now another shot of icing is needed.

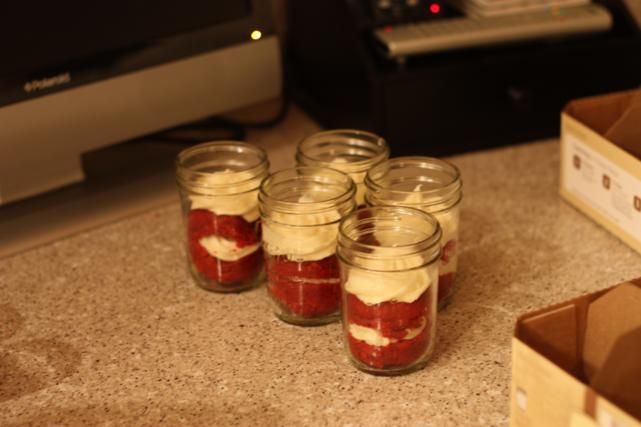
This time, the icing won't be getting smooshed, so make it a cute dollop.

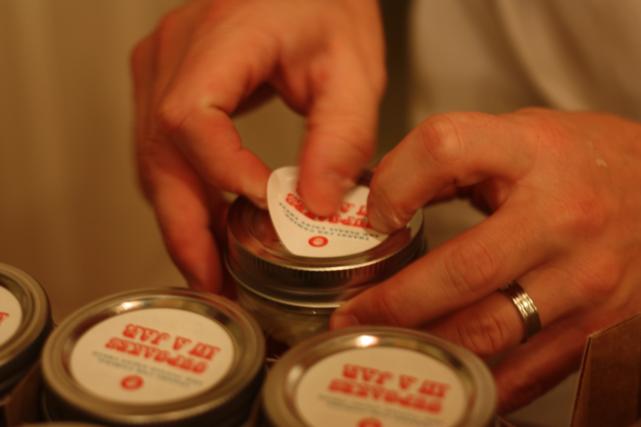
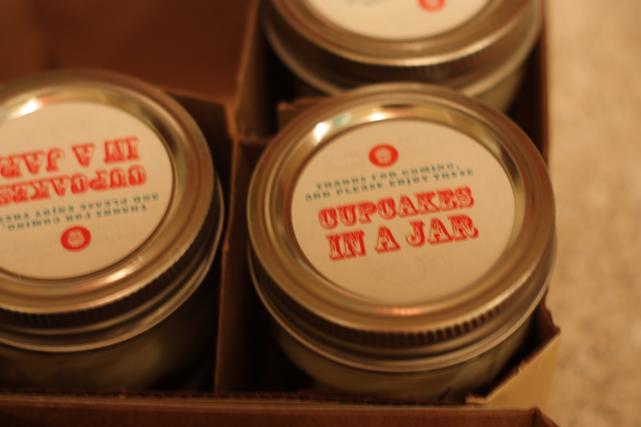
And now they just have to be packaged up. We put the lids on and then topped them with a cute label. (Shout out to our friend Matt for printing the labels. Thanks, Matt!)

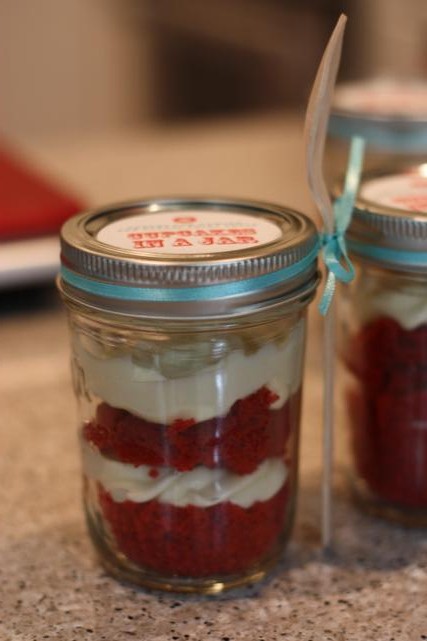
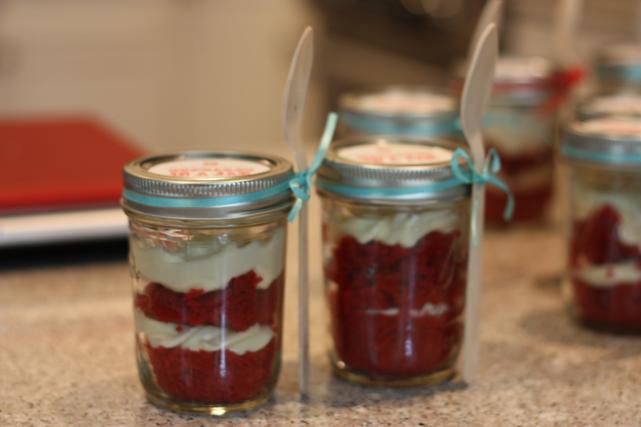
What's the point of a cupcake in a jar if it doesn't come with a spoon? The next morning I tied a ribbon and spoon around each jar.

And finally, they were done! Just in time too...we only had a few hours to spare before our guests arrived.

I won't tell you exactly how many of these I've eaten, but it's somewhere between 5 and 10...