I'm Tired

I stared at the screen for a while trying to come up with a title to this post and the only thing running through my mind is how tired I am!  So tired, in fact, that I was actually looking forward to coming to work today as a day of "rest."  (Don't tell my boss I said that.)  I apologize for the long hiatus from the blog, but we have been working so hard lately there just hasn't been time to sit and type! I feel so behind on blogging that I don't really even know where to start to catch you up on everything that's been going on.  So, I'm just going to post pictures the random pictures I've taken on my phone along the way and hope they will suffice as some kind of update.

Ok, we closed on our new house on Thursday, August 2nd, but weren't able to take possession of it until the following Monday evening.  We had a long list of things to do before we would move in two weeks later.  First up?  Pick paint colors.

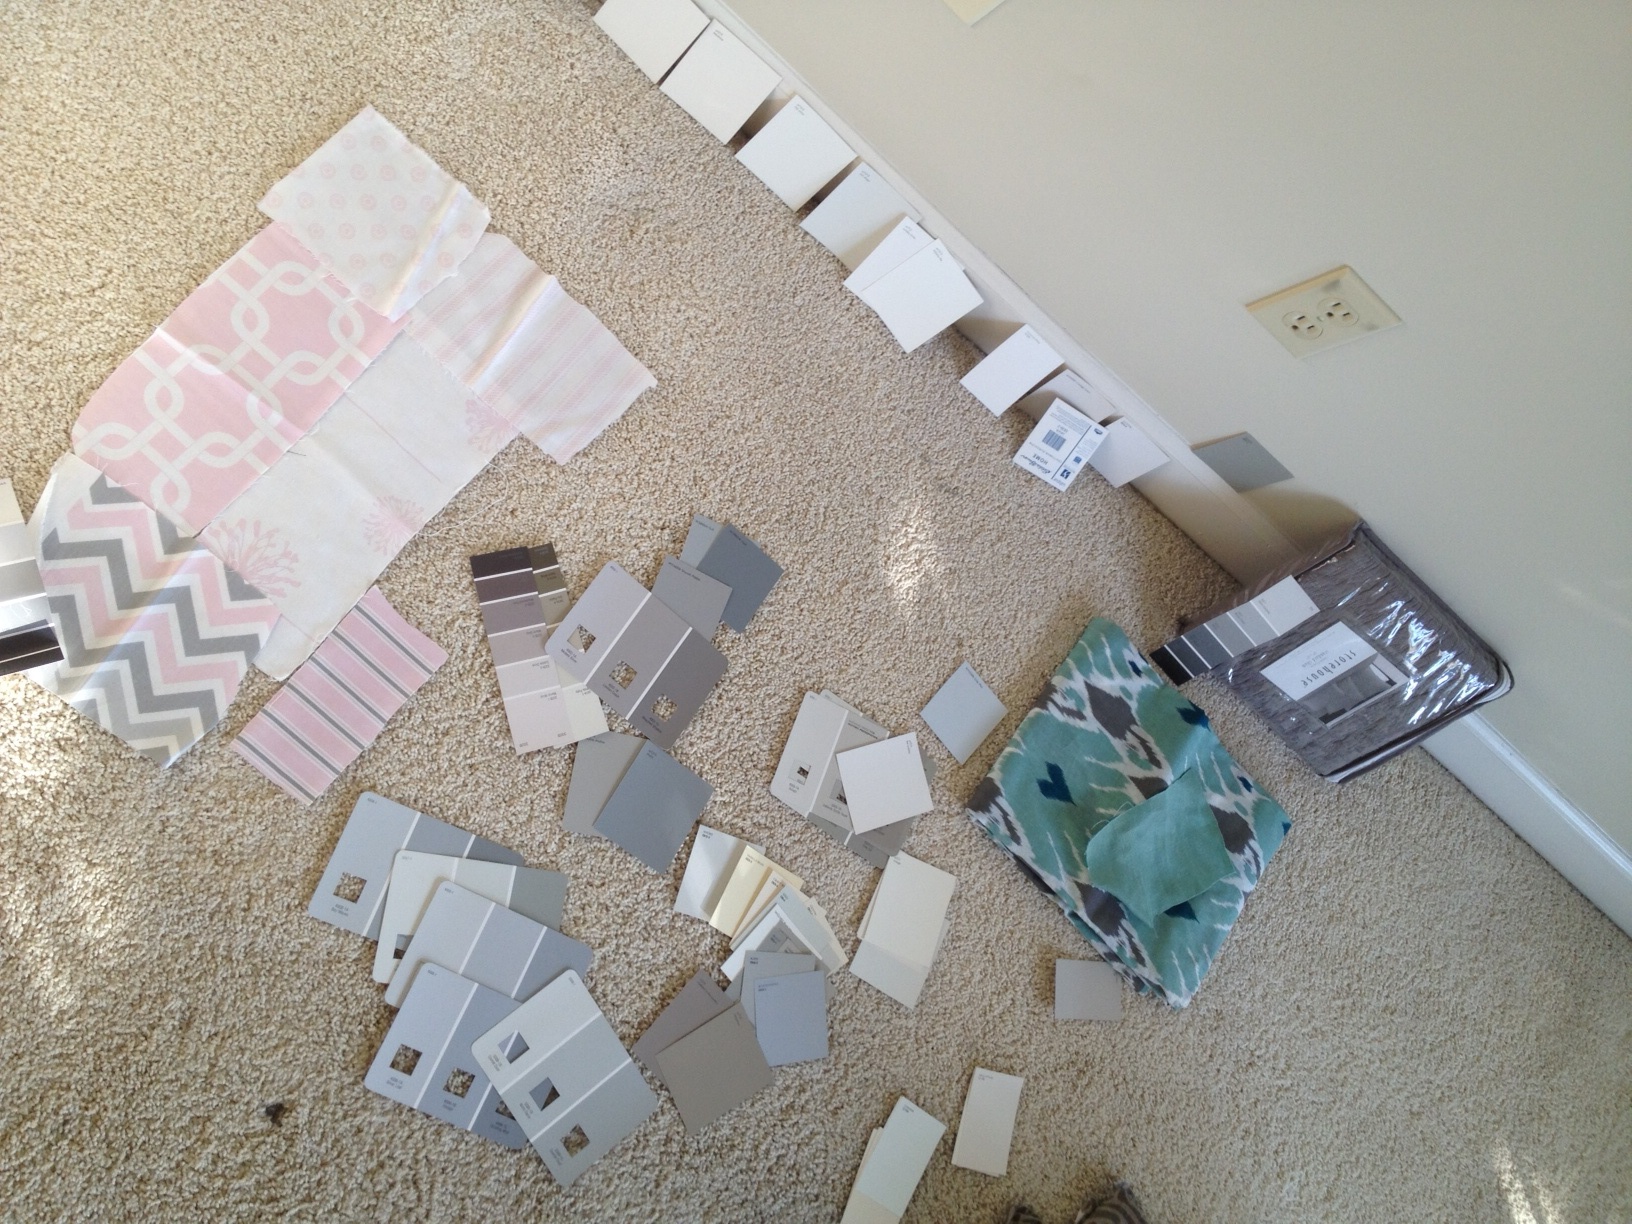
From the get-go, I have said that I am only focusing on decorating two rooms right now: the nursery (for obvious reasons) and the master bedroom (because we desperately needed new bedding).  I was set on a shade of grey for both rooms, but the same shade wouldn't work.  Grey is quite possibly the hardest color in the world to get right - it can have so many different undertones!  The final decision ended up being Requisite Grey for the master and Essential Grey for the nursery (both Sherwin Williams and neither are in the picture above!).

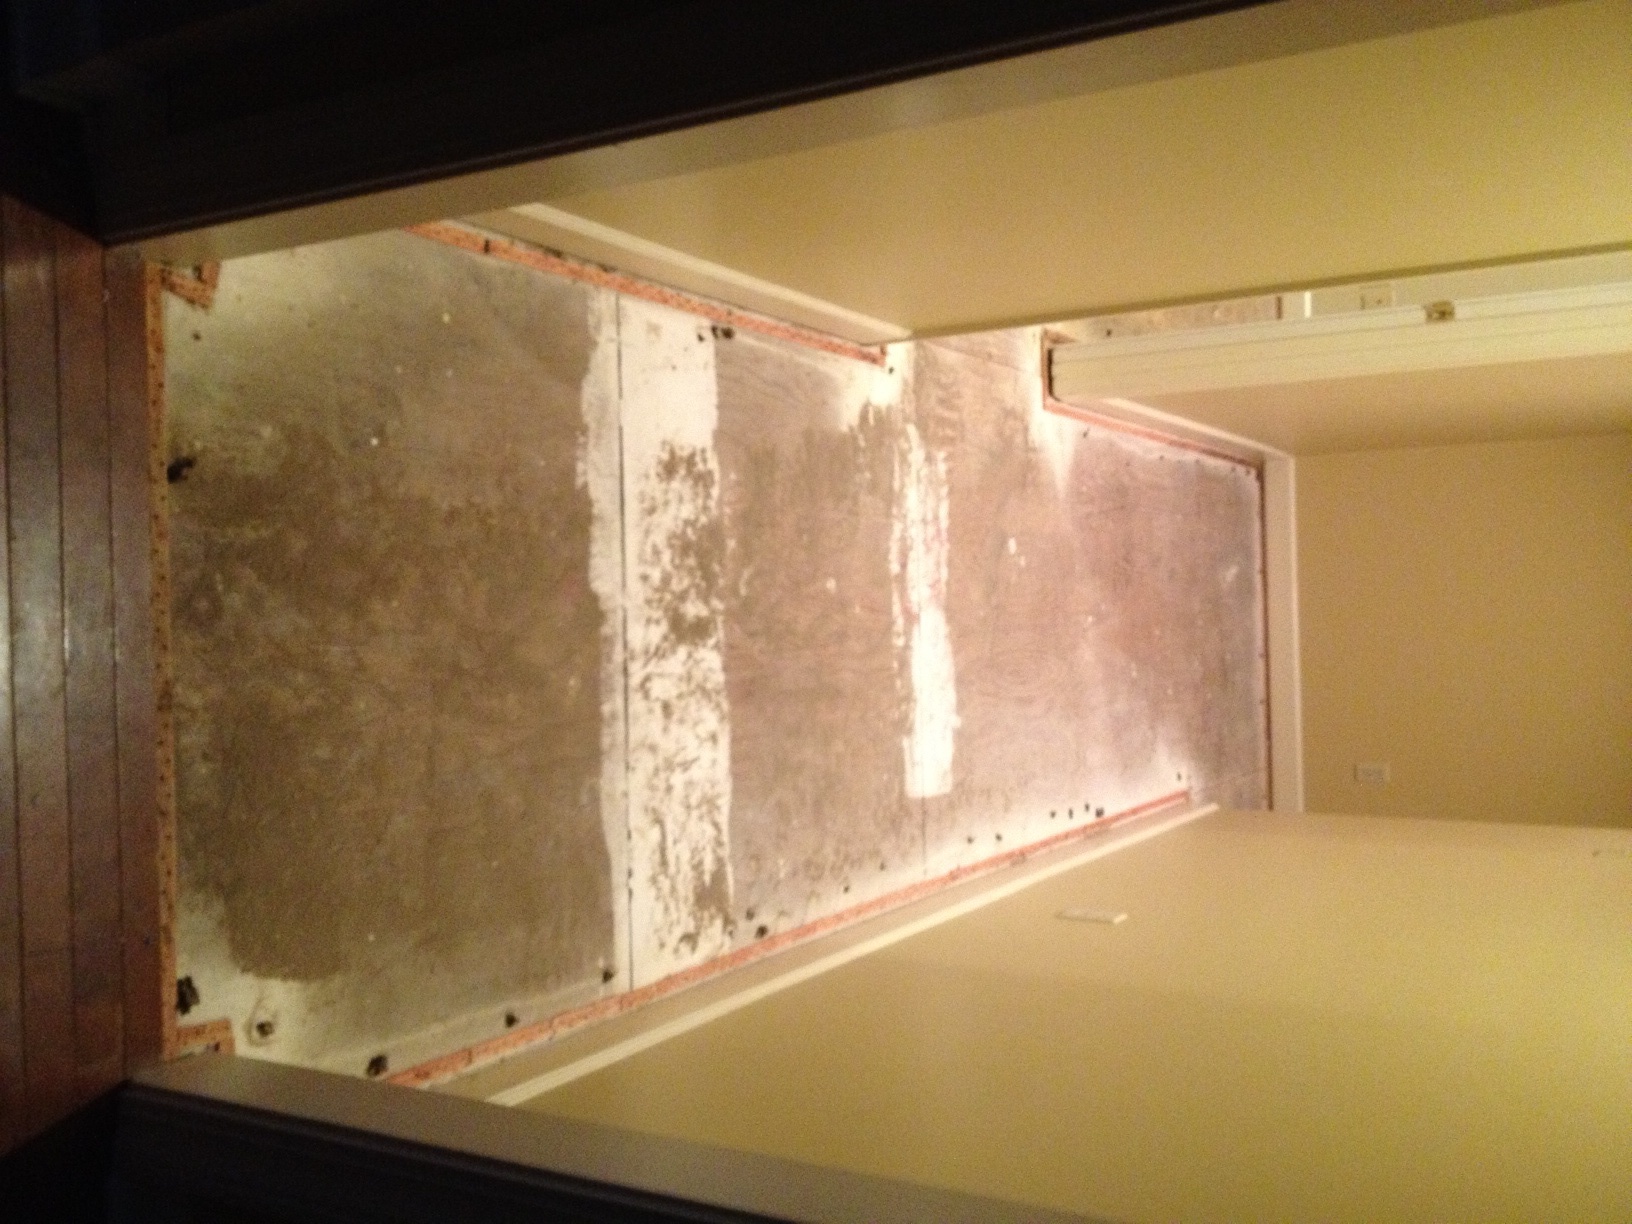
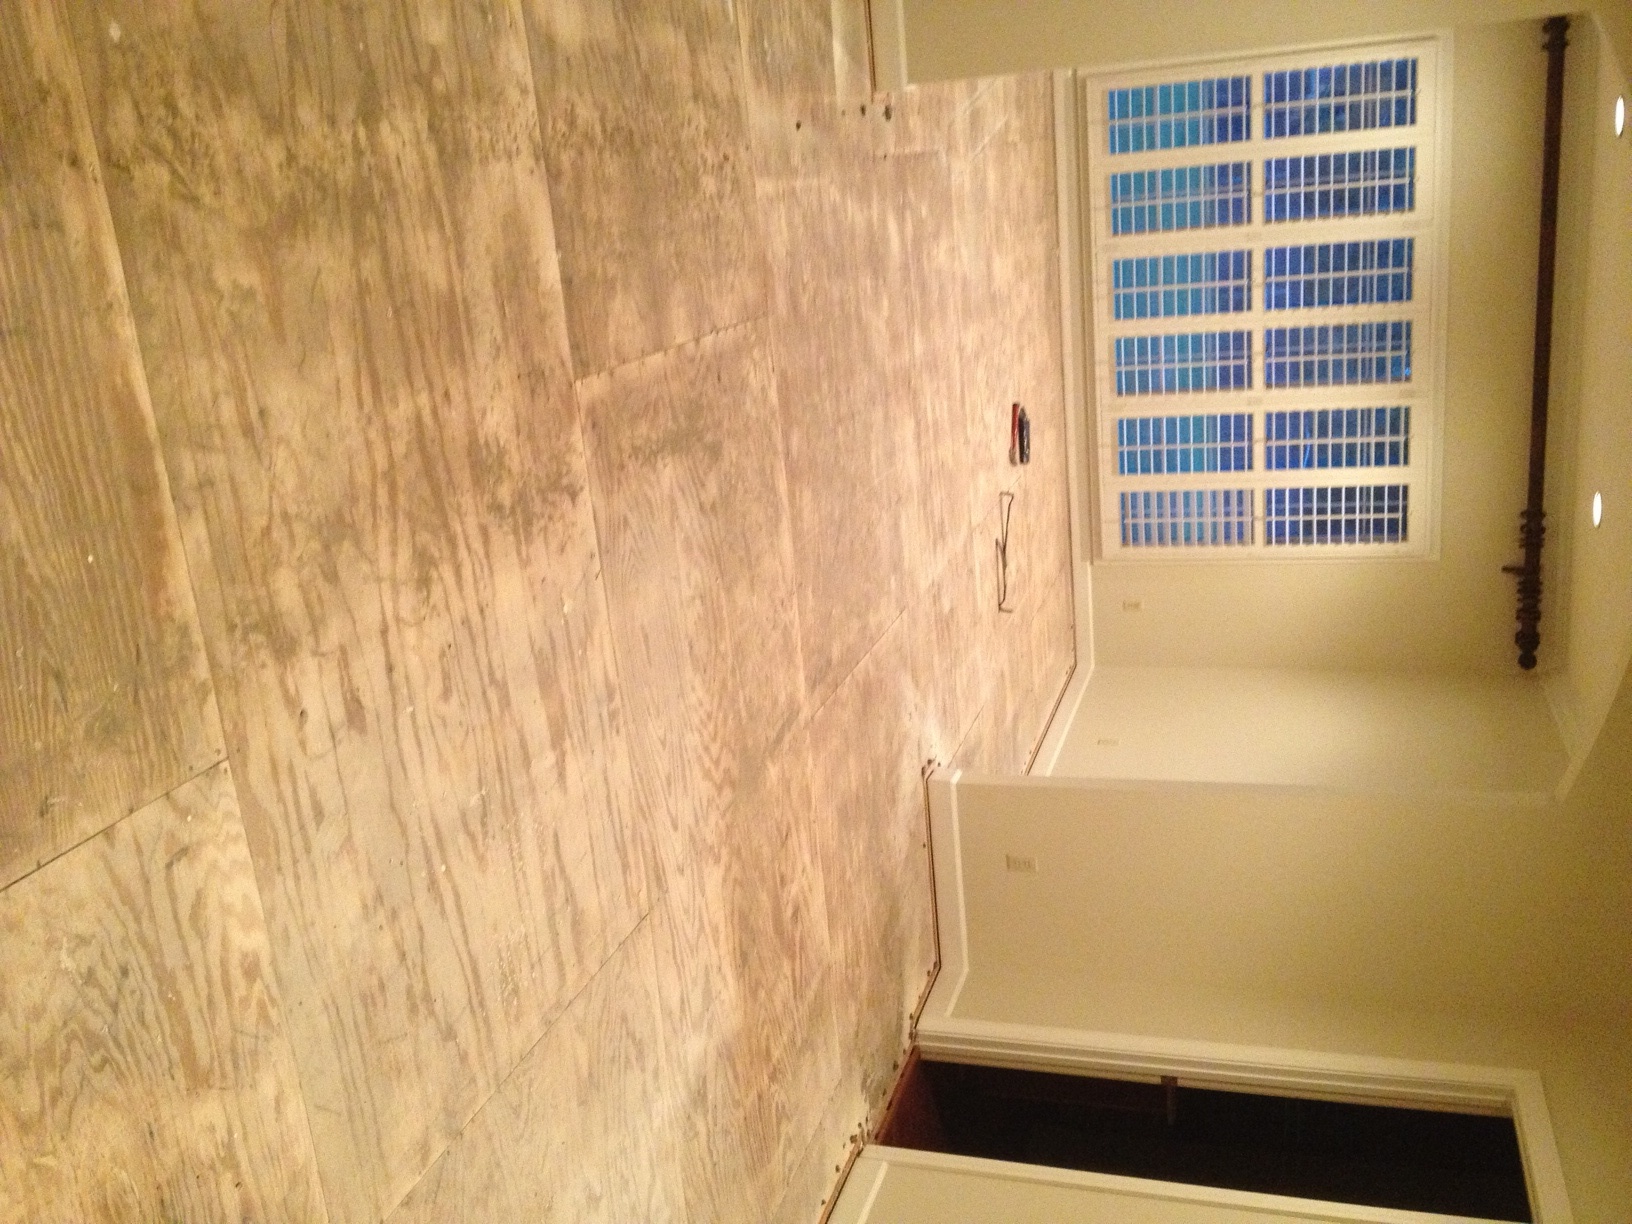
The nice thing about the setup in the new house is that the nursery is almost right across the hall from the master.  The two rooms are carpeted and connected by a carpeted hallway.  This section of the house is what we decided to spruce up first (we will tackle updating the home in phases).  I think it was day two or three that Doc and my dad ripped up all the carpet.

Speaking of carpet, why are there so many daggum choices?!?  It took us at least 3 trips to  Home Depot and Lowe's (only one of which ended with me sitting down in the middle of the store and complaining that "I just can't do it") to settle on a carpet and get the installation scheduled.  And after mulling over aaaaallll the different kinds of carpet (billions, I tell ya!), it all came down to what was in stock and could be put in in time.  That narrowed our choices down to about two.  Uh, couldn't they have just told us that from the get-go?!

Here's the lucky winner.  I was not very happy about it in the store but it's down now and I'm pleased with how it looks.  By the way, we ended up going with Lowe's and were very pleased with their services.

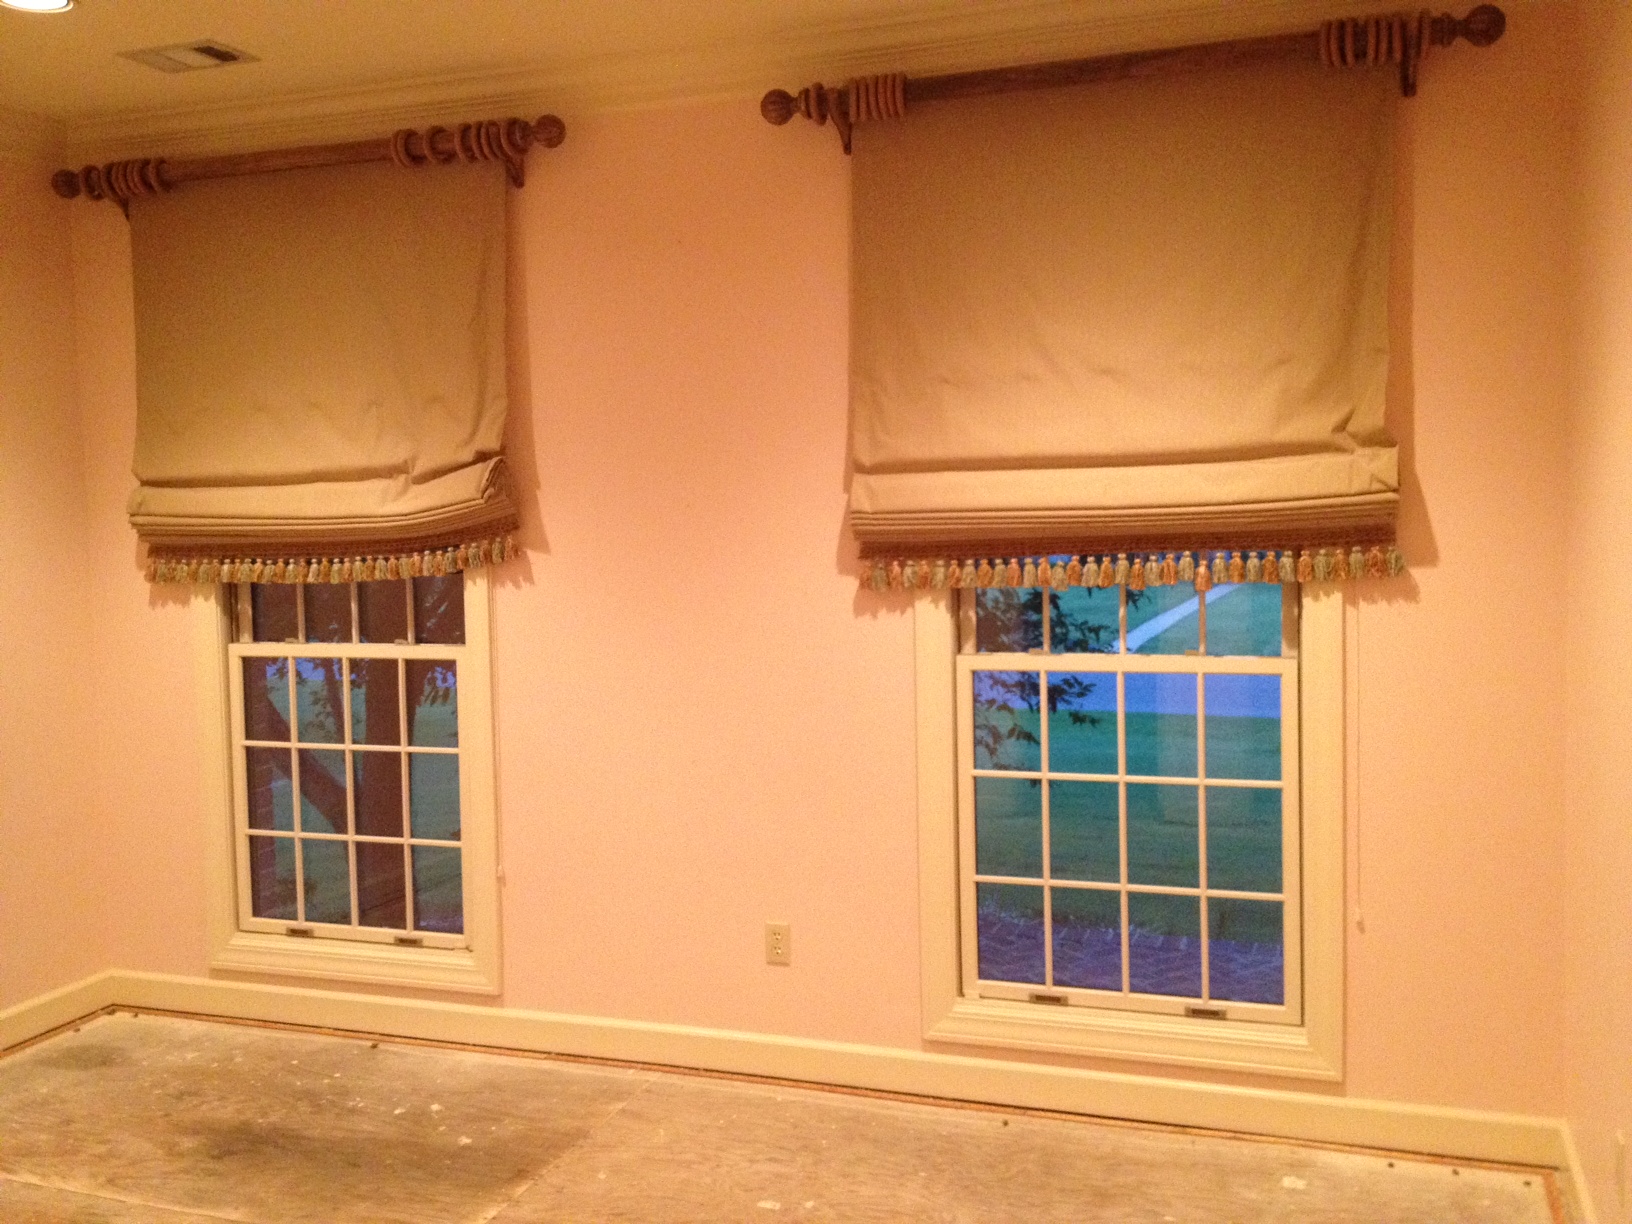
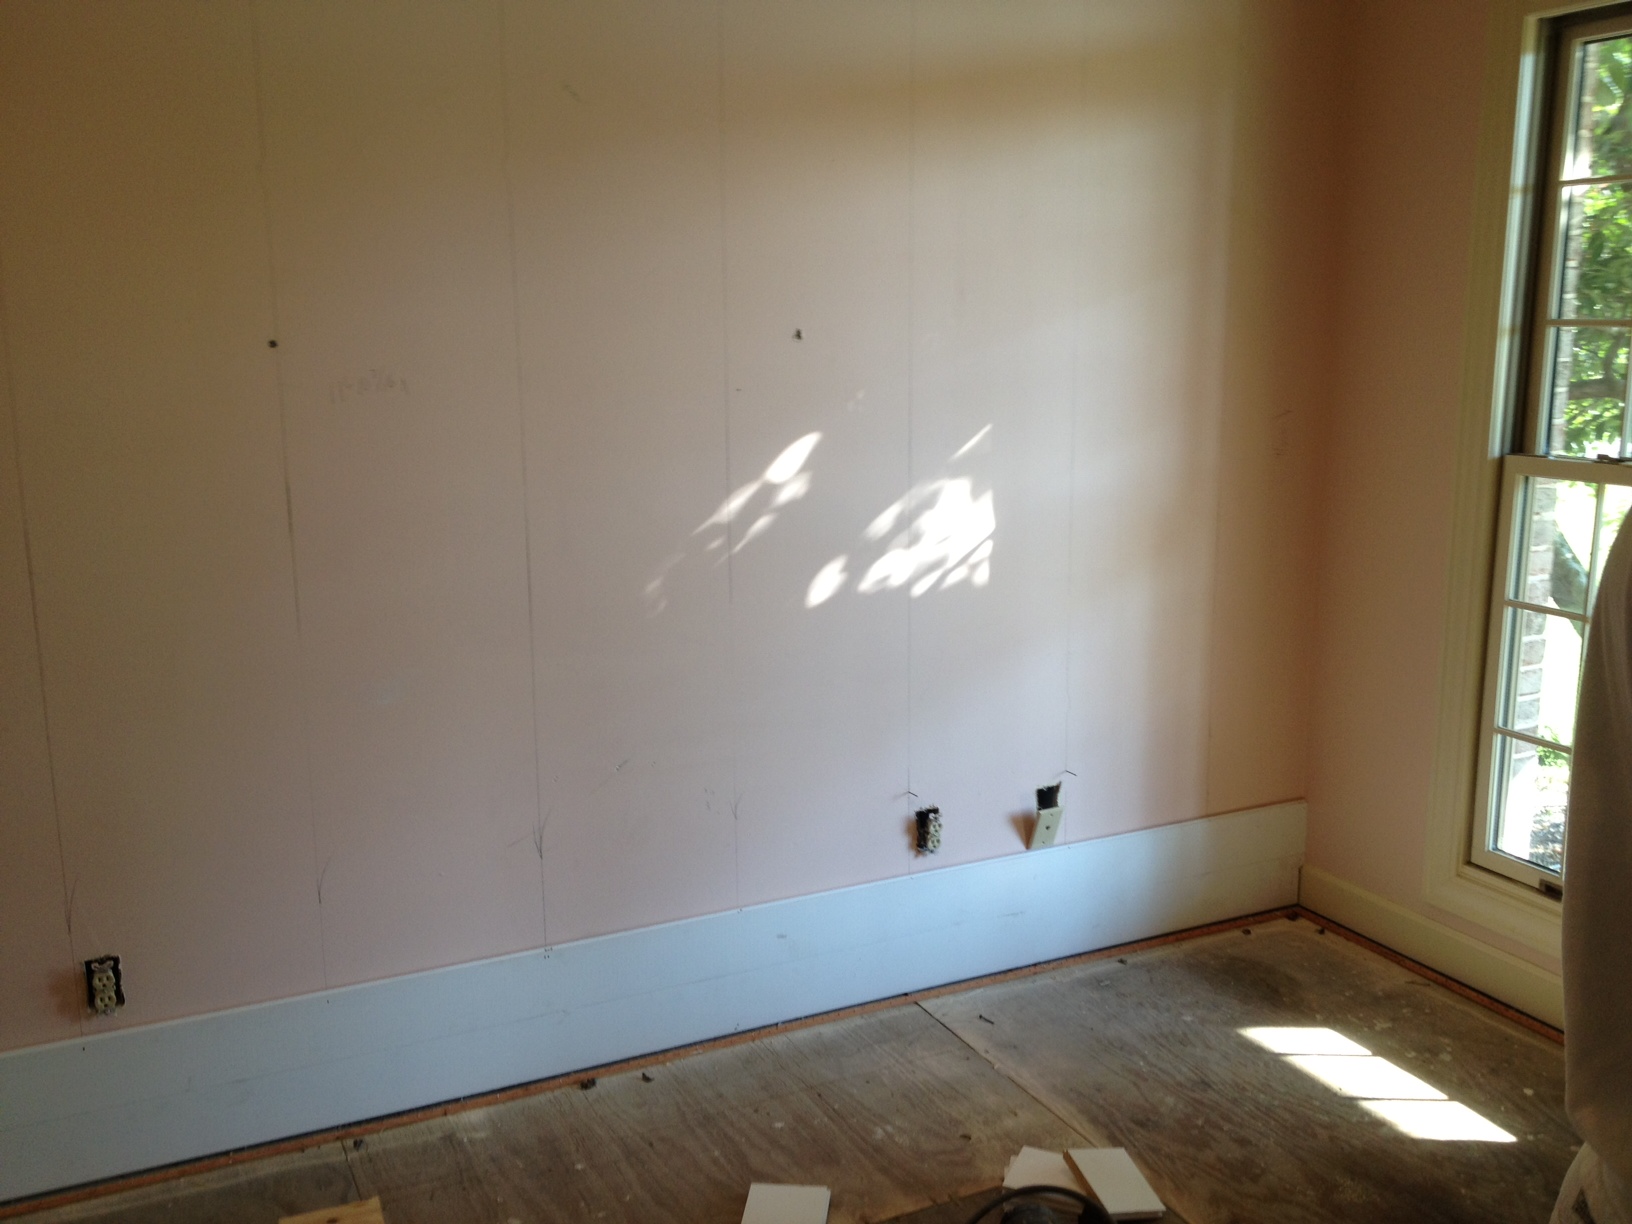
Here's the nursery after the carpet had been ripped out.  Those two roman shades were left behind by the previous owners and are really nice curtains.  Definitely professionally made.  I'm not using them though, so if anyone has any interest in them, let me know ASAP!  They are a pale-ish green silk fabric and the tassels have pink and green in them.  And see those nice, heavy duty curtain rods?  I almost jumped for joy when I saw that they left them!  (The roman shades are not hanging on them, they are on a board.)  Our contract stated that the seller would take all window treatments - and trust me, they did.  But, they left the hardware in the nursery and master bedroom - the two rooms I'm focusing on! - and they're really nice, wooden rods.  I'm way too cheap to have replaced them with something similar, so I'm so glad to have inherited these!

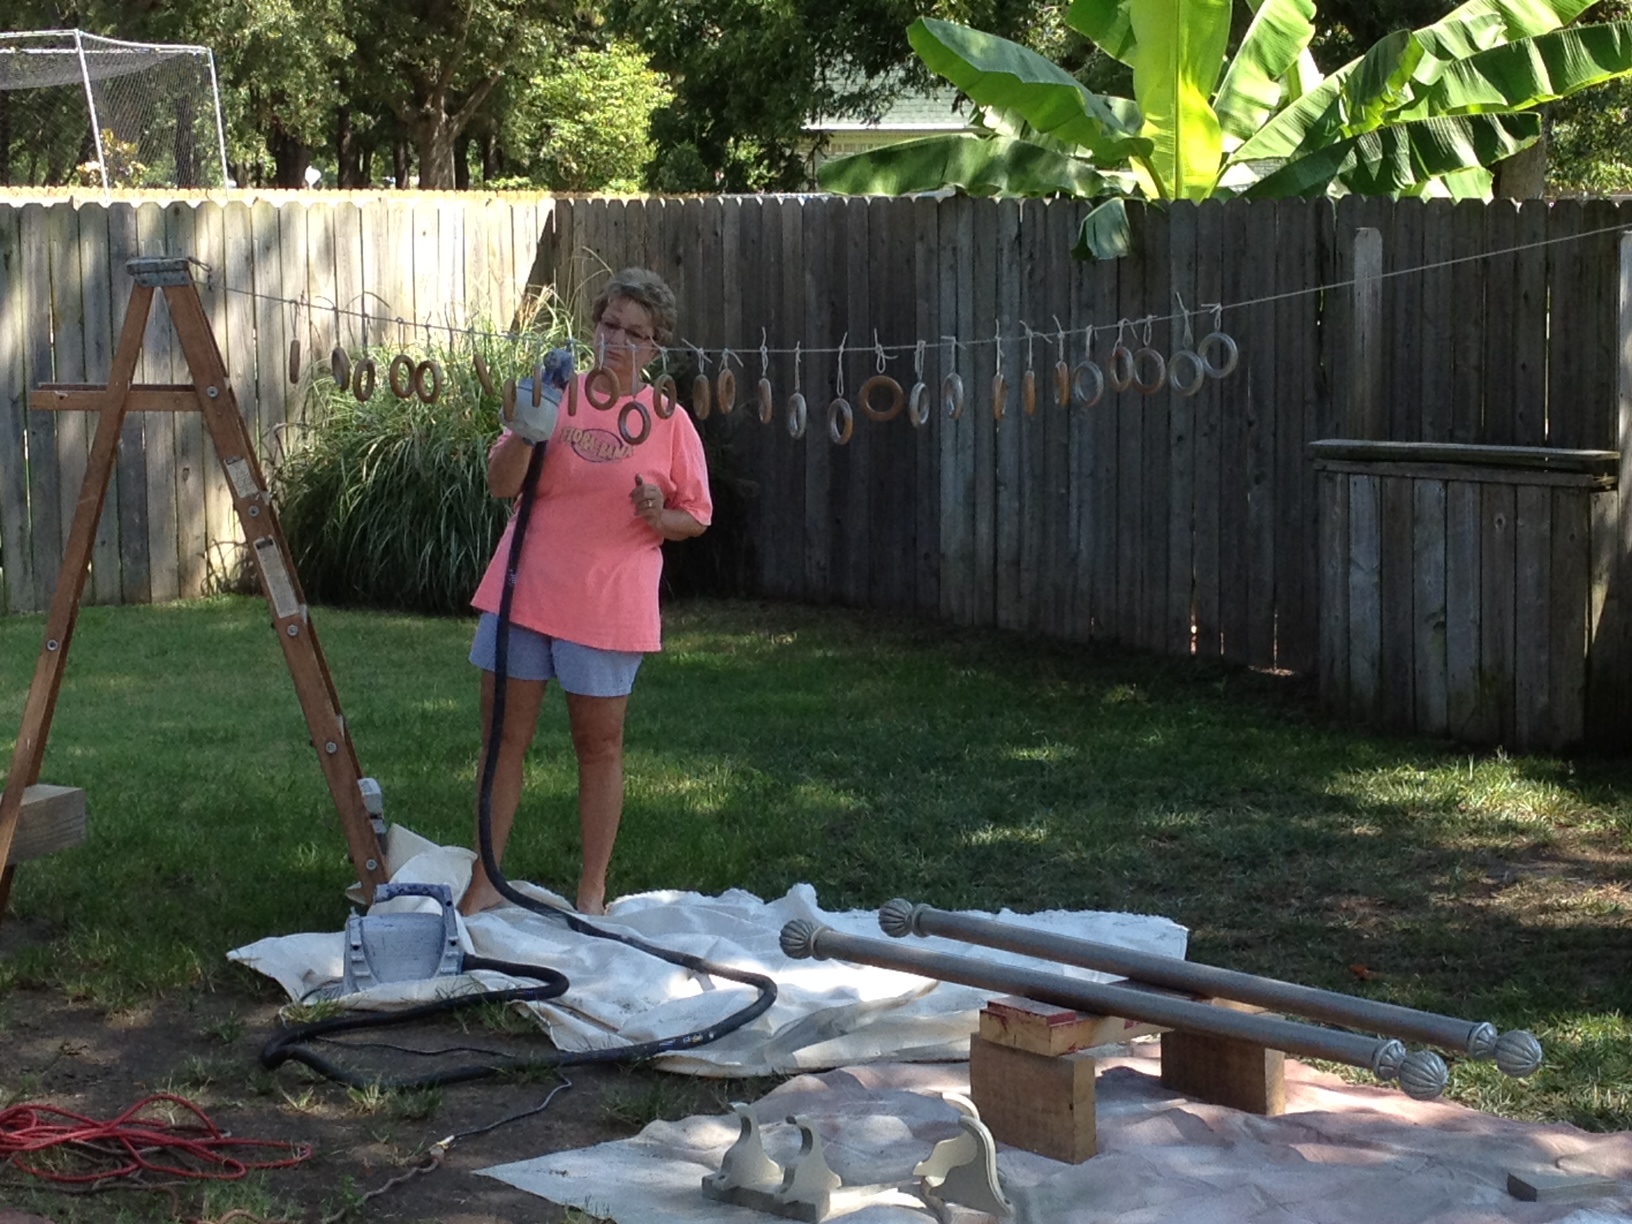
While I was super-stoked to have the hardware, they weren't the right color for what I was thinking in the nursery.  So Mom and I took them down and spent one Saturday morning spray painting them.  But, before I made it to her house to paint, I stopped by the new house to see the other work going on in the nursery.

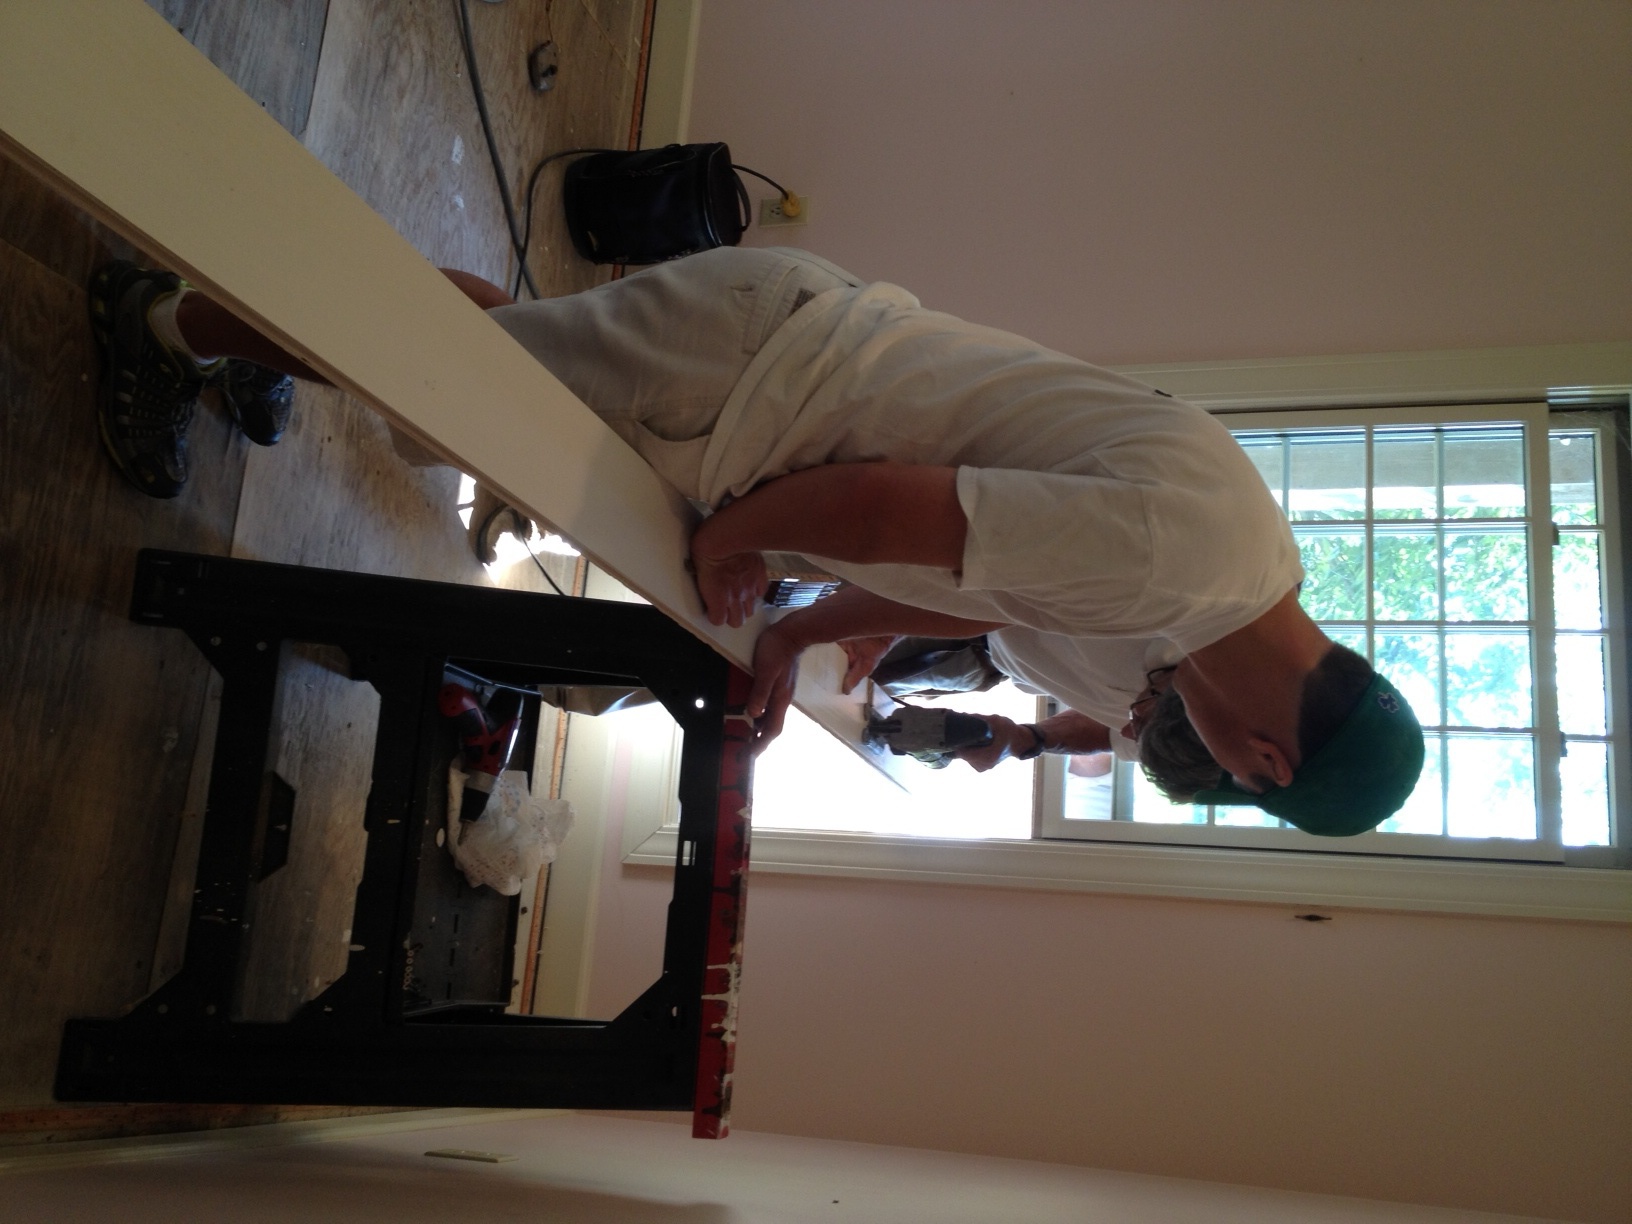
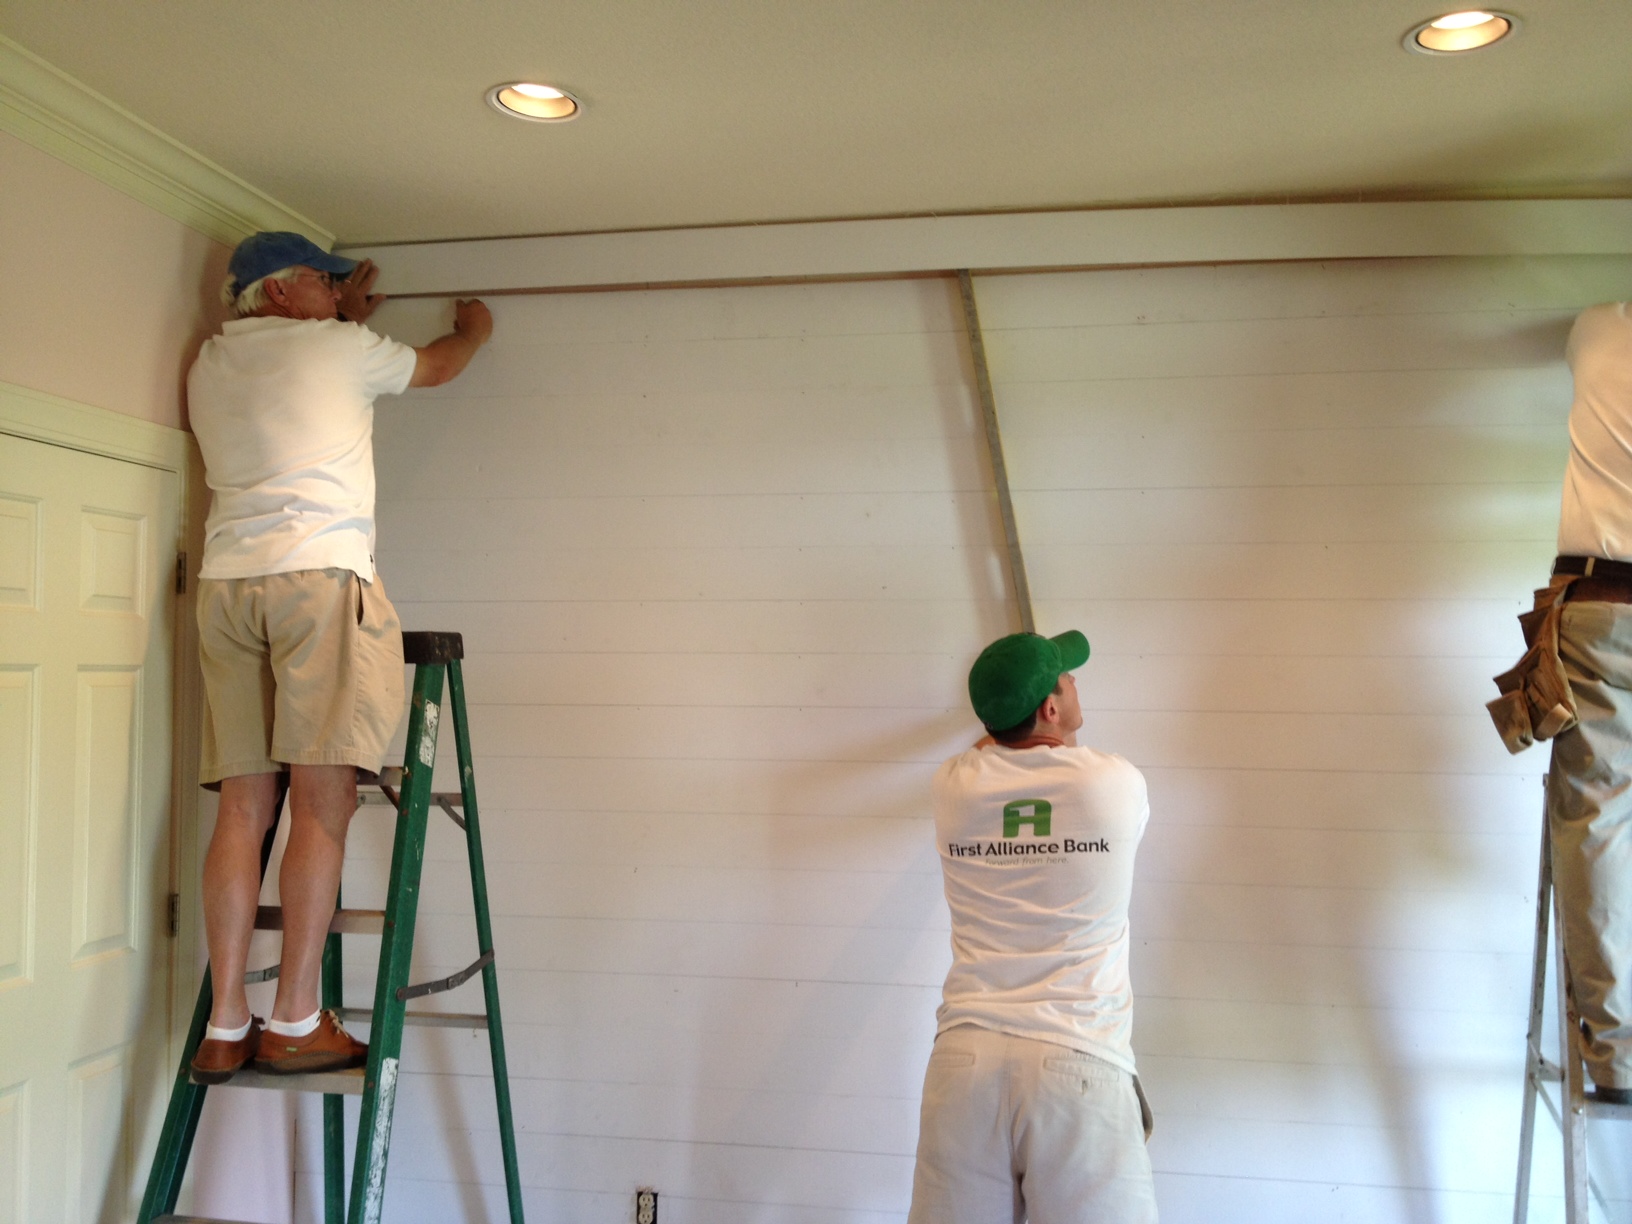
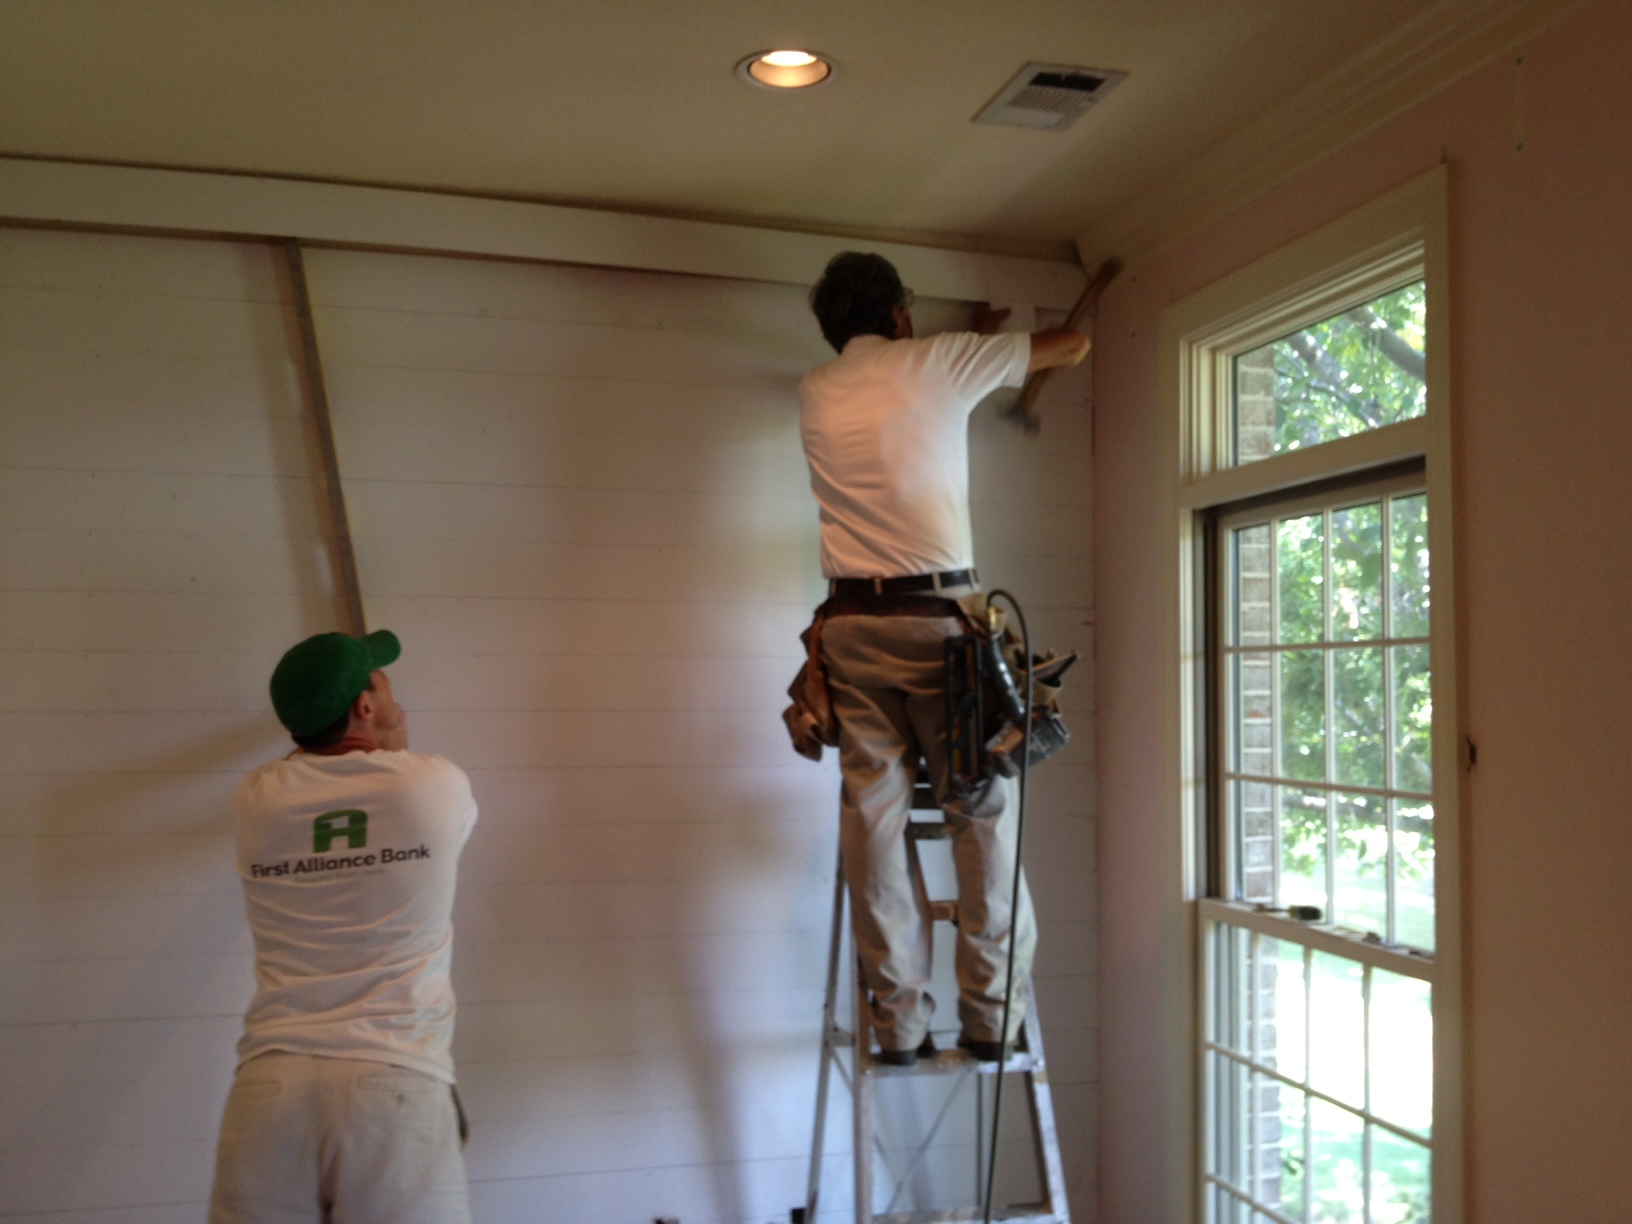
I had decided I wanted a wooden plank wall in the nursery and somehow managed to sweet talk my husband and Dad into making it happen for me!  They hired a friend of my Dad's to "lead" the project while they were his little helpers.  By the time I rolled in that morning, they had already popped off the baseboards and crown molding and had the first two boards up on the wall.

I found my dad hanging out on the front porch.  They were having to feed to wood through the window as they needed it because it was too tight in the room to bring it all in at once.  I think he got the easy job while Doc assisted with all the measuring and cutting.

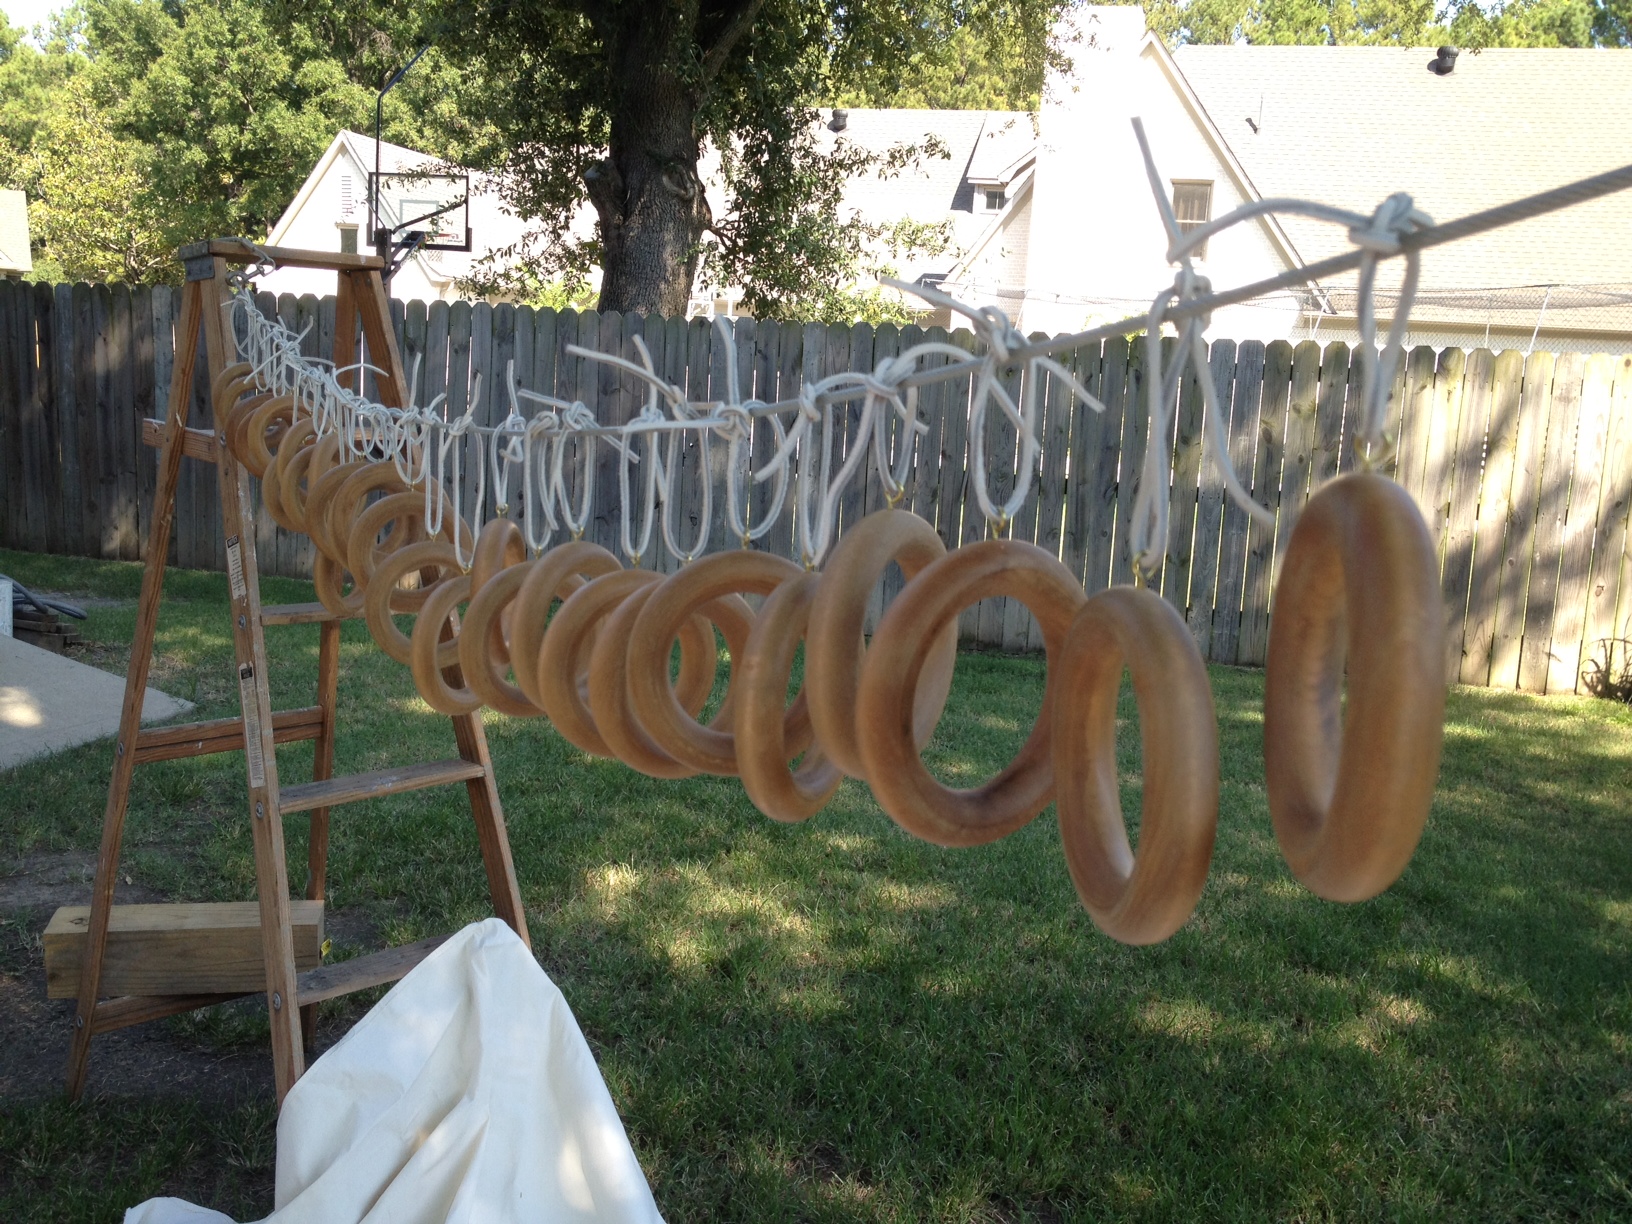
I was zero help to them so I loaded up the curtain rods and headed to my parents' house to get to painting.  Mom and I had to do a little brainstorming but with the help of a ladder, tree, and rope, we were able to rig up a system where we could paint all the curtain rings at one time without having to flip them over.

Don't they kinda look like donuts?  Made me pretty hungry!  (Actually, everything makes me hungry these days...)

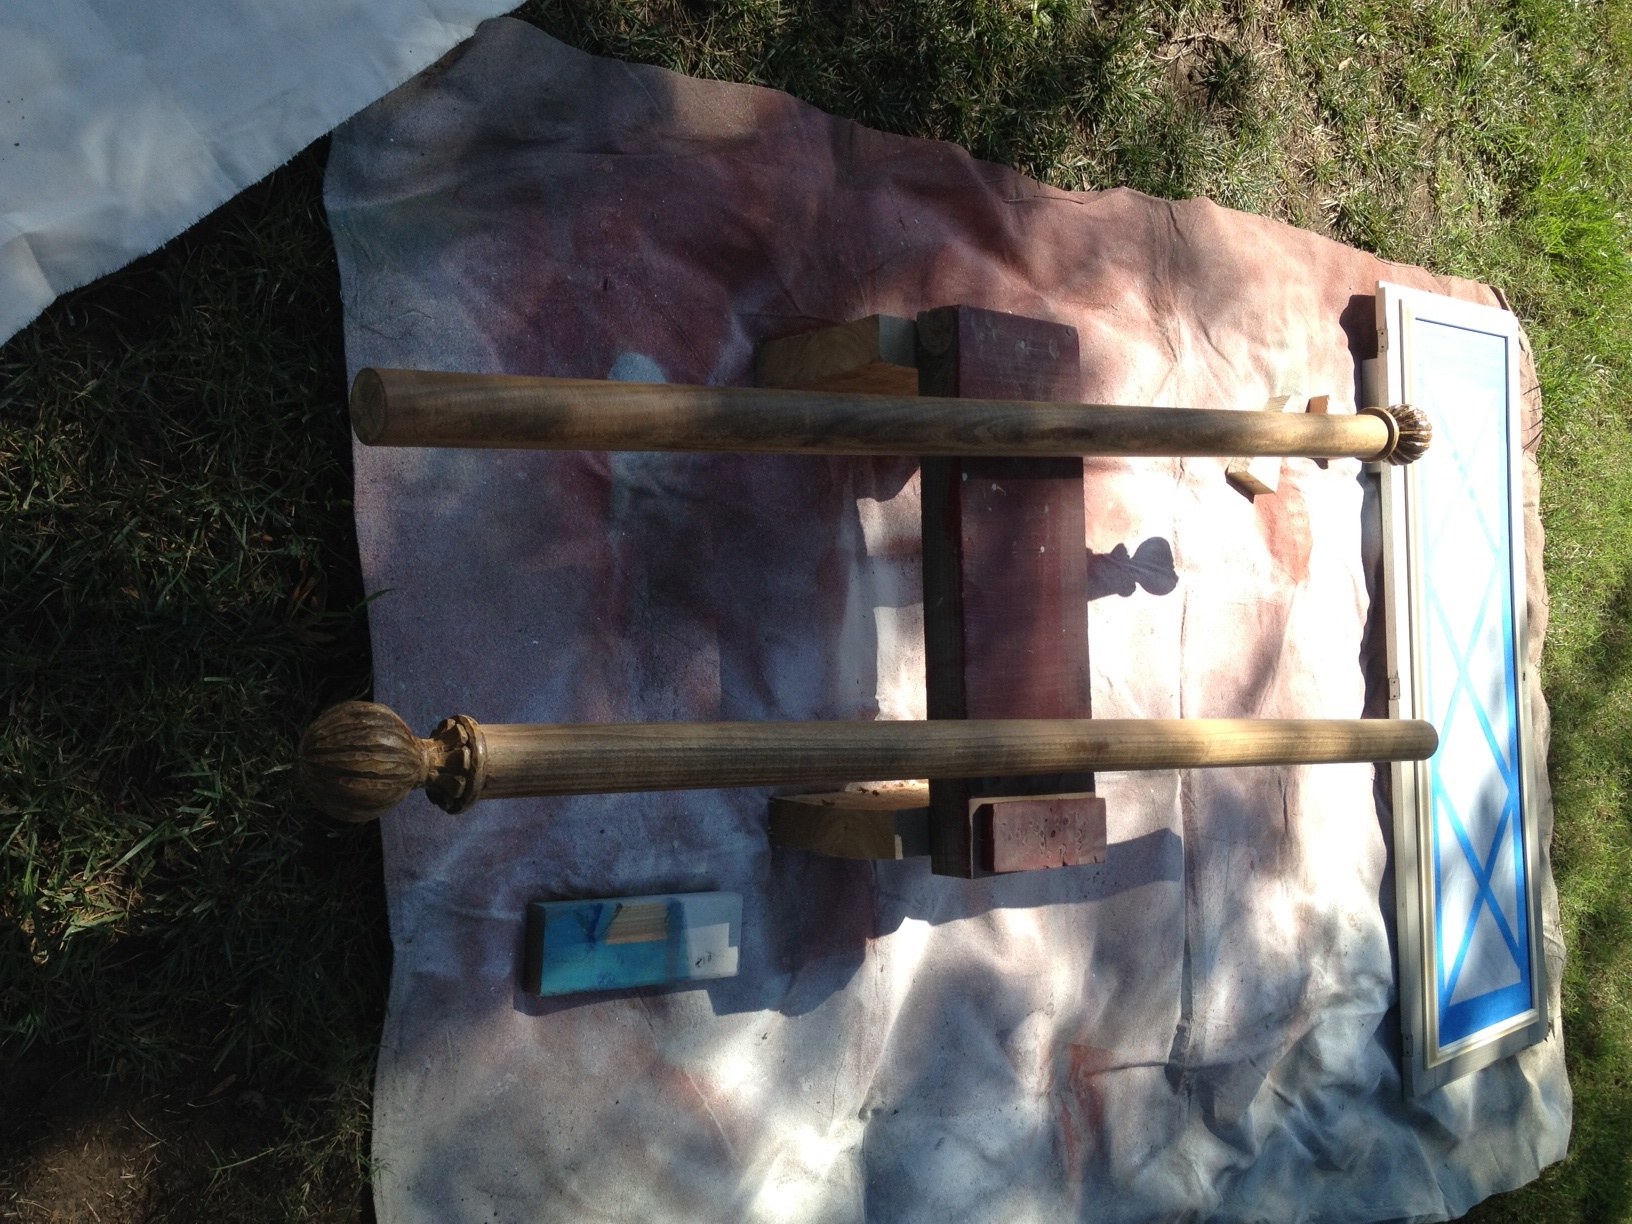
We just laid the curtain rods out on the ground to paint.

I keep saying "we" but really it's my mom who did all the hardwork.  I, of course, picked a metallic paint that is not VOC-free, so I had to keep my distance.  I have a feeling she's probably ready for this pregnancy to be over so she doesn't have to do my work for me anymore!

While our line of donuts curtain rings sat out to dry, we picked up some pizza and beer and went back to the new house to check on the boys and the progress of the plank wall.  We arrived just as they were popping in the last of the plank boards!

They insisted on re-attaching the baseboards and crown molding before breaking for lunch.  I was impressed with how quickly they were able to get the whole wall done!  I have a feeling if Dad and Doc had been tackling it themselves, I may have been serving them dinner there too...

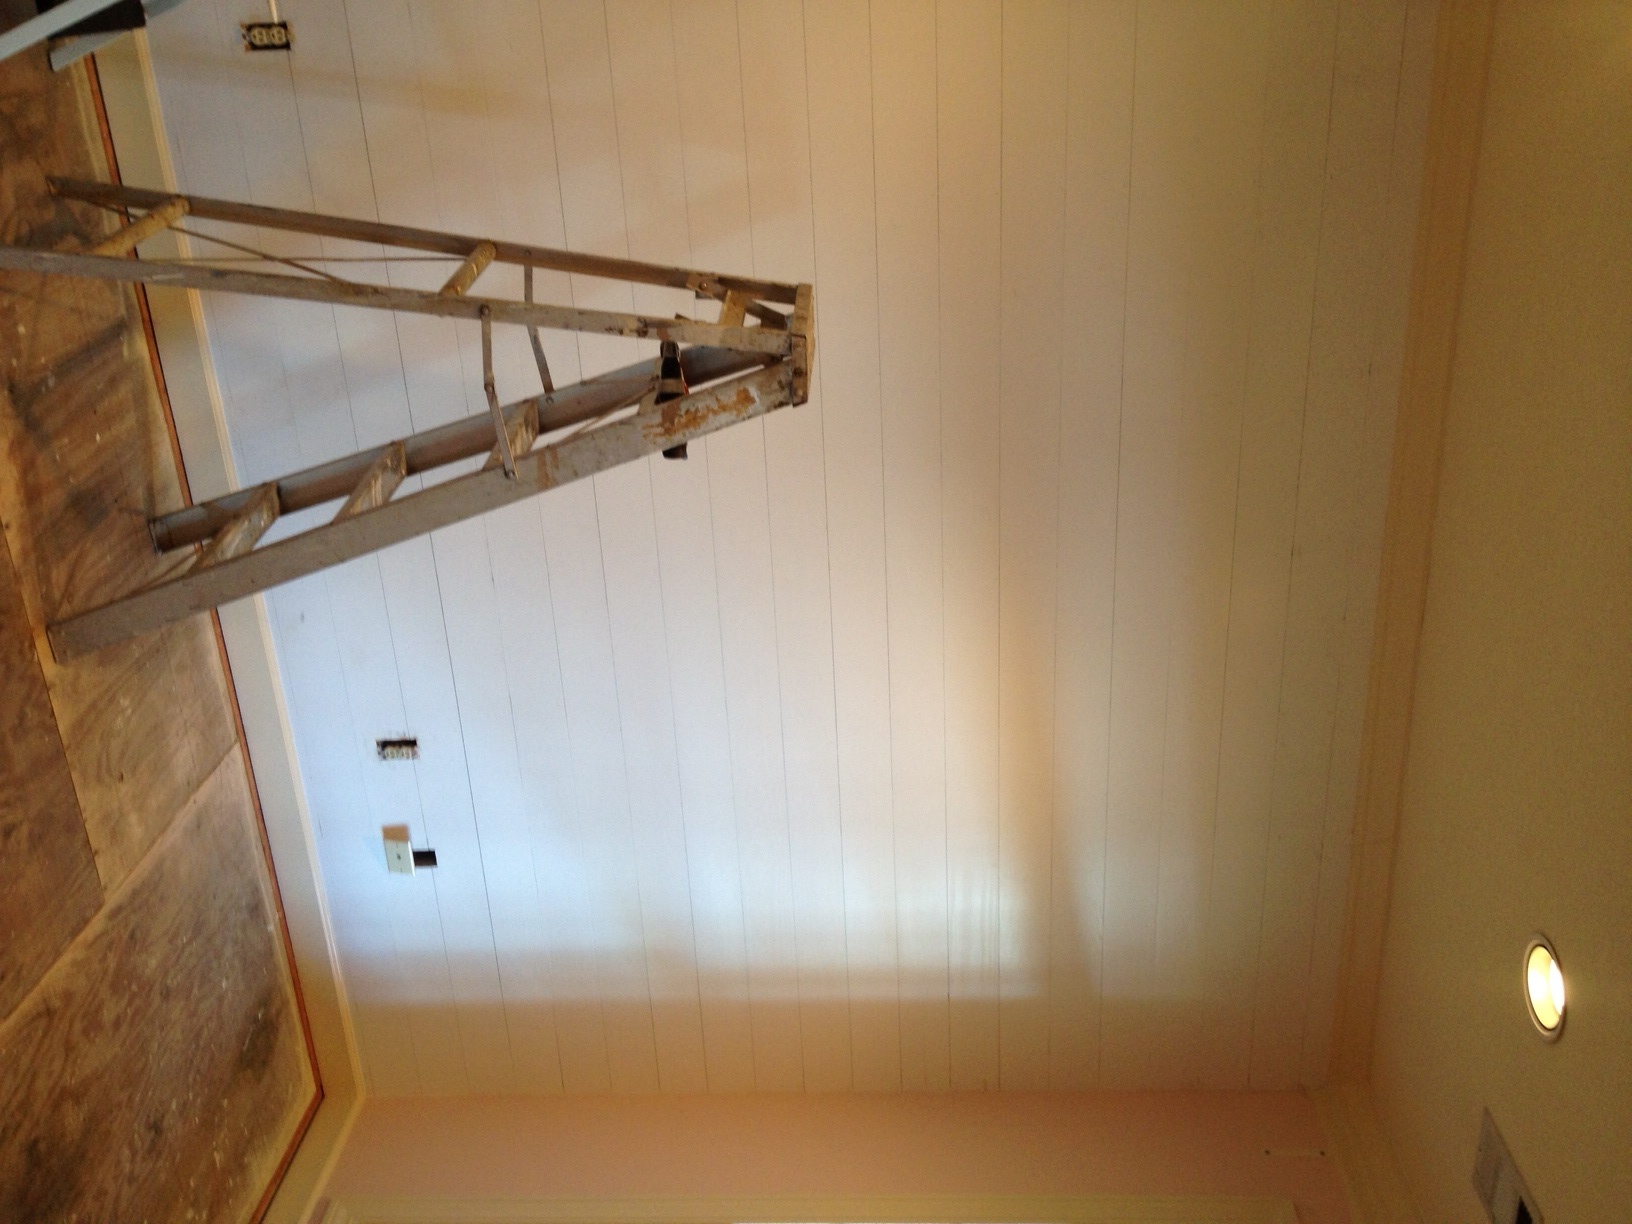
Here is the finished construction.  In this picture, the crown molding is still a cream color but it has since been painted white to match (the walls have been painted too).  It looks so good now that it's all cleaned up - I'm eager to show it to you soon!

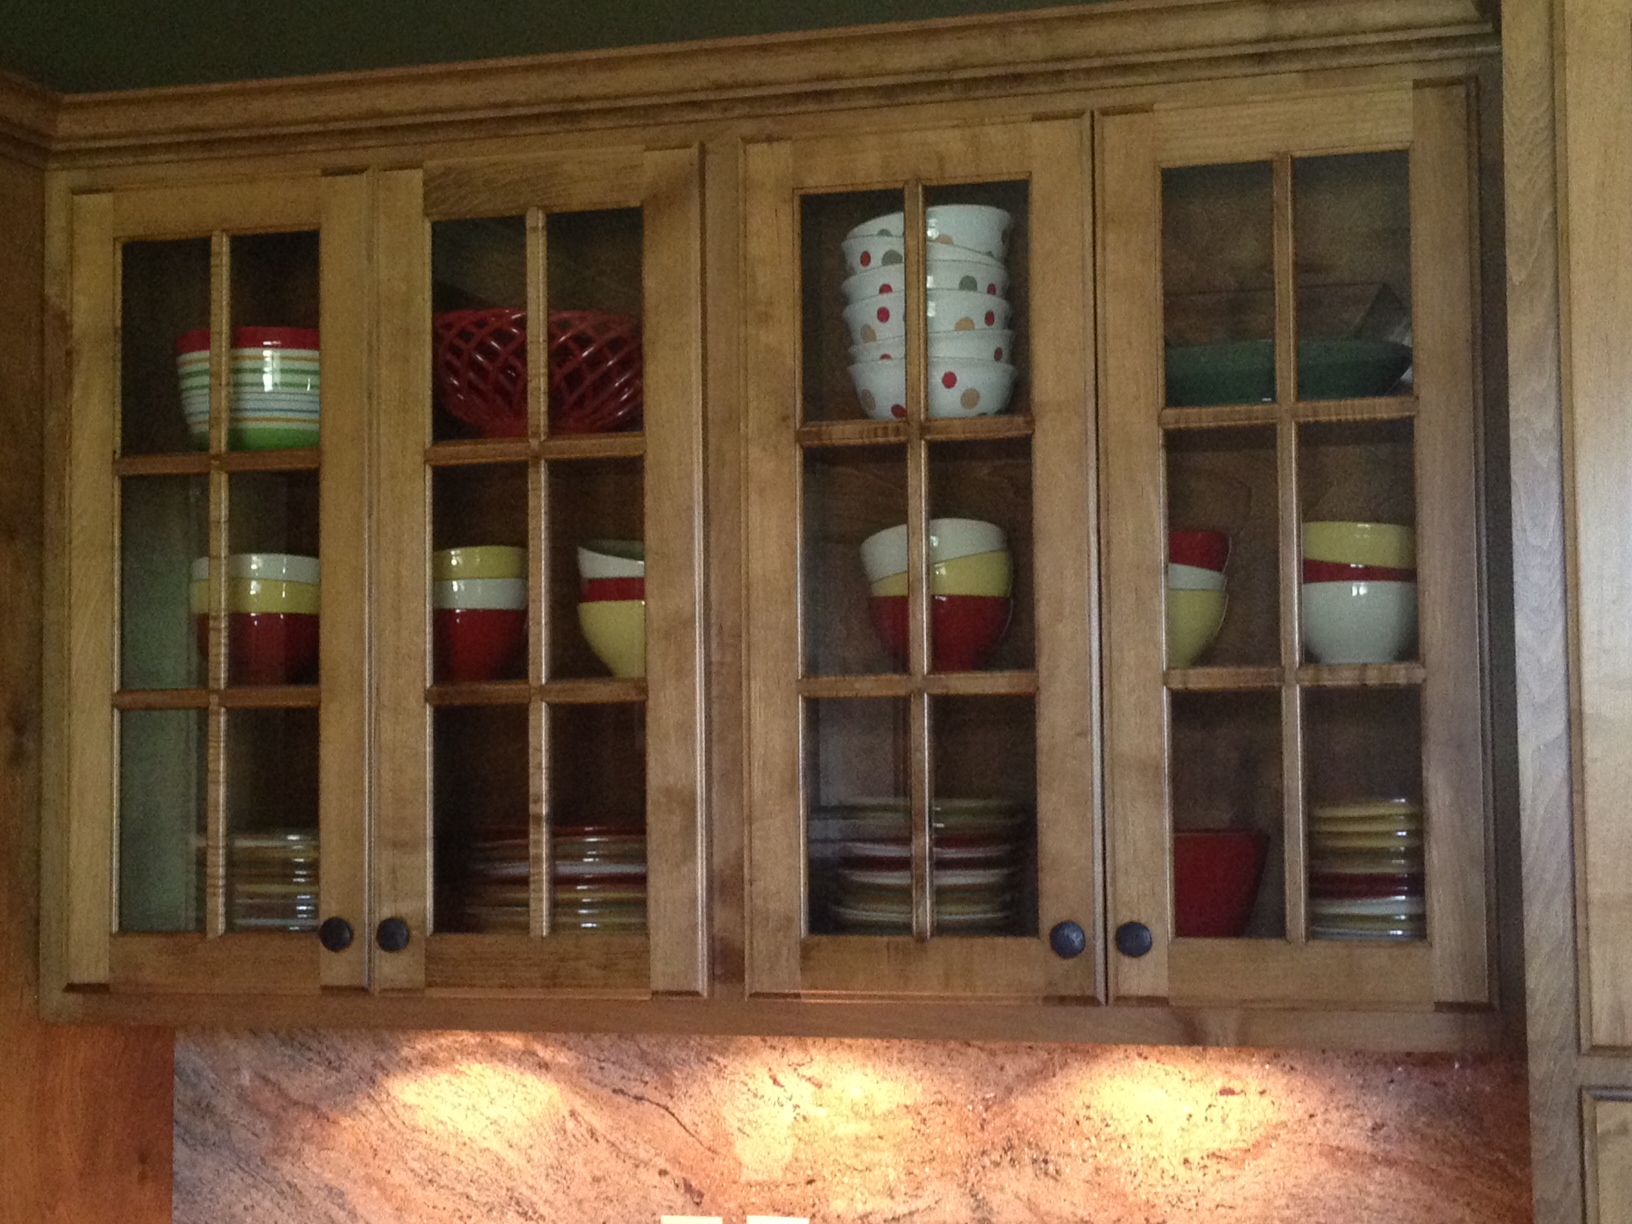
I took off work one day the following week so that I could do some packing.  We had a limited number of boxes to use so my mom and I packed them up, took them to the new house, unloaded them, and took them back to  load them up again.  It was a long day of back and forth trips but we were able to get a lot done.  Of course, as we unpacked them, we just sat everything down in our new office.  As of right now, everything's still sitting on the floor in there!  As I unpacked the box of our everyday dishes, I decided to put them in this set of glass cabinets.  It may not be where they really end up staying, but I was just glad to have one thing put away!

Later that night as I finally sat down to rest, I decided I needed some ice cream.  That's when I realized I'd already packed up and moved the bowls to the new house.  I did not let that become a problem...I ate straight from the container.  I eventually made Doc take it away from me because I'm pretty sure I would've sat there and eaten it all.

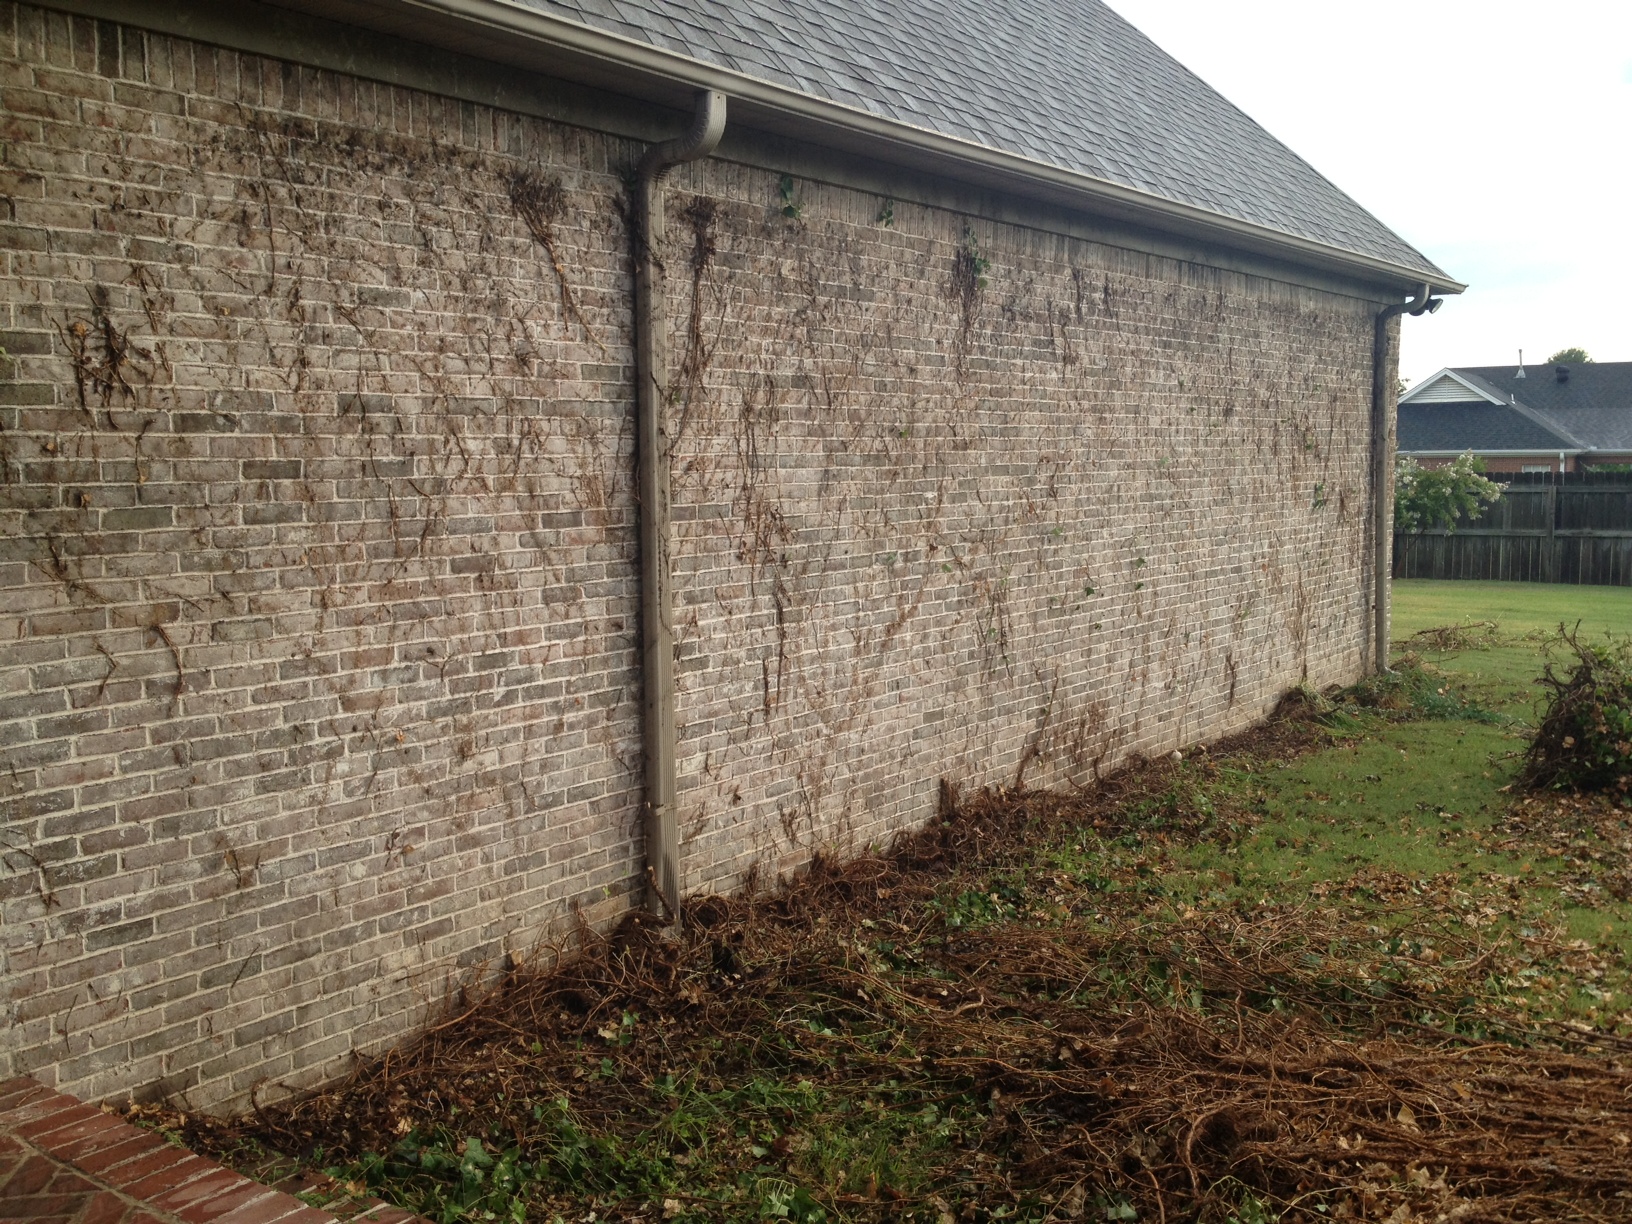
At the new house, there was a whole wall (the back of the garage) covered in vine.  There's no telling how many years it'd been growing up it.  Our inspector recommended tearing it down before it damaged the brick, so one day - I don't remember which one - Doc pulled it all down.  Obviously, the wall still needs some scrubbing and pressure-washing.

He said it would've all come down in one piece, but he cut it into 4 smaller sections to make it more manageable.  Luckily, the only critters he found in the wall-o-vines were a couple of lizards and some empty birds nests.  Oh, and about 20 baseballs.  (These rolls of vines have been out by the curb for a few days.  I really hope the trashmen took them away today!)

After a week of construction (plank wall), tearing down the vines, pulling up carpet, getting the walls painted, getting new carpet installed, and having a refrigerator, washer, and dryer delivered, last Friday was finally moving day!  Since I can't lift anything, I decided to go ahead and go into work and leave Doc and the movers to it.  When I stopped by the old house after work, I had to choke back tears.  It was so empty!

We still have several odds and ends to wrap up at the old house, mostly things like spackling and repainting holes, having it cleaned, and getting the carpets shampooed.  We heard this weekend we may have some interested renters, so fingers crossed that goes through.  That would be a huge blessing to get somoeone in so quickly!!

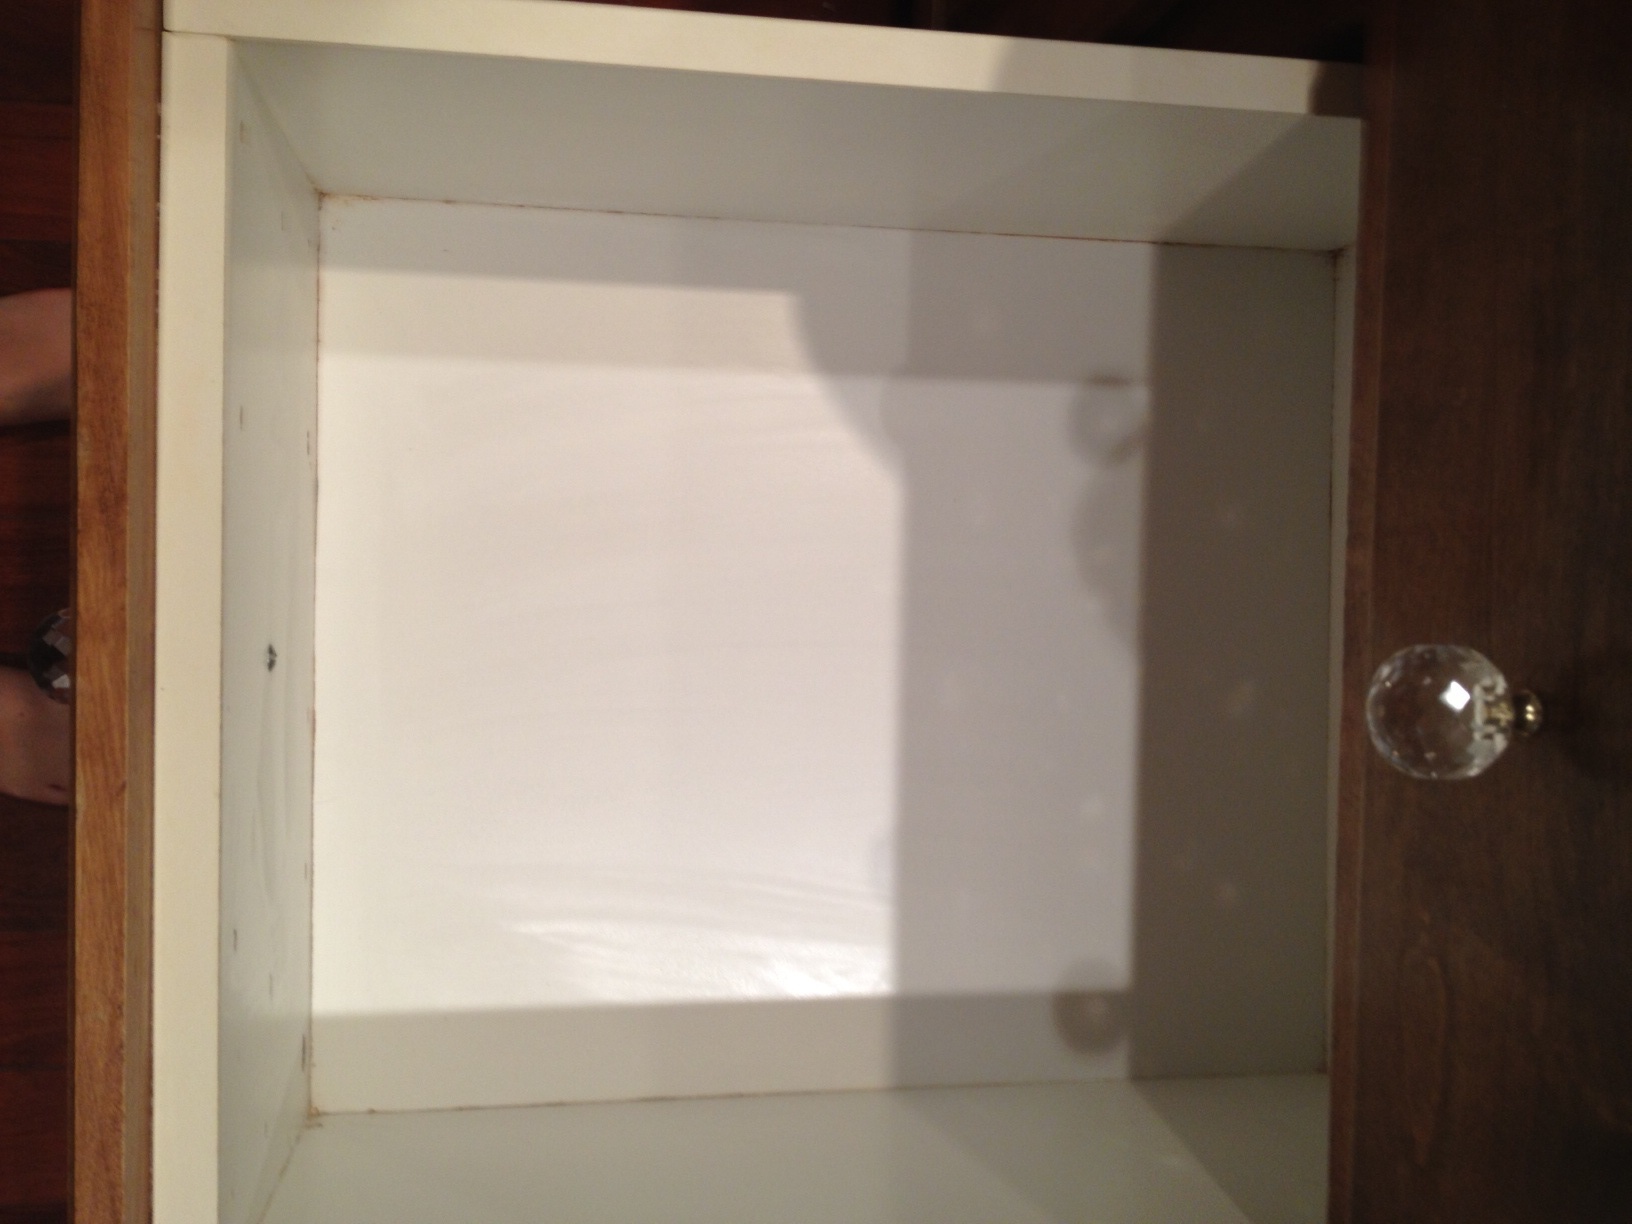
We have now slept in the new house 3 nights.  If you were to stop by, you'd think the movers just dropped our stuff off today.  Even though I know I worked hard all weekend, it looks like I've done nothing at all!  I spent a lot of time this weekend working on things that will be seen by noone but me and Doc.  For example, I scrubbed out every cabinet and drawer in the bathrooms and laundry room (my mom helped me do the kitchen ones the week before).  Some of them were filthy! 

Here's a before and after of one of the drawers...the pictures really don't do it justice.


Even after all that scrubbing, I still ended up putting contact paper down in several of them.  I was not willing to unpack any boxes until I could put the contents away in clean cabinets and drawers.

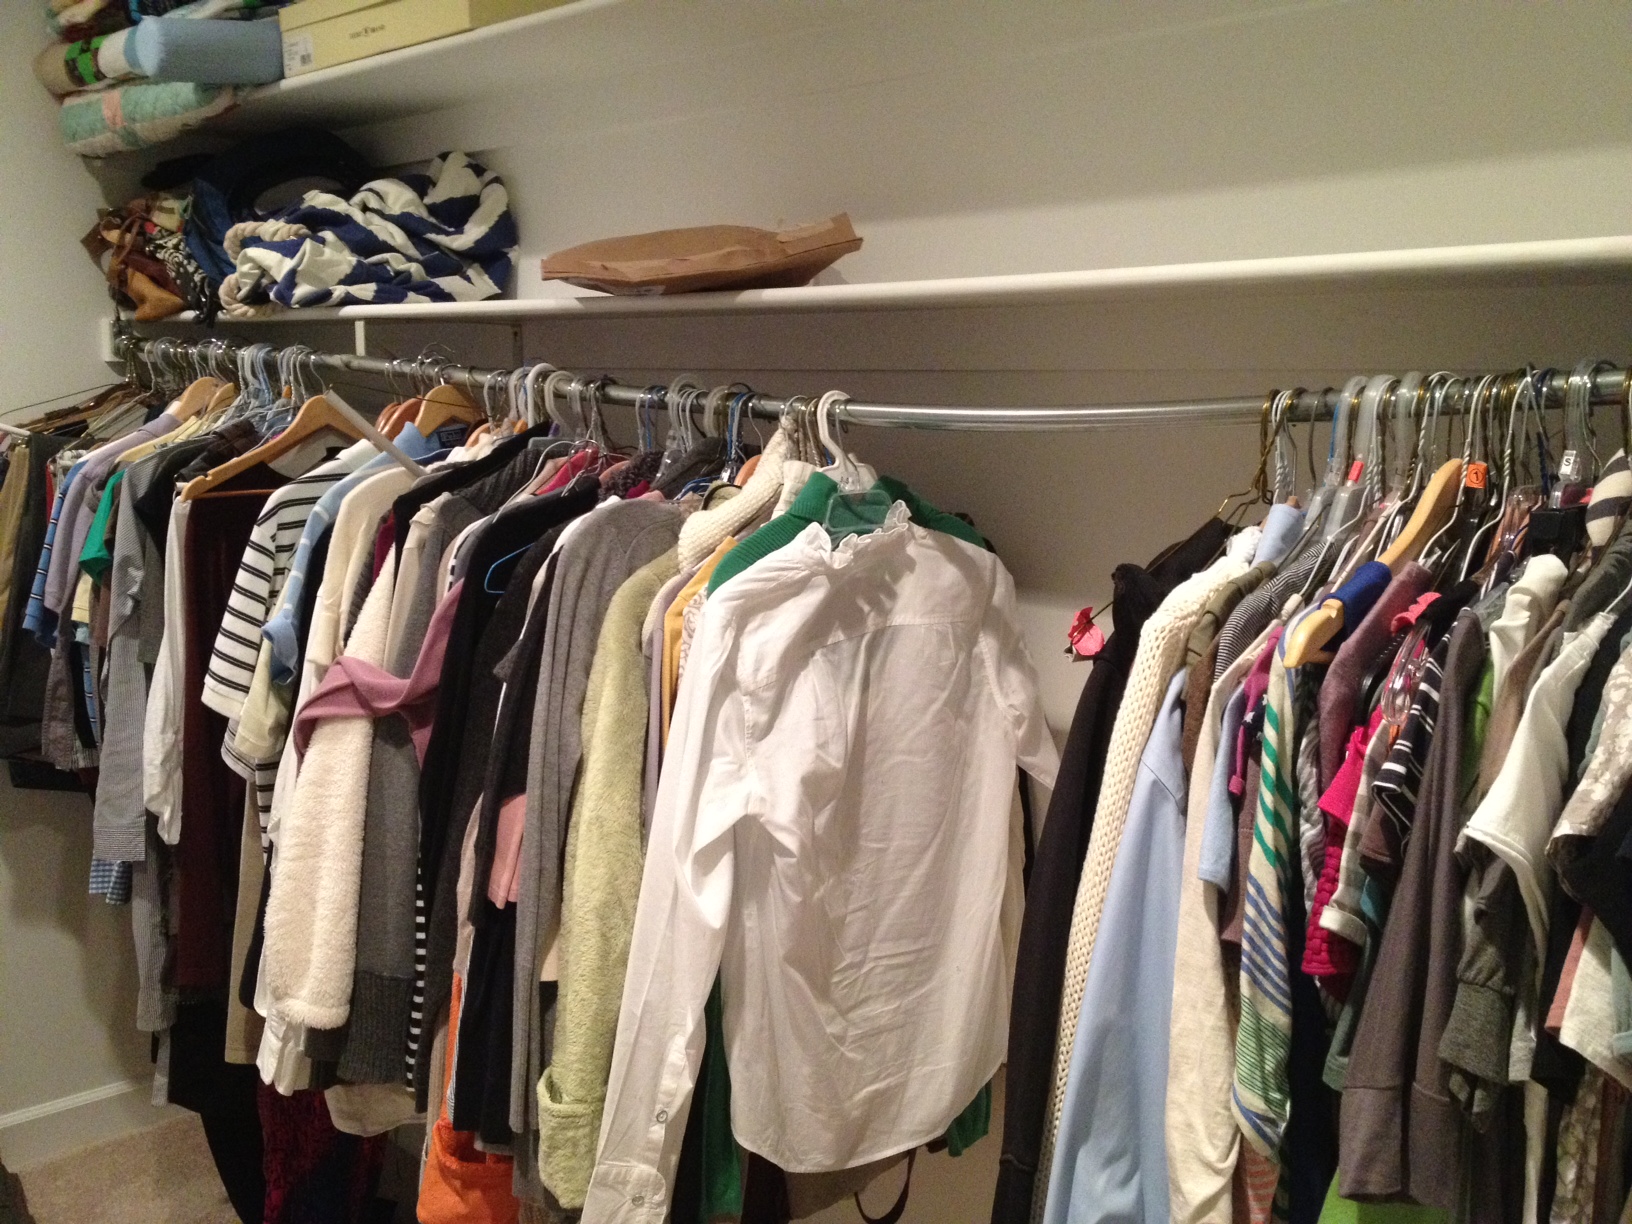
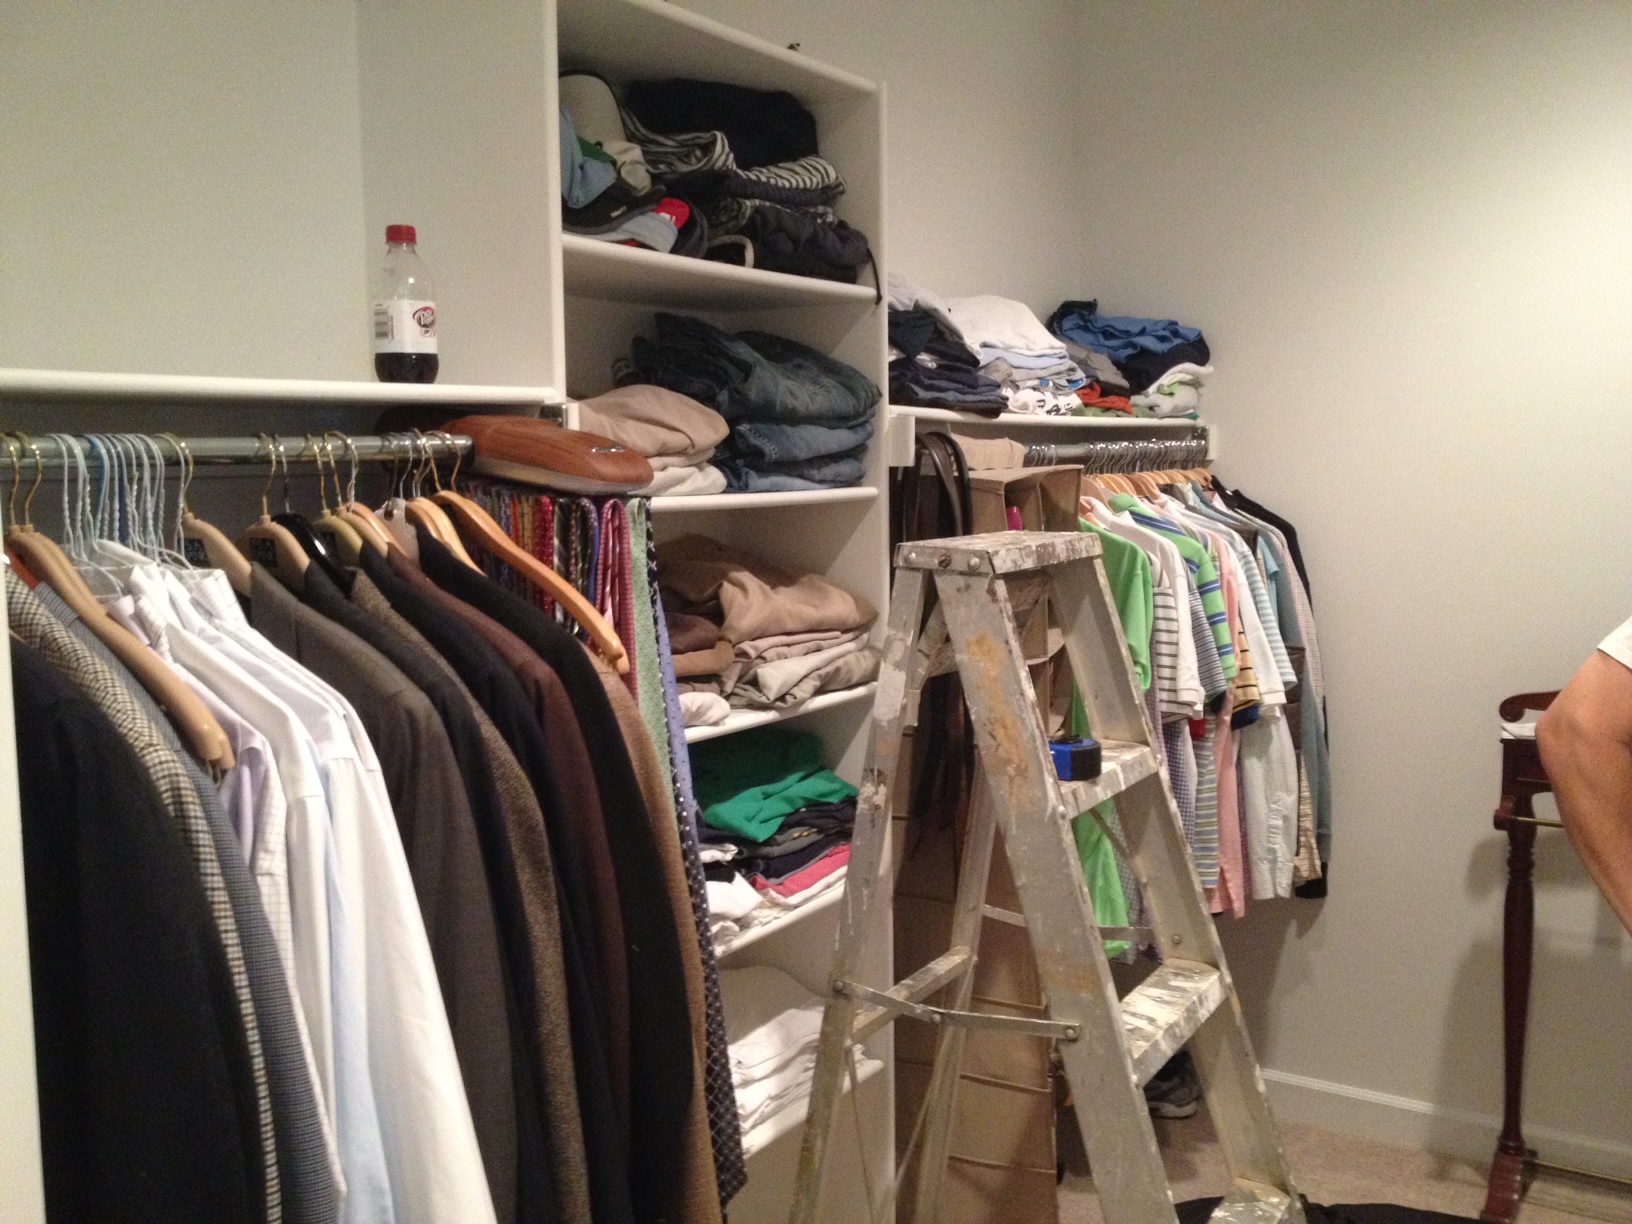
Yesterday (Sunday) we finally brought all of our hanging clothes to the new house (we didn't put them on the moving truck).  It did not take long at all to realize that, even with a bigger master closet, there was not enough room for all of them!  And see how the rod is about to buckle in the picture below?

And that's after we'd taken some clothes off!  So, around 5:00 last night we decided we needed to figure out a way to rework the closet to make it hold more.  We decided that on this side of the closet, we could raise the two hanging bars up and add two lower bars underneath them for additional hanging space.

Off to Home Depot we went to get all of our supplies.  Demo starts tonight!  Did I mention that this closet is freshly painted with brand new carpet?  And the nursery is still without furniture?  Yes, we are certifiably crazy.  But hopefully by the end of the week, all of our clothes will fit in the closet, instead being strewn all over the house like they are right now.  Wish us luck!

Hopefully, that gets you caught up to where we are now.  Questions? Comments? Concerns?  Let's hear 'em. :)

Flowerbed Makeover: Phase Three

Get caught up by reading Phase One: Planning and Preparing and then Phase Two: Building and Installing! This is the last phase in this little two-weekend project adventure.  We'll call this one Phase Three: Adding Plants.  It was probably the easiest one overall since planting plants is something we already knew how to do.  Of course, we did it around noon on Father's Day after taking my dad out for brunch.  The sun was bright and hot, our bellies were full, and it was hard to stay awake long enough to knock it out.

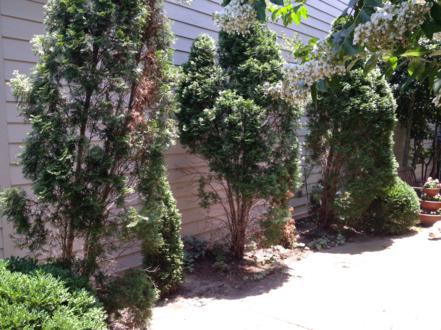
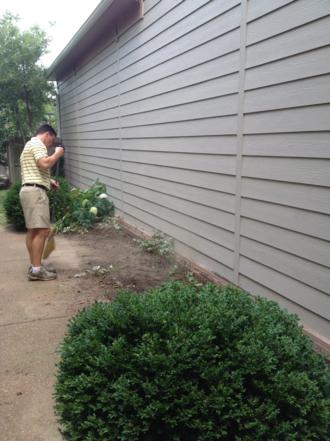
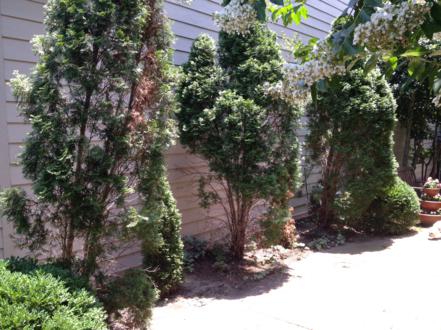
Lucky for you all, I don't have any in-progress shots so we can go ahead and skip to the after!  Well, almost.  Let's review what we started with first...a flower bed of five arborvitaes, three of which were tall (but kinda bare), one small healthy one, and one that was dead-as-a-doornail.

First, we removed the trees.

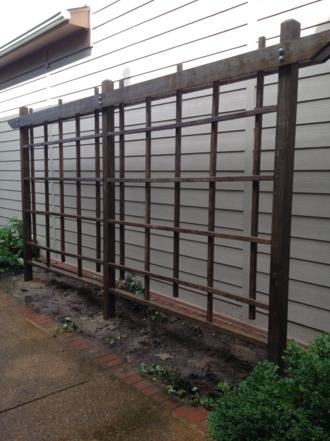
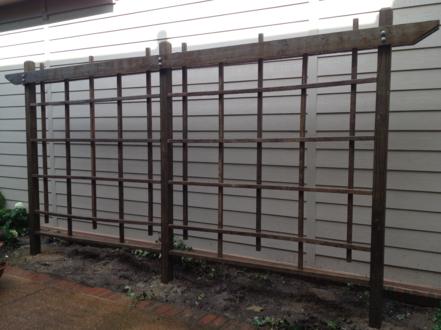
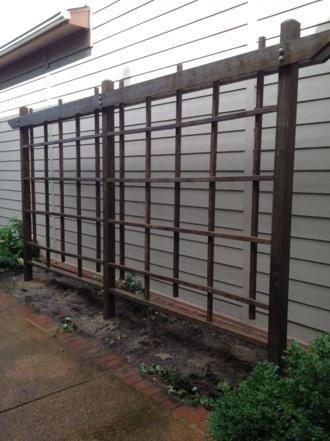
Then we installed a homemade trellis.

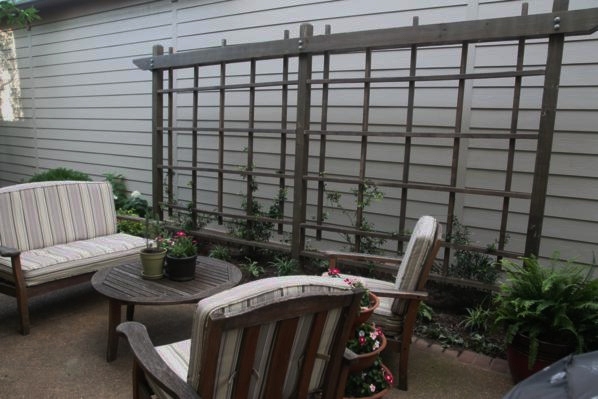
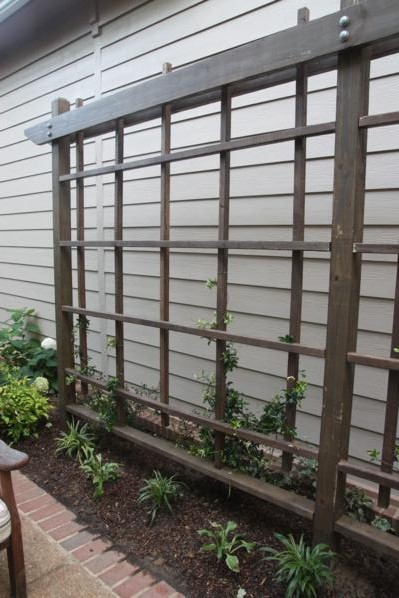
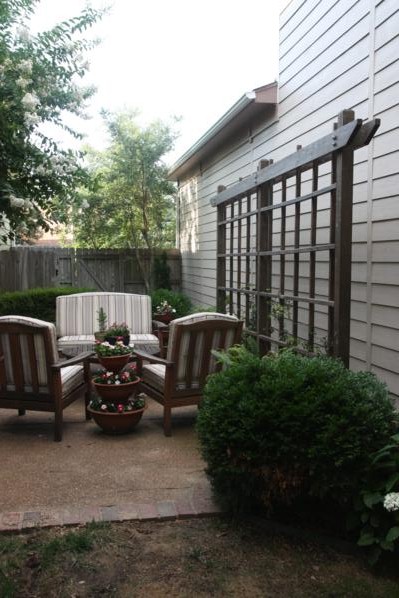
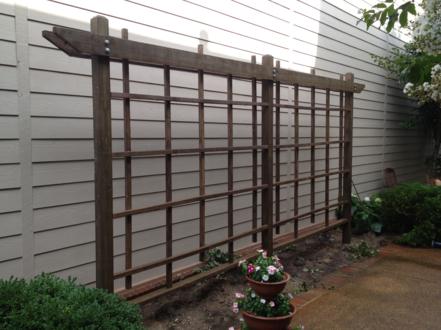
And now, finally, here it is fully dressed with plants and the furniture back on the patio!

Before we get up close and personal with the plants around the trellis, let's pan over to the other side of the patio to the other flowerbed.

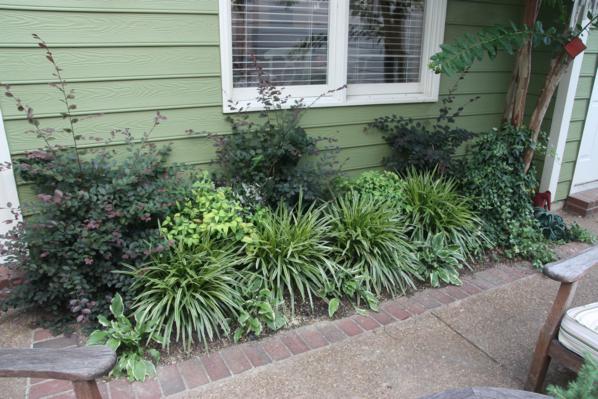
This flowerbed is one we planted right when Doc moved in 5 years ago, and we like the way it's filled in.  I'm not sure what the dark purple-ish leggy plants in the back are, but between them are two nandinas.  There's a row of verigated monkey grass in front of them and at the very front are a few hostas.  (If you look closely, you can see that the hostas have been eaten up by slugs/snails.  We're working on fixing that...)
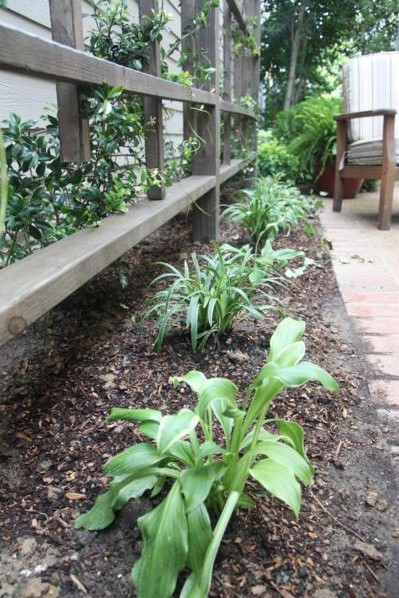
So, the point of all that is that we wanted the new flowerbed on the opposite of the patio to match what we already had on the courtyard.  That means that monkey grass and hostas got planted up front.

I hope they grow quickly and catch up with the size of the ones across the patio!

Obviously the point of the trellis was to have something vines could grow up, so we also planted 4 Pink Star Jasmines.  We're told they're fast climbers and we're counting on that.

Right now we have the branches twist-tyed to the trellis so they know which way to go.  Hopefully that works!

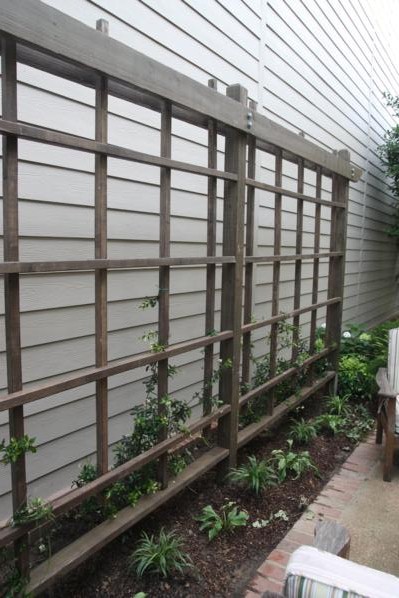
We also picked up two more nandinas to add on each side of the trellis.  We still have a small space back behind them where we could add something else, but for now we're going to wait and see how it all goes.

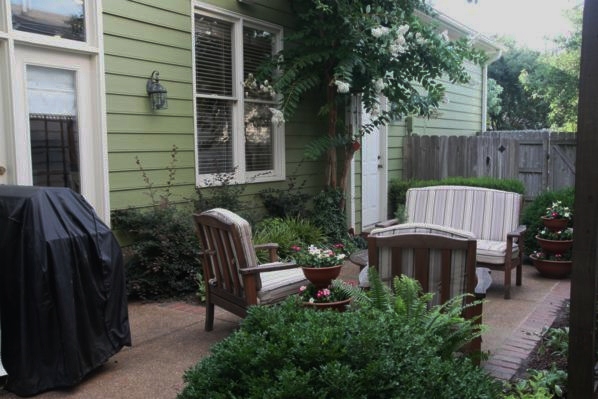
More pics of the finished project.

While we're finished with this project, this was by no means a complete Patio Makeover.  There's still more we could do, like add bricks around the perimetere of this same flowerbed so we can properly mulch it without it all washing out onto the patio.  Our furniture could also use a major face lift.  But let's not focus on those things!  For now, we're enjoying our new trellis and how it has changed the look and feel of our courtyard.  We've already had several meals outside...feel free to come over and join us sometime!

Flowerbed Makeover: Phase Two

If you're just joining us, Phase One: Planning and Preparing can be found here.  Today we're tackling Phase Two: Building and Installing. After all of our boards had been cut and stained, we loaded them back up into our Audi A4 pickup truck and brought them to our house.  We planned to assemble the trellis right beside where it would eventually go so there would be little to no heavy lifting and transporting.

But before we could lay out the boards and start putting them together, we had to get rid of these trees.

My strong husband managed to pull them all out by himself, leaving them in tact and with big root balls attached.  The dead one obviously got pitched and we plan on replanting the healthy baby one.  The three tall adult trees were picked up by a friend of his and headed to a new home.  Yay for recycling trees!

With the trees gone, it felt really weird in our courtyard.  It was so open and so bare.  Kinda blah.

I had thought through the assembly process several times in my head and decided it would be much, much easier if I measured and marked every board before we assembled anything.  So I got to work.  I wasn't going to be much help in the whole process but this part I could actually do.

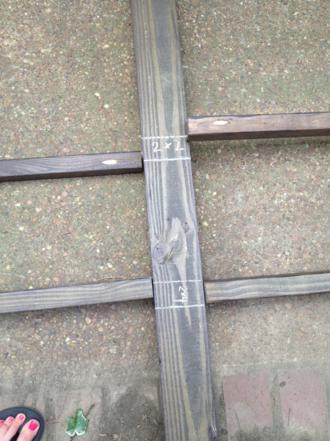
I started with the three 4x4 fence posts and, using chalk, marked where each of the cross boards would attach to them.  The boards are spaced out in this pic but I made the measurements with them all bumped up to each other so they'd be consistant on each post.

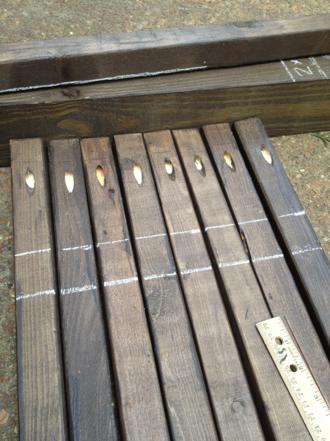
With the posts done, I gathered all 8 of my horizontal 2x2 boards (easy to spot because they all had pocket holes in the ends) and marked where all the vertical 2x2 boards would attach to them.
When it's 90+ degrees outside and you're 6 months pregnant trying to move as little as possible, you know what makes it all even better?  When your hot, furry puppy dog insists on sitting in your lap while you measure.

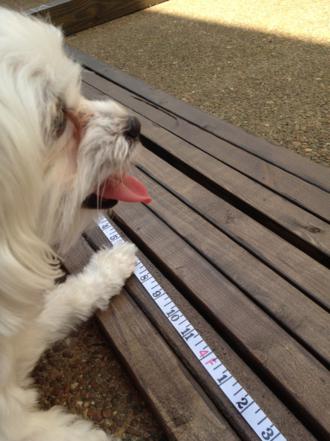
Luckily for her, she's cute.  I did put her to work holding my measuring tape, though.

"Like this, Mom?  Am I doing it right, Mom?"

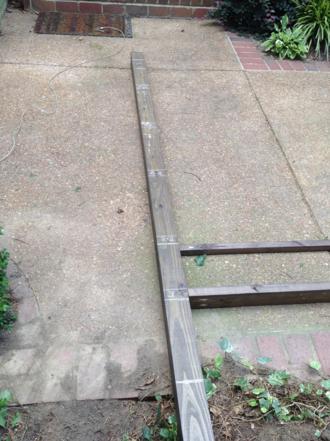
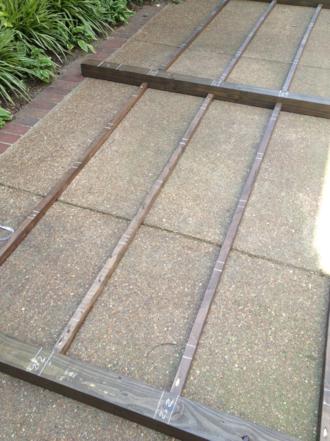
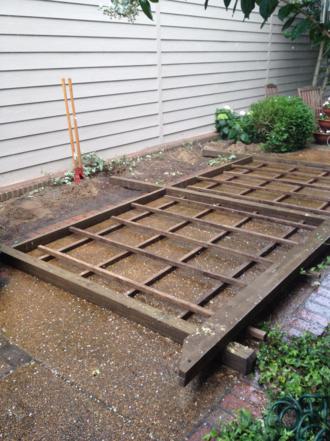
With all the measurements marked, I was able to start laying it all out on the patio.

It was super easy to line everything up since I had drawn both the top and bottom of each board's placement and just had to center the boards between the two. (Obviously in the pic below the boards aren't perfectly lined up yet.)

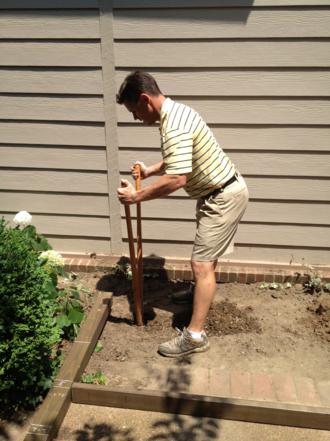
And with it all spread out and centered on the patio, Doc was able to begin digging the post holes for the three fence posts.

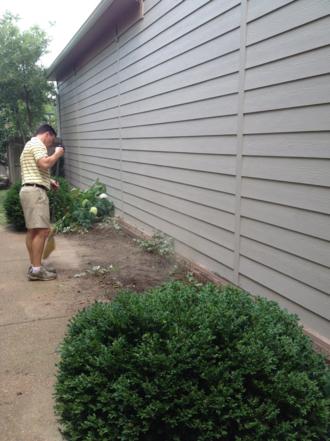
He doesn't always do yardwork and projects in khaki shorts with a polo tucked in, but he had just come from the golf course. ;)

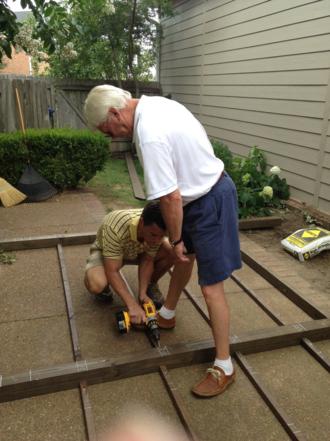
Around this time we called my dad to come over for help.  We had told him to be on standby that afternoon since we knew we'd need help lifting the whole structure into place when the time came, and technically Doc and I could've screwed all the boards together ourselves but we left the drill bit we needed at Dad's house so we told him to come on over and bring the bit with him.

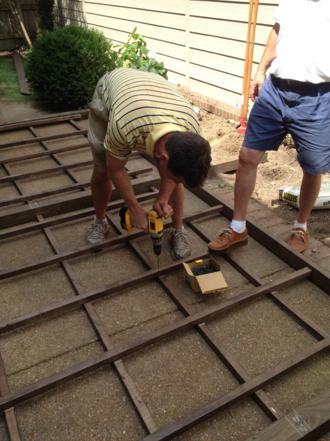
I obvioulsy didn't mind him coming early since it meant I got to sit and watch while the two of them screwed the whole trellis together.

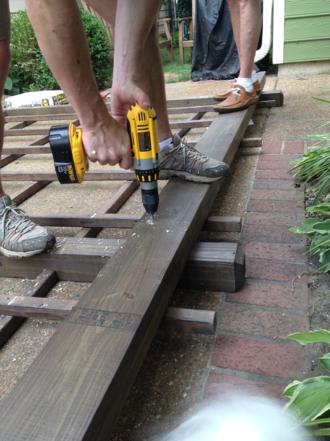
Our plan all along was to assemble everything but the two top boards (the 16 foot 2x6s) before dropping it in the post holes.  Because those boards were so heavy, we were going to put them on at the end.  But we did go ahead and lay them out across the top of the structure to drill the holes where the carriage bolts would go.

Not sure if you can tell or not in this picture but both 2x6 boards are stacked together right on top of the fence posts.  This way, Doc could drill the carriage bolt holes through all three pieces at the same time so they would line up properly.

Doc drug out the 3 80lb. bags of sakrete we would be using to set the posts.  We were so close to being done!

And, just like that, the rains came.  Seriously, out of nowhere, the bottom just fell out of the sky and it was pouring down rain.  The guys lifted those heavy bags back up and took them back to the garage while I picked up all the power tools and unplugged our fan.

I guess that was God's way of telling us we should take a little break.  I am SO glad the whole trellis had already been screwed together because the rain washed off every one of my chalk lines.  Obviously I was planning on doing that with the water hose at the end anyway so I'm thankful that it did it for me, but man! what if we hadn't already put it together?  I would've been majorly bummed to have to start over with my measurements.  Small victory!

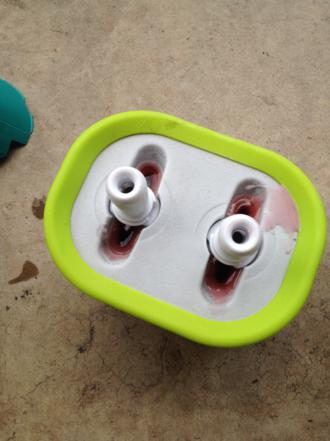
While we hung out in the garage and waited for the summer shower to pass, I decided to make a little treat for my boys.  Have you ever heard of Zoku?  If you have kids, you should really have one of these for the summers!  It makes homemade popsicles in just 7-9 minutes.

You keep the base of it in your freezer so it's always ready to go, and then just pour in whatever you want to make a popsicle out of.  The popsicles come out like a normal popsicle texture, not like the frozen blocks of koolaid ice that we made when I was little.

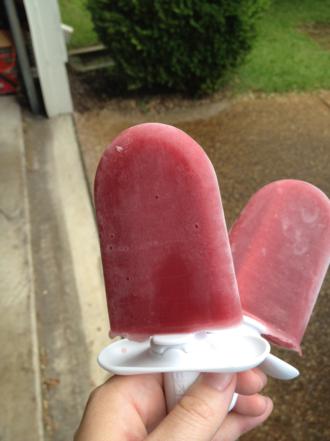
My Zoku only makes 2 popsicles at a time but I think you can get one that makes up to 4.  I used this juice box that I had in the fridge to make berry popsicles.

Just a few minutes later and voila!  Treats for my hardworking guys.

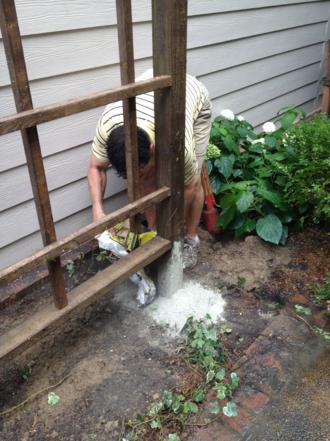
The guys went back to work when the rain simmered down to just sprinkles.  We all lifted the trellis right into the post holes (don't worry, I was mostly just a guide, I didn't have any weight) and they went to town adding the sakrete.

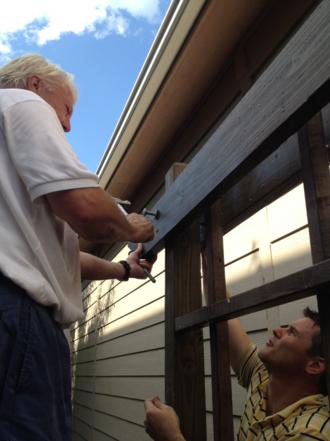
The sakrete got watered in and all that was left to do was add the two boards across the top.  Easier said than done, I'm sure.  The boards were really heavy and one of them had to hold it up while the other tapped in the carriage bolts.  You can see in the picture below that we used two 2x6s - one in the front and one in the back to sandwich the whole trellis between them.

And finally, we could stand back and admire our work.

Here's where I should tell you that if you're planning on coming over with a level to check it out, don't bother.  I can tell you myself that no, it's not level.  It has a bit of a slant to it that I don't think would be all that noticeable if the wall behind it wasn't perfectly straight siding.  We think what happened is, when the rain came, some dirt and mud fell into the far right hole.  We had them all at the same depth before the rain, but we stupidly did not remeasure their depthness after the rain.  So the right post is a smidge higher, making all the boards slant upward on that end.  Live and learn, I guess.

Crooked or not, we're really proud of our new trellis!

By this point, we all looked a little like this - wet and dirty, tired and weary.

We called it a day and headed for the showers.  I'm sure we all slept well that night!

Join me soon for phase three where we finished up the flowerbed by adding a few plants.

Thinkin' Pink!

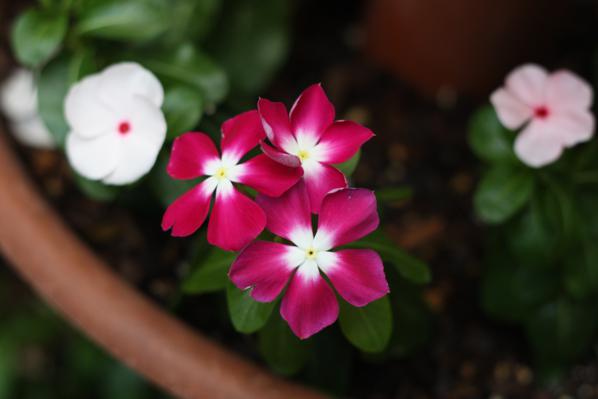
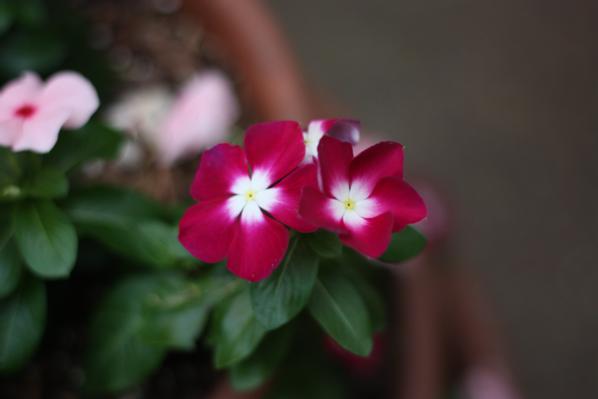
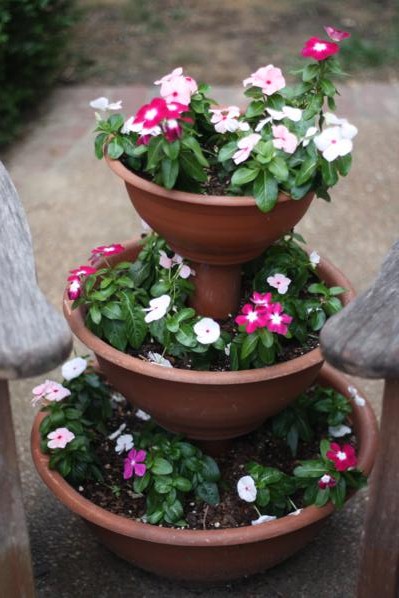
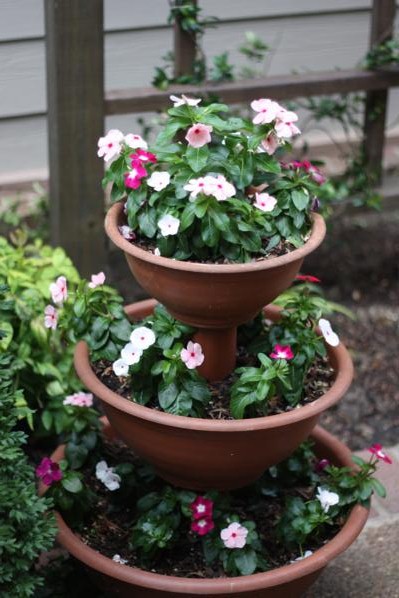
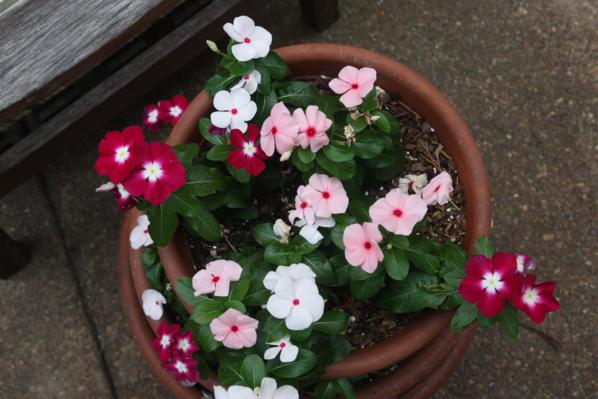
Doc and I knocked out a big outdoor project over the last two weekends that I can't wait to share with you all.  But first, to get you in the outdoor mood, wanna see the flowers I planted this year? It wasn't long after our gender revealment party that I headed to Home Depot to get new flowers for all of our beds.  I must've had pink on the brain because that's the only color I came home with!  I have two triple-tier flower pots on our patio that I love and for them, I bought a bunch of vincas (similar to impatiens, but better!).  I chose an assortment of pinks to fill up the pots; we have some that are bright fuschia with white centers like these.


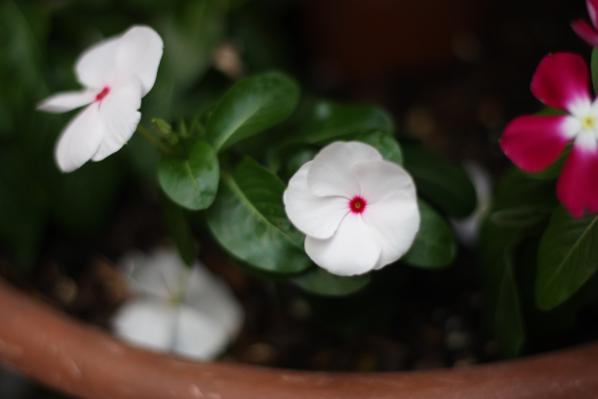
And we have some that are the opposite - white with fuschia centers.


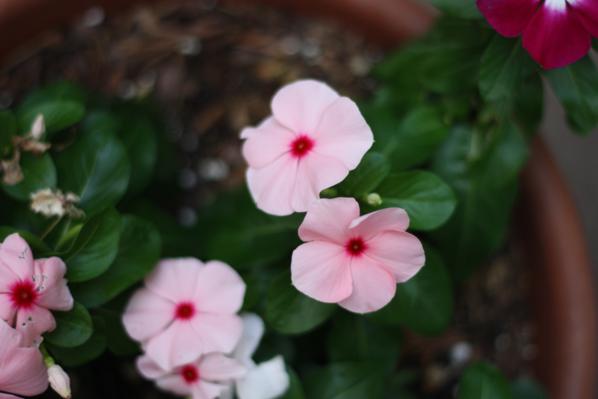
If those two were to kiss and make baby flowers, they'd probably look like these pale pink ones.


So now our two triple-tier pots are occupied by a big family of happy pink flowers!


A view from the top.  I'm pleased with how these have already started filling in.

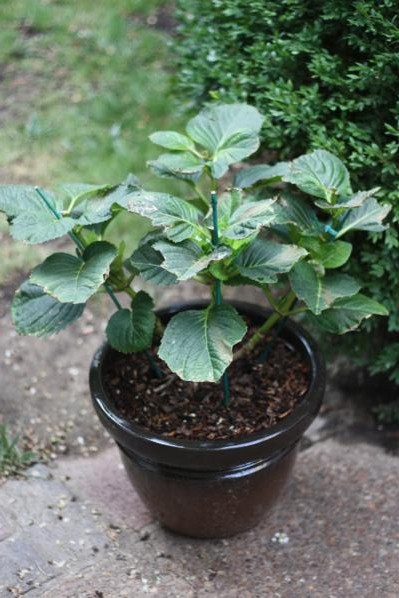
Staying in the courtyard, we also have this potted hydrangea.  My sister-in-law Beth gave it to me for Mother's Day - it's pink for baby girl.  It had beautiful pink blooms on it but they didn't survive while we were at the beach for a week.  I'm currently nursing it back to health and really hope we get to see more blooms this summer.

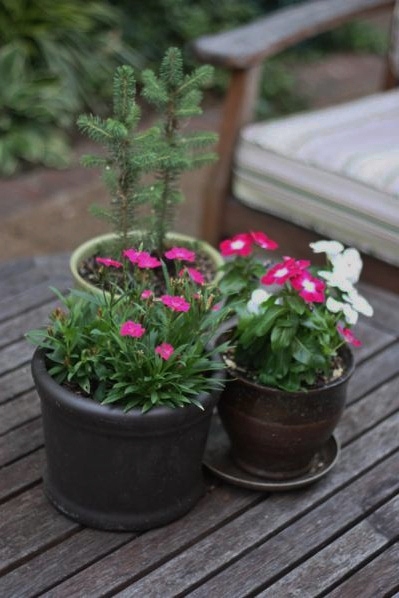
Also in the courtyard are these three pots that sit on the patio table.  Two are full of more fuschia flowers leftover from the beds.  The other has two teeny, tiny pine trees.  Each employee at my work was given a small pine tree last fall at a tree planting ceremony to celebrate our 50th anniversary (I ended up with two thanks to a coworker that didn't want hers).  They've definitely grown since I planted them but at the rate they're going, it may be years before I can put them in the ground!

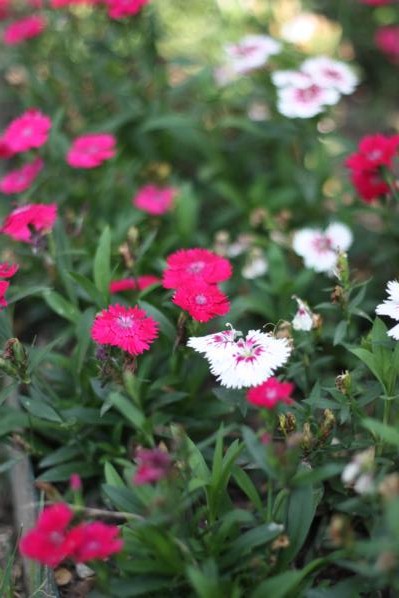
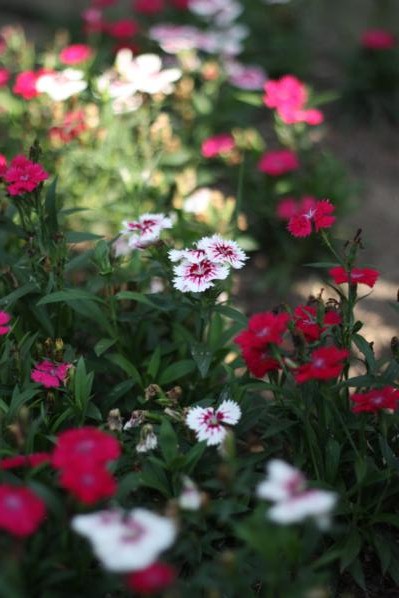
Moving on to the backyard - if you can even call it that - we have a row of more fuschia and white flowers.


I don't remember what these are called - anyone know their name?  The fuschia ones are solid and the white ones look a little tie-dyed-ish.


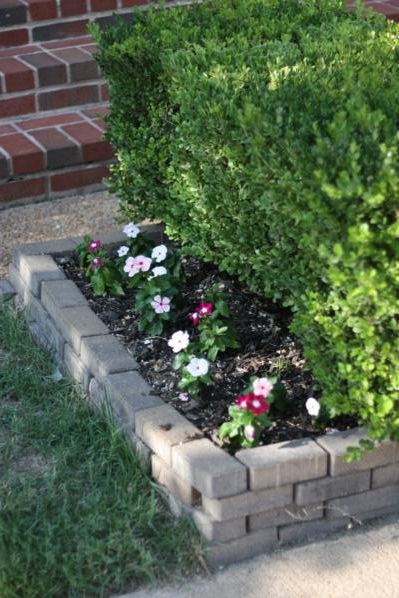
In the front yard, I planted more vincas in the two flower beds that line our sidewalk.  They haven't started multiplying as well as the ones in the pots yet.

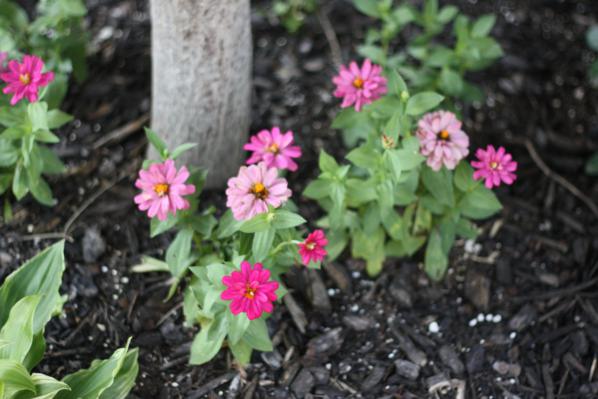
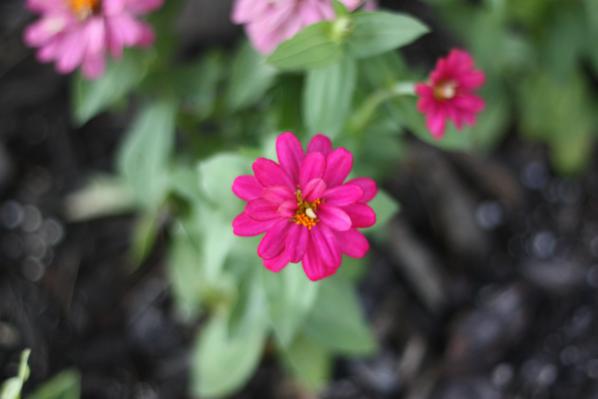
And, keeping with tradition, I planted zinnias underneath our Japanese Maple.

I usually go with lots of colors for the zinnias, but Home Depot only had pink at the time.  It's like they knew my color scheme!

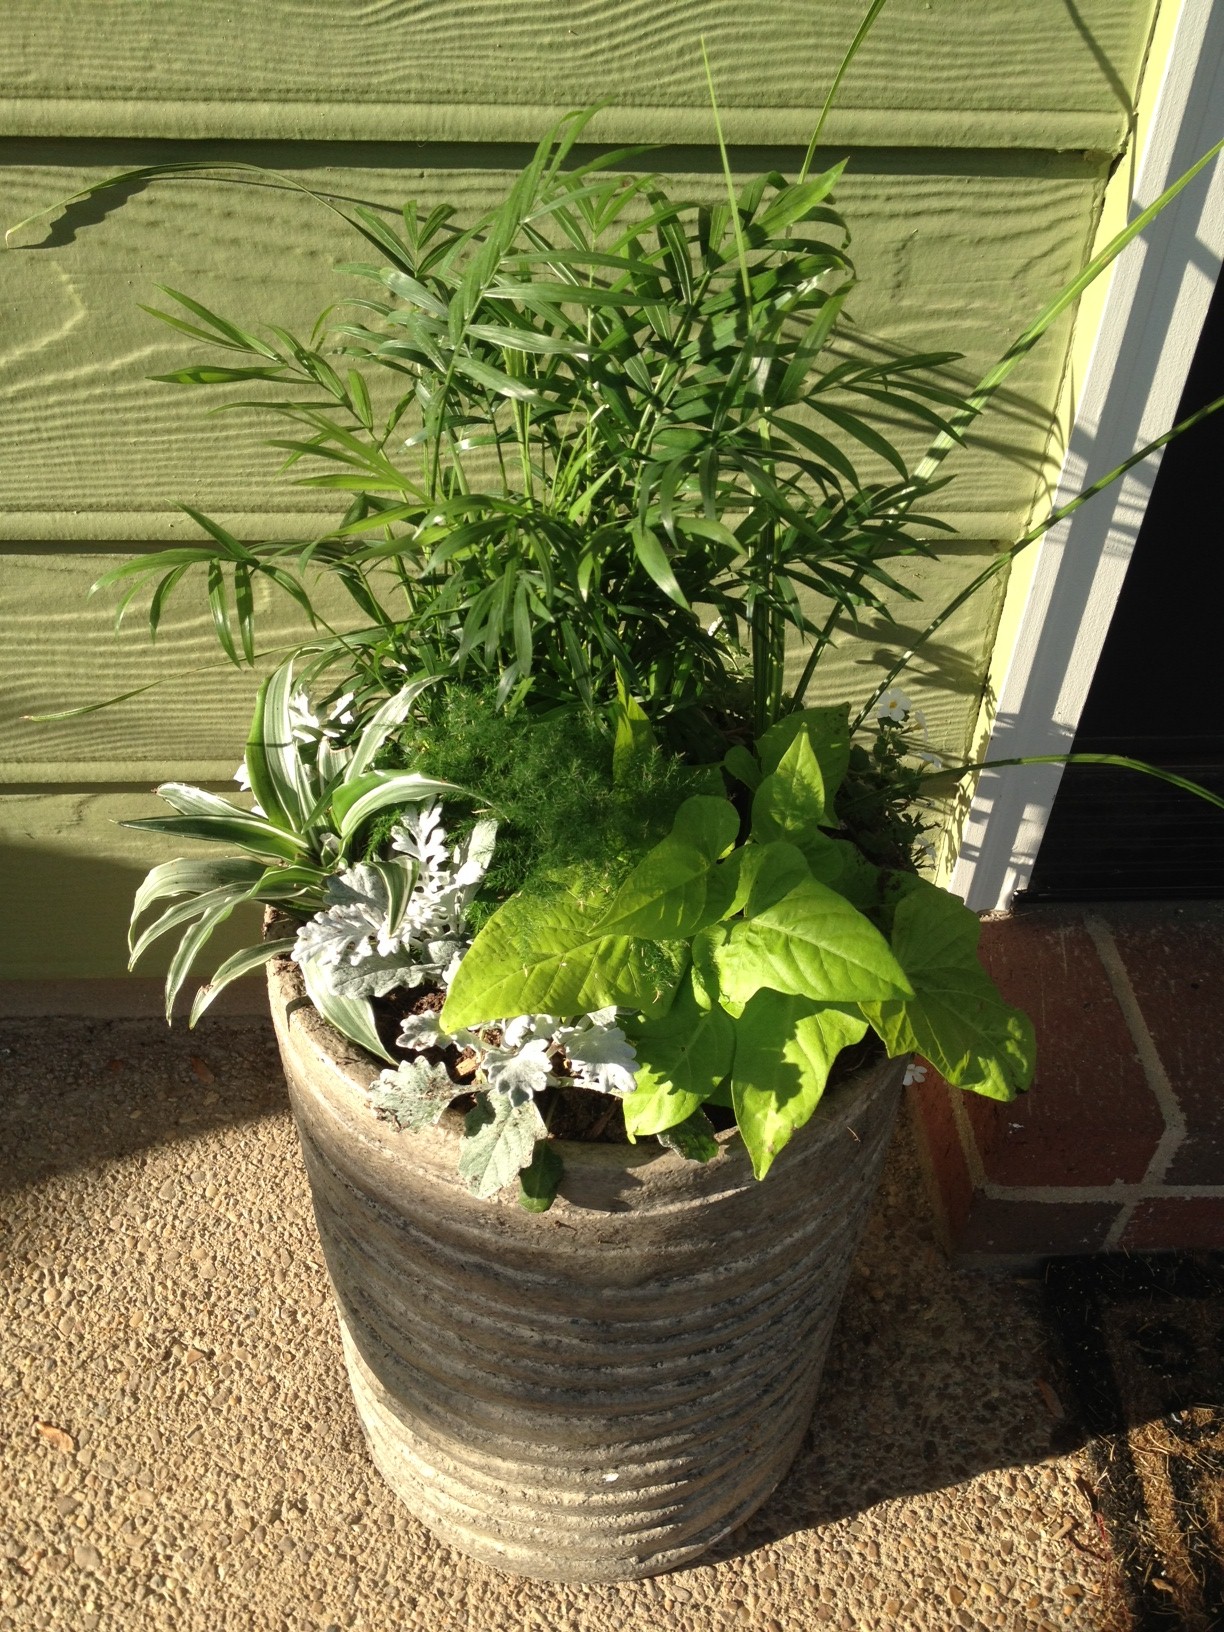
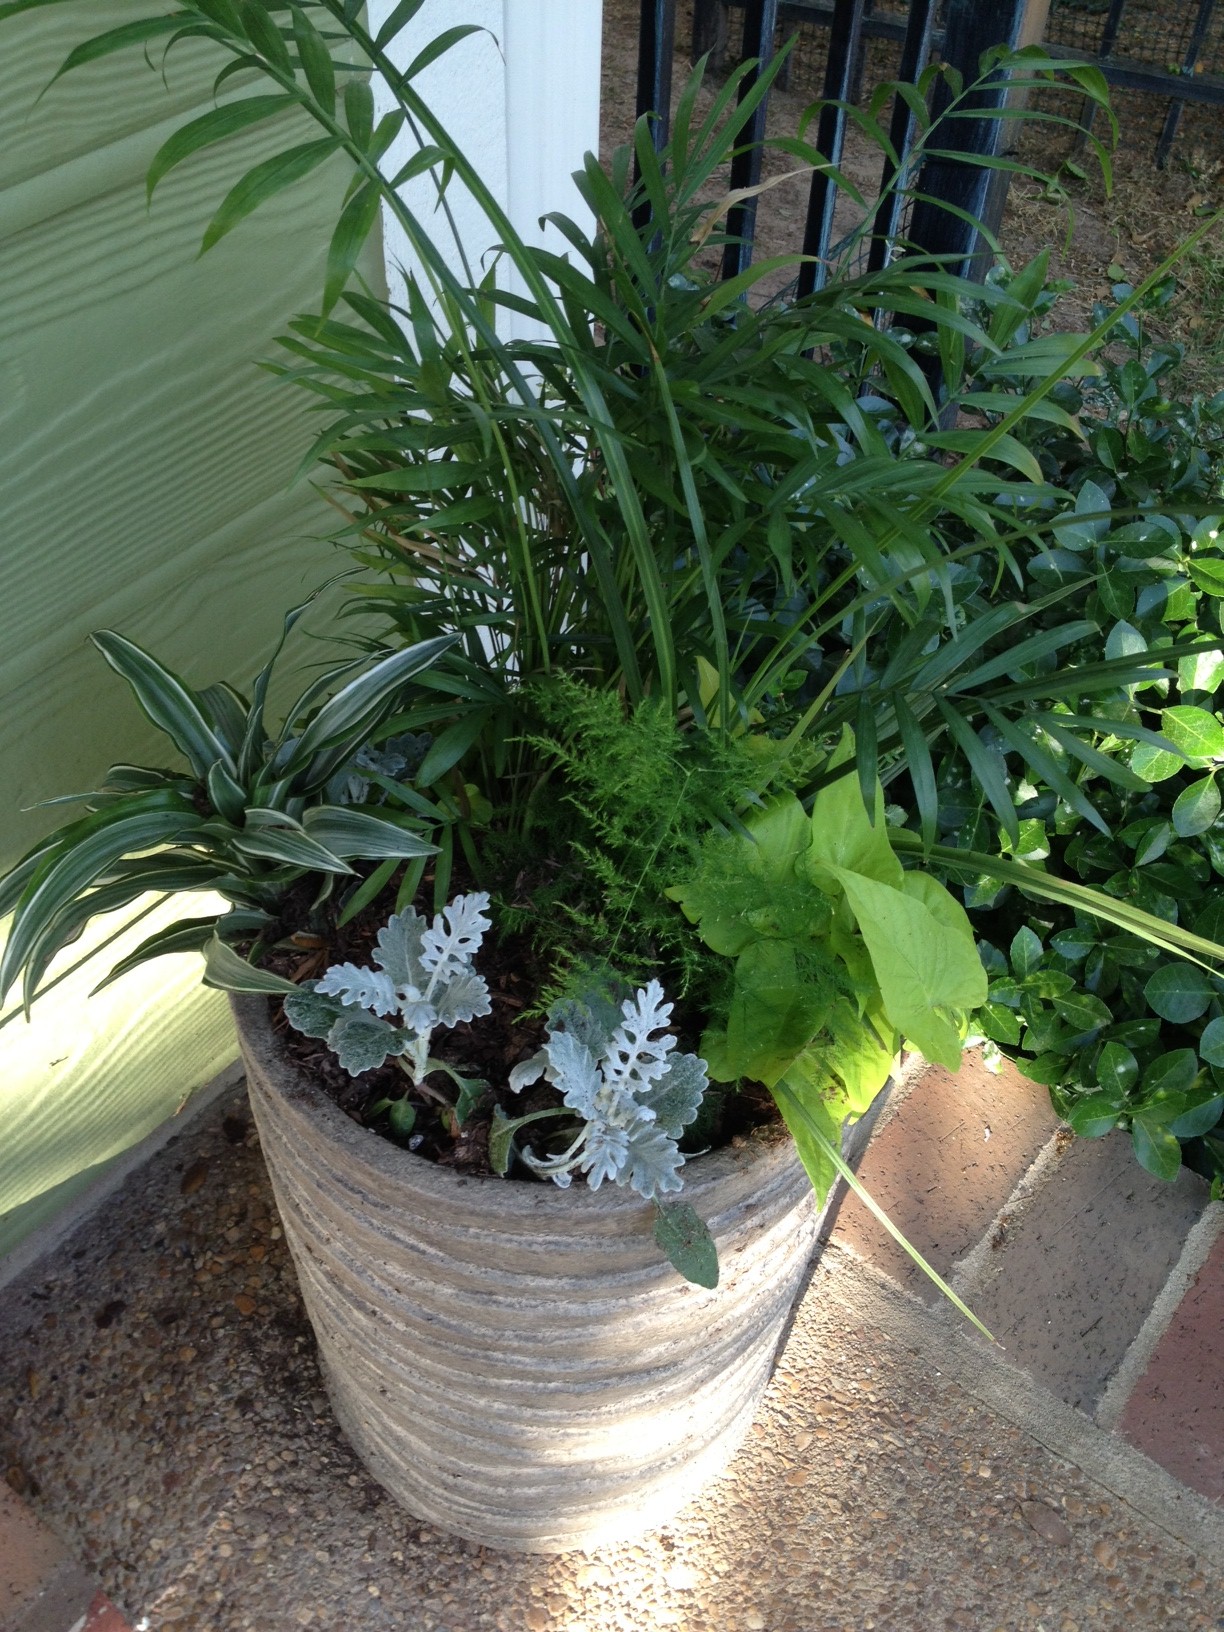
That completes our Tour de Pink.  I do have another plant update for you, though.  Remember these pots I did back in April?  They started out like this.


Well, they've definitely done some growing!  They've filled in quite nicely.


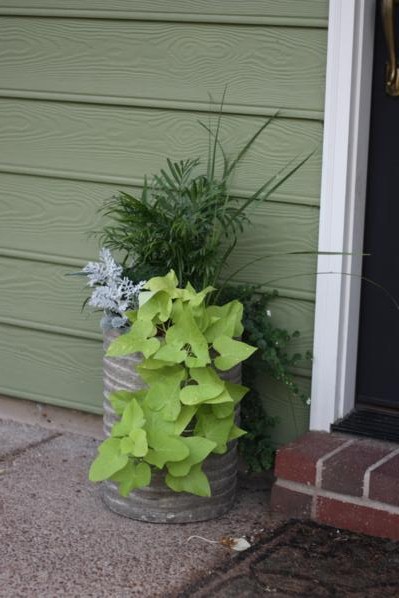
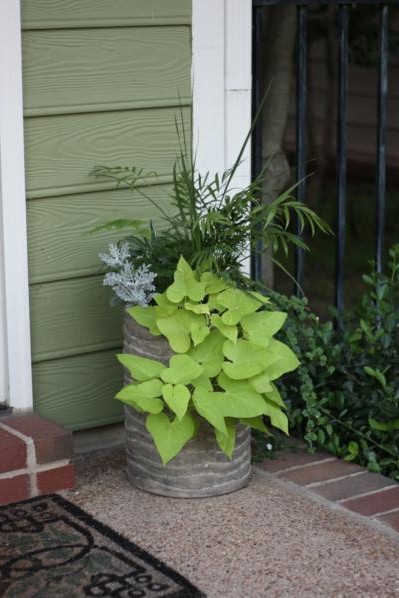
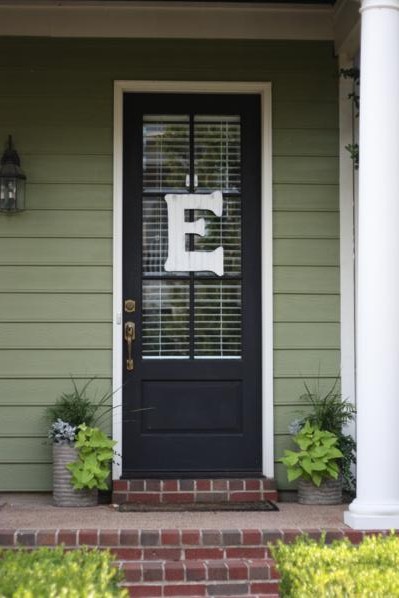
I love the way they look flanking our front door.

And now this gets us teed up and ready to talk about the project we just completed.  I'll start working on those posts tonight!

Christmas Home Tour

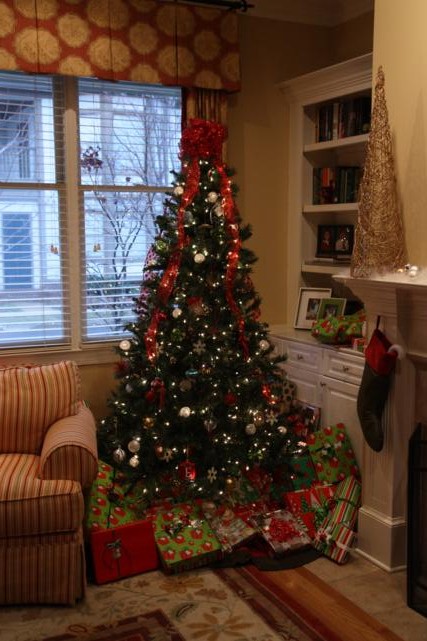
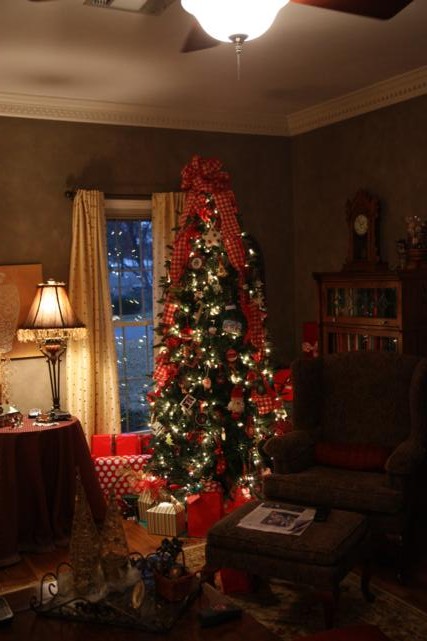
Merry Christmas Eve, everyone!  I hope its not too late for a quick Christmas home tour...I know that's the thing to do around blogland this time of year.  If you've been visiting my blog for a while, then you may remember our home tour from last year.  This year, everything in our house pretty much looks the exact same. I swore I would not put this tiny tree up again in our tall-ceiling house but alas, here it is again.  I even re-used last year's bow.  What you can't see in the picture below is how all of our presents actually spill over onto the other side of that chair to the left.  Our pile of gifts is bigger than our tree.

The mantel looks the exact same too.  I had big plans to do a burlap-theme Christmas this year, but I never got my act together.  When it came time to decorate, it just seemed easier to put everything back exactly where it was the year before.

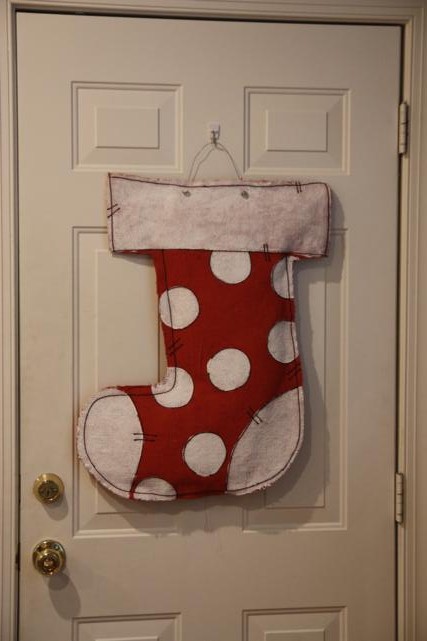
I did buy a couple new things this year, like this stocking burlee.  I bought it for our front door and then remembered that I already had the big ornament to hang there, so the stocking hangs on our back door.

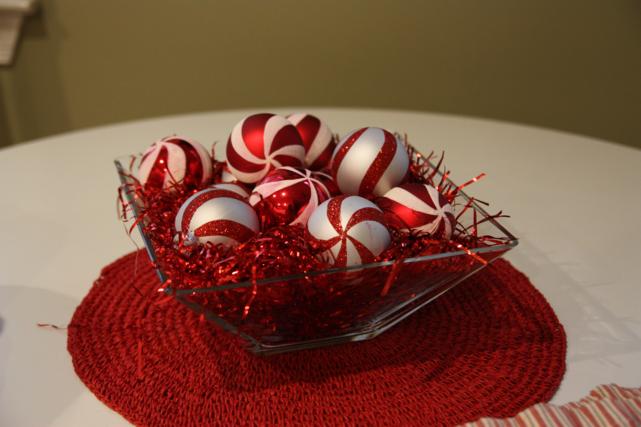
I moved the bowl of red and white ornaments into the kitchen table so that it'd match the stocking.

Another new addition this year is this fun little tree.  I actually bought it on major sale this summer and threw it in the attic.  It was a fun surprise when I started pulling out decorations; I'd completely forgotten about it!

It has colorful beaded ornaments on the branches.

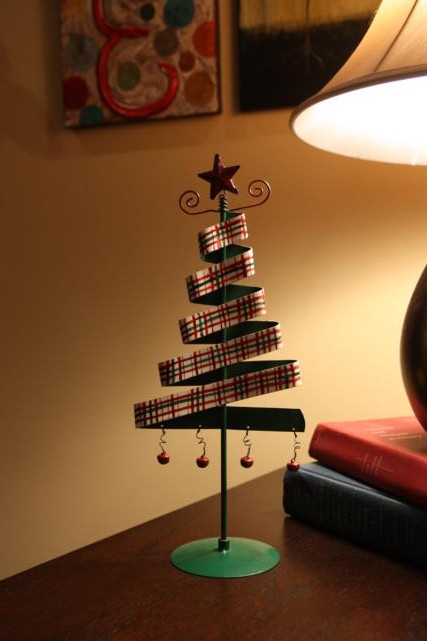
Also new is this little tree I won at bunco.

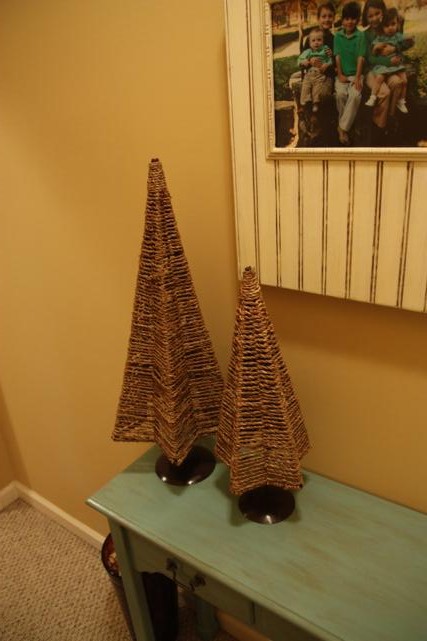
When I told my mom about my plans to do a burlap themed Christmas, she bought me these two jute twine-ish trees.  Since I was too lazy to follow-through on my plans, I just placed these on a table in the upstairs hallway.  Maybe next year I'll carry out my idea.

Well, that was hardly a home tour.  There wasn't much to take pictures of at my house since I only halfway decorated.

To make it up to you, how 'bout we tour my parents' house?  Might as well show off someone's hard work!

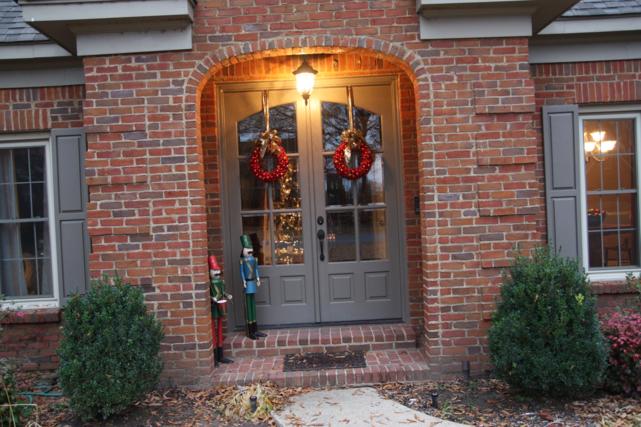
The ornament wreaths on the doors are some that Mom and I made a couple years ago.  Hers are still going strong; mine didn't survive the attic.  The front door is guarded by these two guys.  Don't worry, they're friendly.

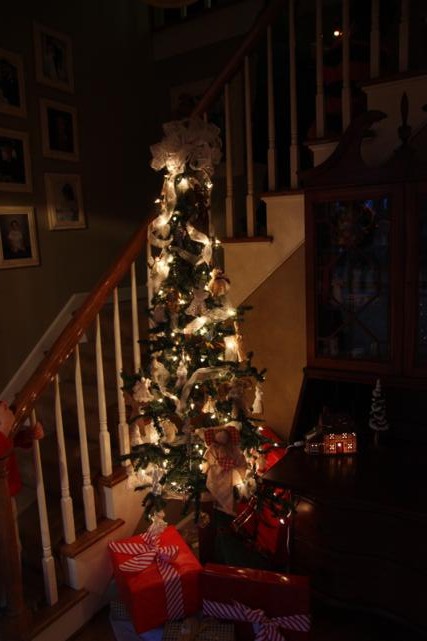
Let's go inside!  In the entry way, you'll be greeted by the first of several trees.

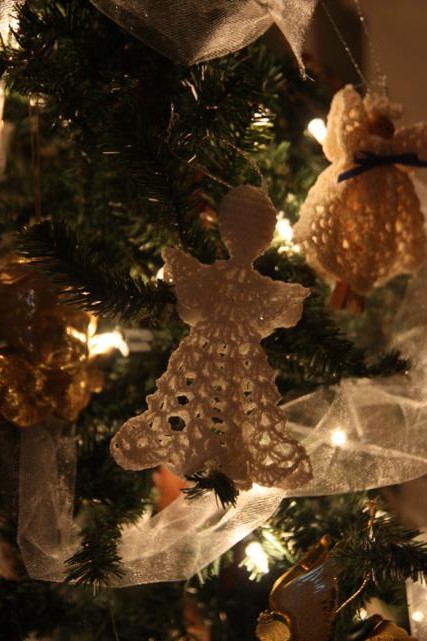
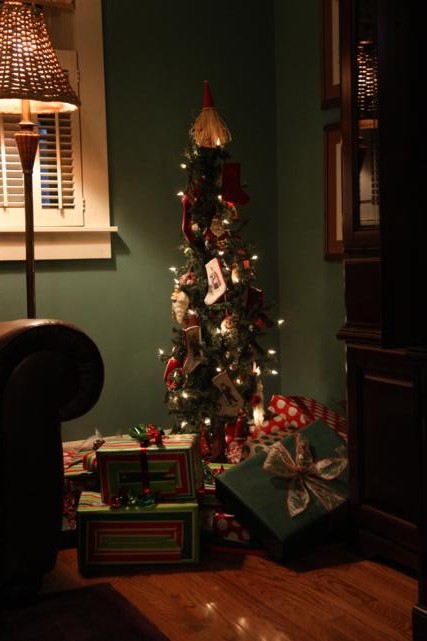
This tall, skinny tree is my mom's angel tree.  It's full of all angel ornaments, like this one that my grandmother made...

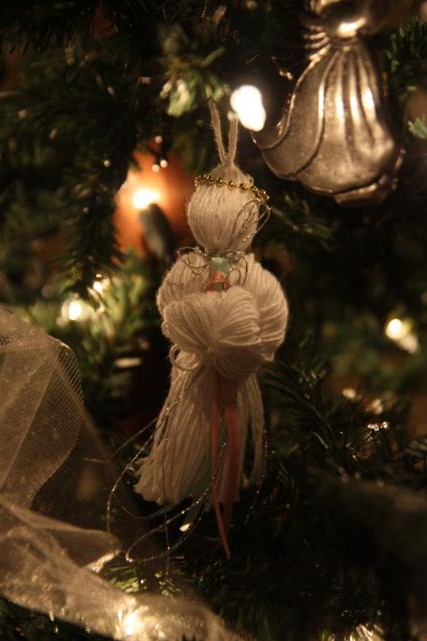
...and this one that I made way back in the day.

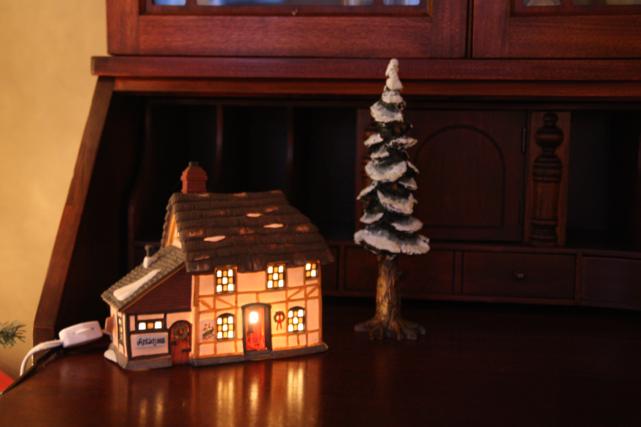
Also in the entry way is a small lit-up Dickens' Village house.  My mom has a whole village of these little houses.  Growing up, they were always placed under the tree and I loved to help arrange the town.  Now, with so many little people running around, they have to be strategically placed around the house in out-of-reach places.

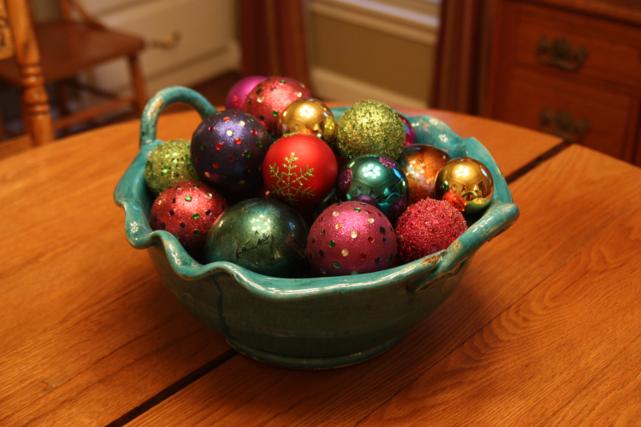
To the right of the entry way is the dining room.  Its decorations are subtle.  On the table sits this bright blue bowl full of ornaments.  I love it because its festive without being traditional red and green.

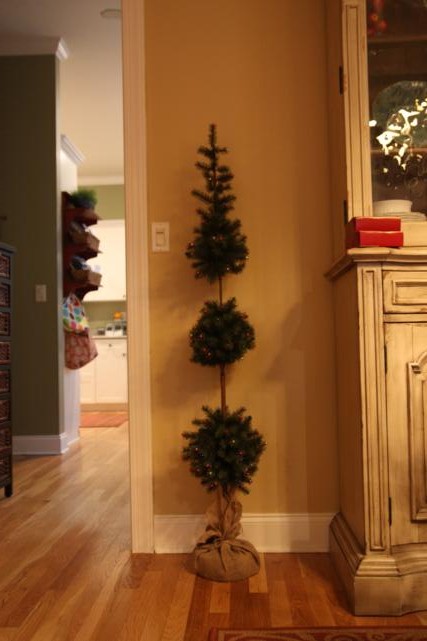
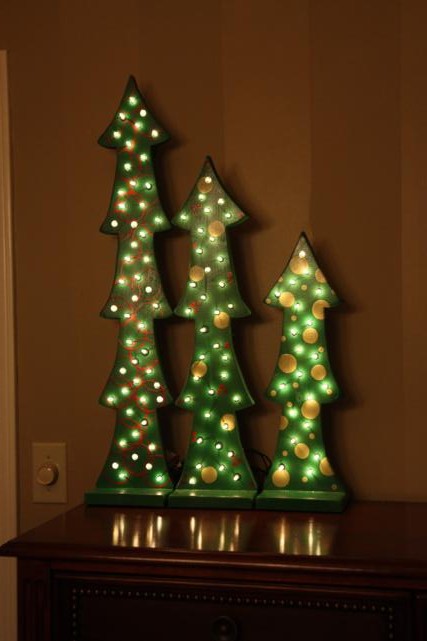
The dining room is also home to these three wooden trees (you may remember them from this post).

If we'd gone left from the entry way, we would found the big family tree in the living room.

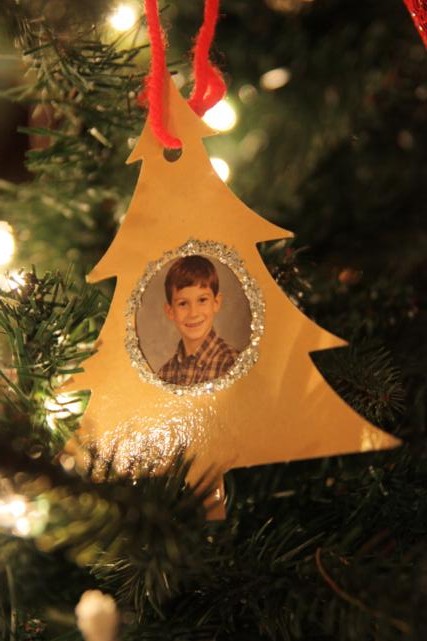
This tree has all of the sentimental ornaments on it, like the ones we brought home from school when we were little.


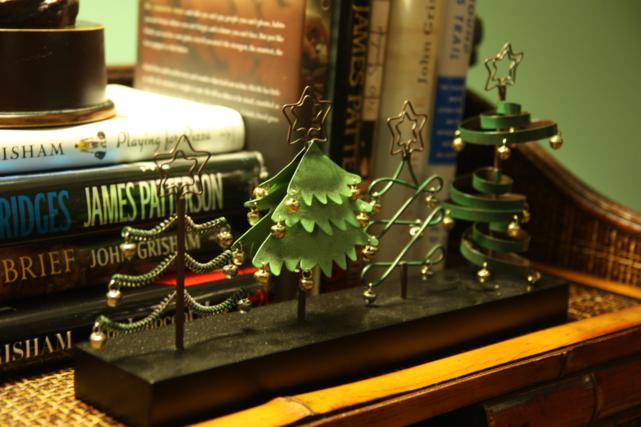
These three gold trees sit on the coffee table in the living room.

There are more houses from the Dickens' Village scattered around in here too.  This one didn't quite make it out of reach of little hands...I walked by at one point last night and saw that Santa was laying down taking a nap on the bench.

In the den is the third Christmas tree.  It's the smallest of the three.

This one is Santa themed.


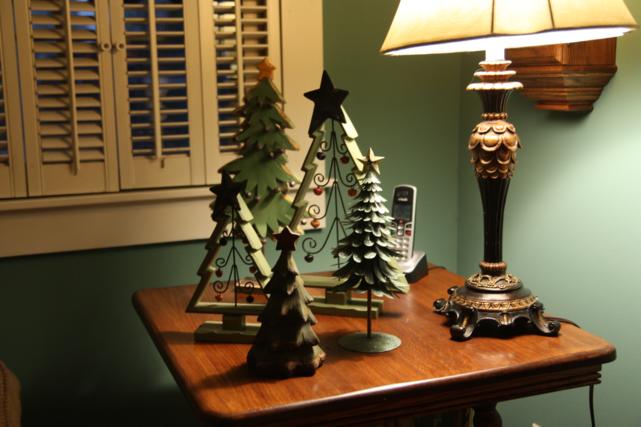
In this room, the side tables are adorned with even smaller Christmas trees.

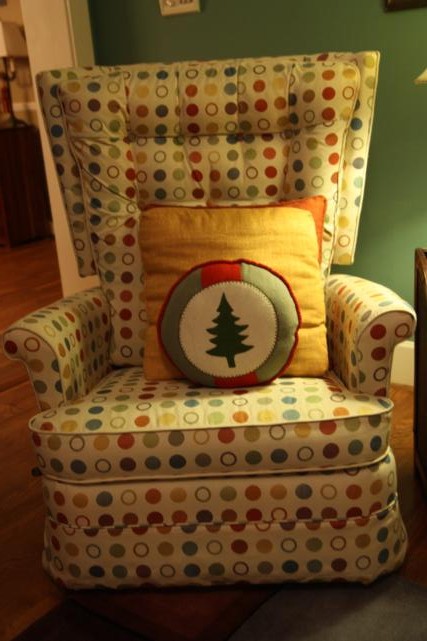
Even the chair has a Christmas tree throw pillow.

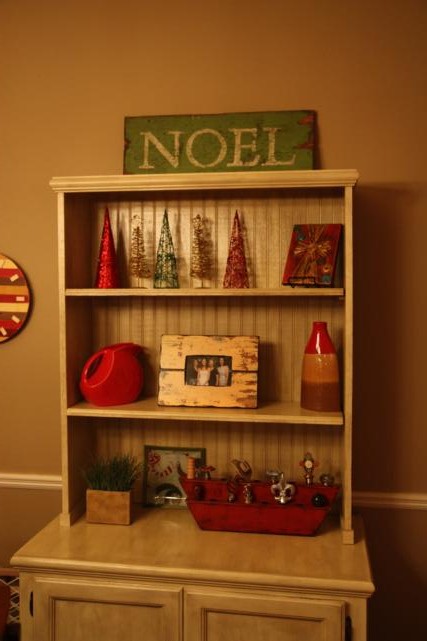
The kitchen is where we spend the most time and it has Christmas decorations everywhere.  There's no way I got them all, but here are a few.  On this hutch, some year-round knick knacks got switched out for more festive ones, like the Noel sign...

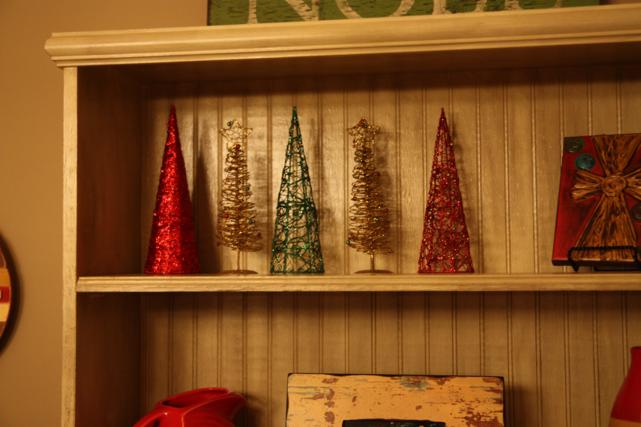
...and these sparkly trees.

On the walls are holiday wreaths.  The one on the left has interchangeable pieces for other holidays, and the one on the right is a gumdrop wreath that Anna and I made a couple years ago.


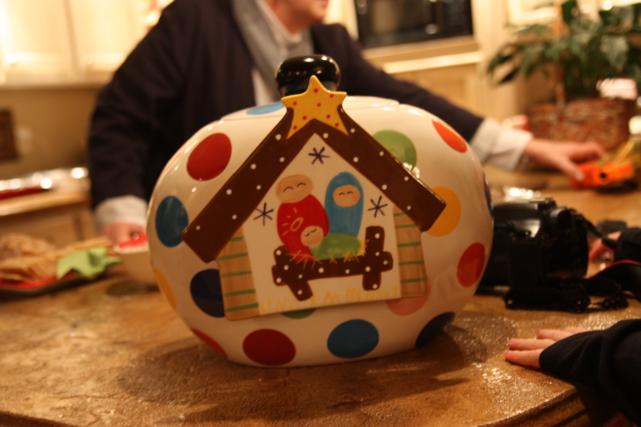
This cookie jar also has interchangeable pieces.  Mary, Joseph, and baby Jesus are on it now for Christmas.  It's not unusual to walk into the kitchen to find a 3-year-old climbing up on the counter to get to this jar of goodies.

Speaking of goodies, there's always a bunch of yummy treats for the holidays.  Last night, we had gingerbread cookies that one of my friends made for us.

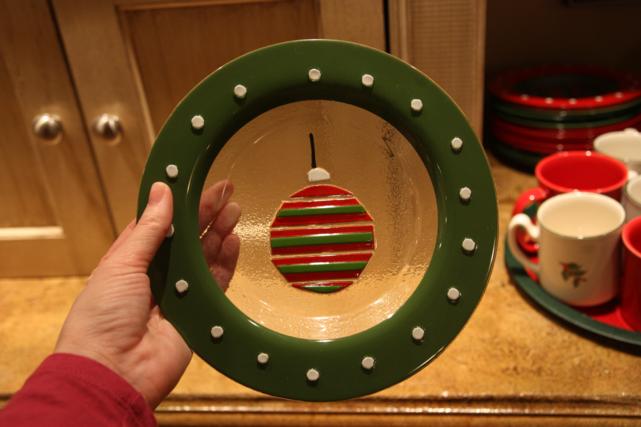
This time of year, my mom serves dessert on these ornament plates.

And if you need something to drink with your dessert, the mugs and hot chocolate are ready to go.

I'm ready for a warm mug of hot cocoa right now!  Hope you enjoyed the holiday tour!