Last Tuesday, the lovely ladies of both Young House Love and Bower Power announced that they were holding a little Pinterest Challenge. In short, the challenge was to take inspiration from something you found on Pinterest, put your own spin on it, and then post about it today (Tuesday). After writing the post, you could then add a link to one of their sites so that others could come visit and get inspired. Simple, no? They explained the challenge on their blogs using a lot more words than that, and even created a fun little video that included an HGTV celebrity whom I do not know, so feel free to click on those links to get more details. Pinterest, for those of you not in the know, is a fun site where you can pin things that interest you. Get it? Pin + Interest = Pinterest. And by "pin" I mean it's a place where you can create your own folders to place things you find online that you like and don't want to forget. Similar to saving things in your Favorites Folder, only you can see pictures instead of just names of websites. Oh, and just like every other social media platform, people can follow your pins and you can follow others. Or you can just search for things on the main page and look at things that people you don't know have pinned. What I'm saying is that there's lots of cool stuff on there to look at, and it's really, really easy to get sucked in and then realize you've blown a few hours on the site. I've noticed that when I log on my productivity levels majorly plummet, so I save it for a little treat for myself when I know I've got some time to kill.
So, back to the challenge. I follow both Sherry and Katie on a regular basis and I have my own account on Pinterest, so when I read about the challenge I immediately thought it sounded fun. Only problem? I didn't have a project on Pinterest lined up to do. They both announced the kind of projects they would be working on - Sherry's would be a light fixture for her laundry room, Katie's something for above the bed in her guest bedroom. Those types of projects called for a lot of supplies I didn't already have on hand, like light kits. Since I didn't already have a project in mind, nor did I have time to shop for a whole bunch of supplies, I figured this would be a challenge that I'd just have to watch from afar. No participating for me.
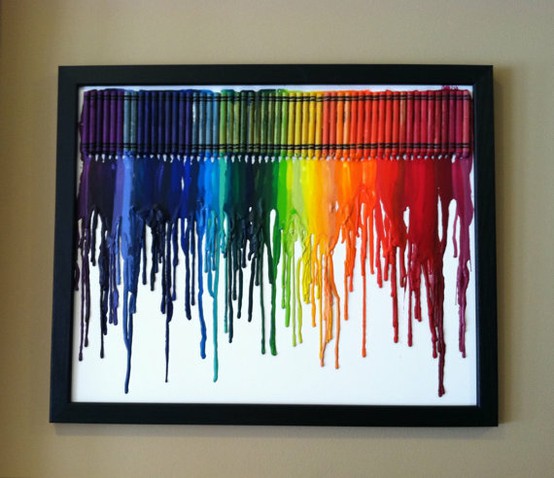
Fast forward to late Wednesday afternoon when I found this fun piece of artwork on Pinterest.
(via)
Pretty awesome, right? And no, I wasn't on there looking for a project to do so I could participate in the challenge. I quickly logged on to pull up something I had pinned a few days earlier, and this immediately caught my attention on the home page. Super cute, super creative, and super easy.
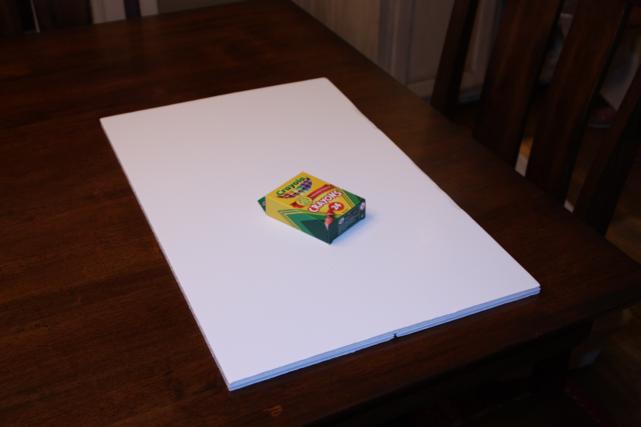
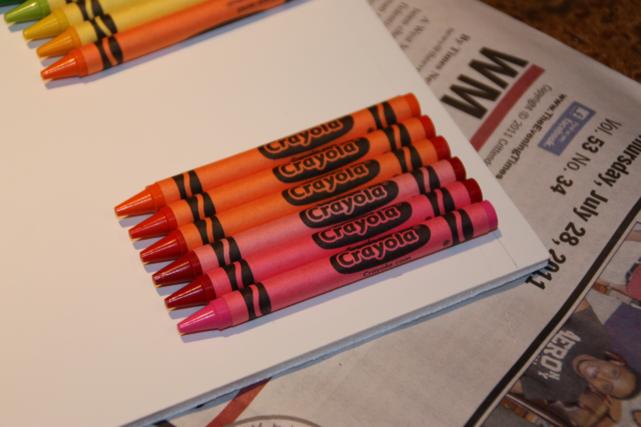
Did I mention that the supply list would be a cinch to get my hands on? I mean, I can grab a foam board and a pack of crayons practically anywhere. And that's just what I did.
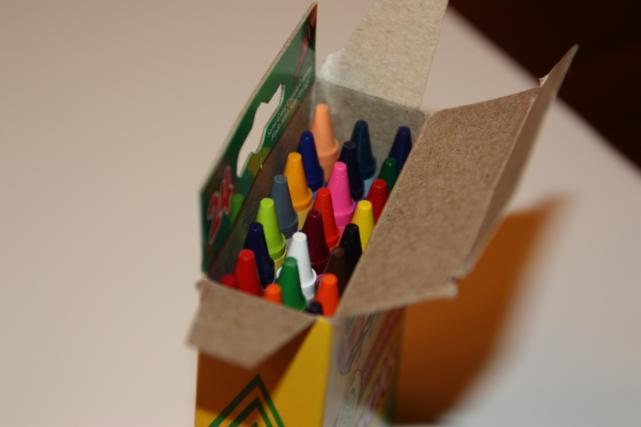
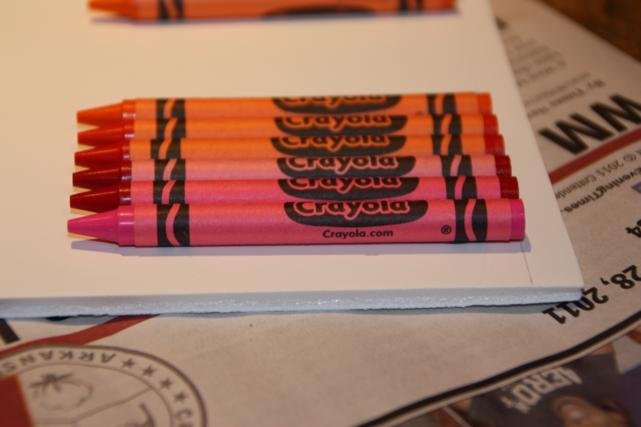
What is it about a brand new pack of crayons that makes me so giddy? It's gotta be their perfectly sharp tips and the newness of them. They're just screaming to be colored with!
My foam board was actually one of those tri-fold boards that are used for science fair projects, so my first step was to cut off the two sides. I was originally going to use the bigger center piece for this project, but since I only got the 24 pack of crayons (as opposed to the 64 pack), one of the smaller side pieces was plenty big enough.
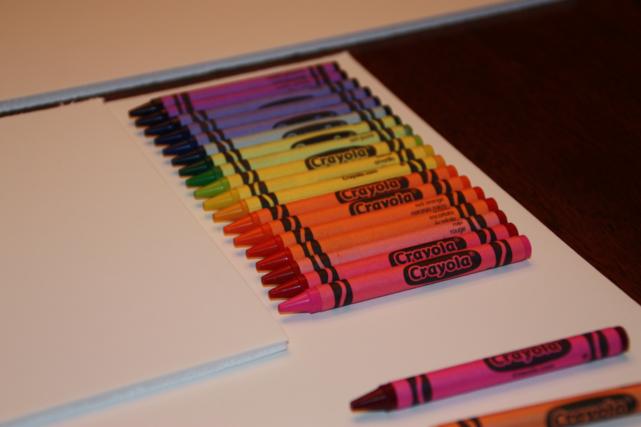
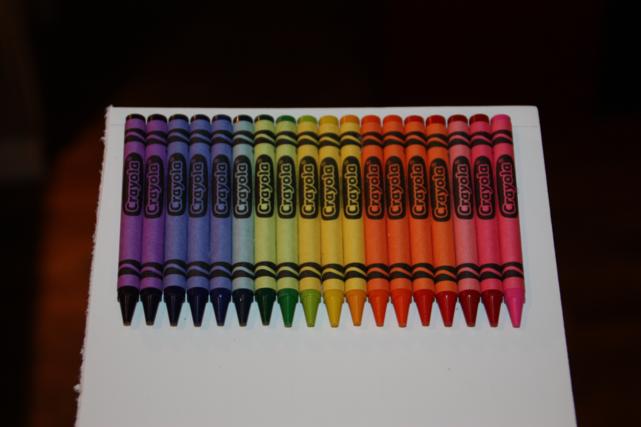
While my hot glue gun heated up, I arranged my crayons in the perfect rainbow order. Roy G Biv, y'all!
Now, I tend to err on the side of being a perfectionist, so before slapping on some hot glue and sticking the crayons down, I drew myself a line across the top so that everything would be perfectly straight. Then I could get to gluin'.
I left a little bit of space at the top and the sides so that I could easily frame it after the crayons were melted. What can I say, I'm a thinker.
I debated between having the Crayola logo be on top or the names of the colors, but in the end, the logo won. My OCD came out and I decided I liked it better with them all looking the same. Besides, what's the fun in colors that have practically the same names, like Yellow Green vs Green Yellow and Red Violet vs Violet Red. How are kids ever supposed to learn their colors with names like those?
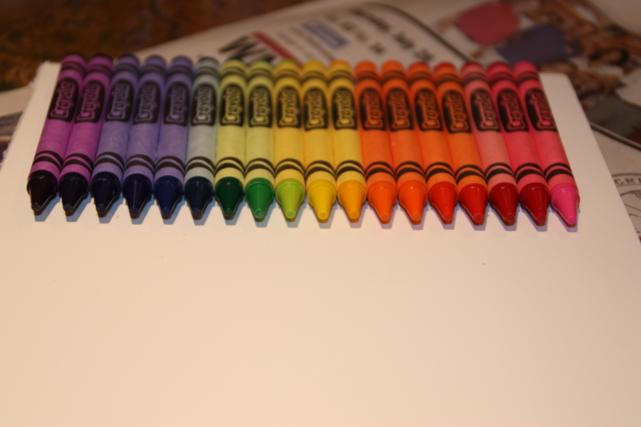
Approximately, oh I don't know, 48 seconds of hot-gluing later, I had my rainbow completely stuck down.
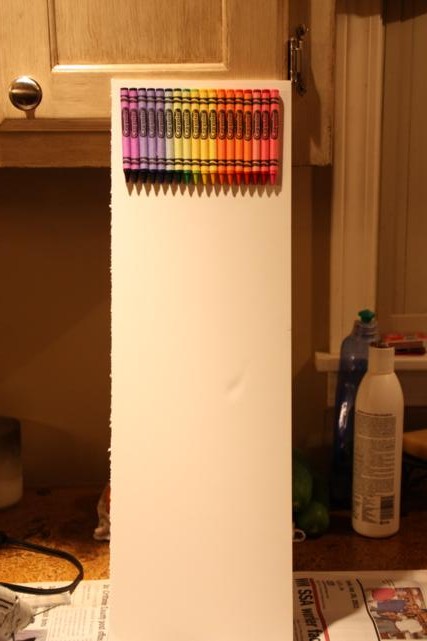
And all of my perfectly pointed tips were still in tact. I resisted the urge to give them a good scribbling.
Here's the full view of my canvas. Sure, my edges aren't perfectly smooth, but I was banking on a frame covering those up, so I didn't care. See that little dent about midway down on the right? Yea, that's where I rested on my elbow while gluing on the crayons. Lesson learned: my body weight will leave an impression on foam board.
The next day was kinda overcast and rainy so I didn't get to set my board-o-crayons out in the sun. I actually had to wait until Sunday to set them out to bake.
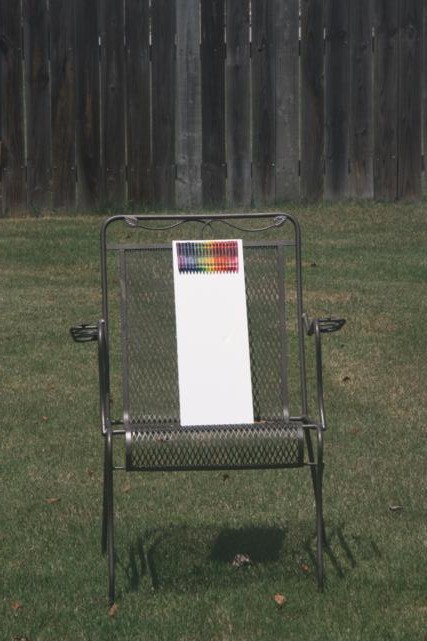
I moved a chair out into the yard where I thought they would get some full-on sun. After a little bit of positioning and re-positioning, I left the board propped up with a slight incline. I figured if it was straight up and down my crayon wax could drip straight down and miss the board all together.
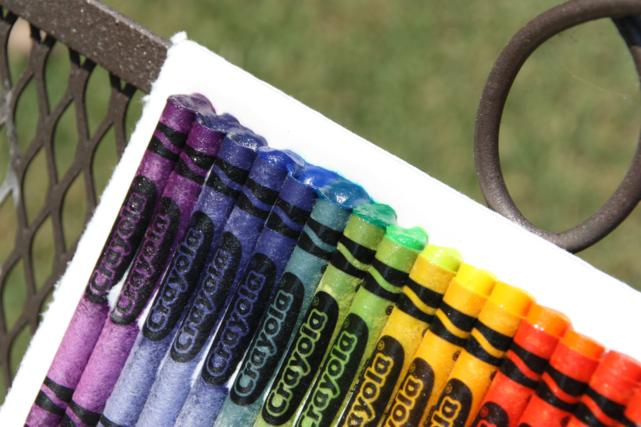
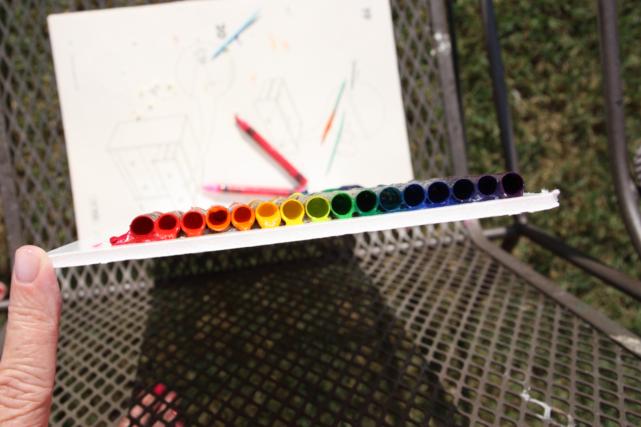
About 30 minutes later I came back out to check on the crayons. They were starting to look a little sweaty and the darker colors were getting melty on top. Aww yeah.
Up close of the melty-ness.
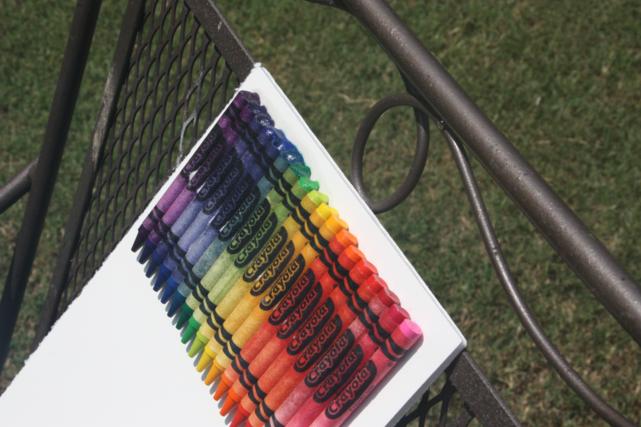
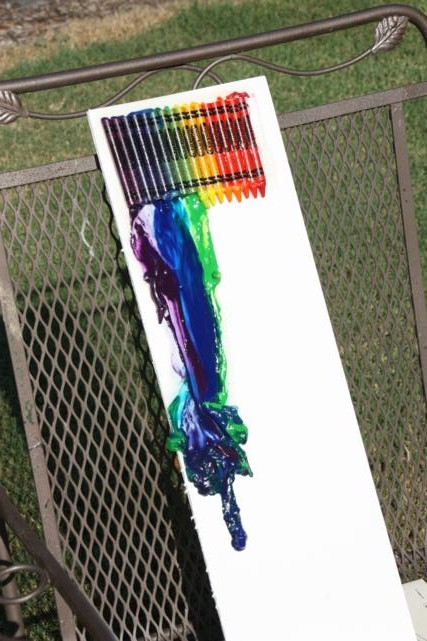
You know what they say - a watched pot never boils - so I went inside and left the crayons to melt on their own. I did sneak a few peeks from out the window and could tell progress was being made. On my next trip out with the camera, the crayons looked like this.
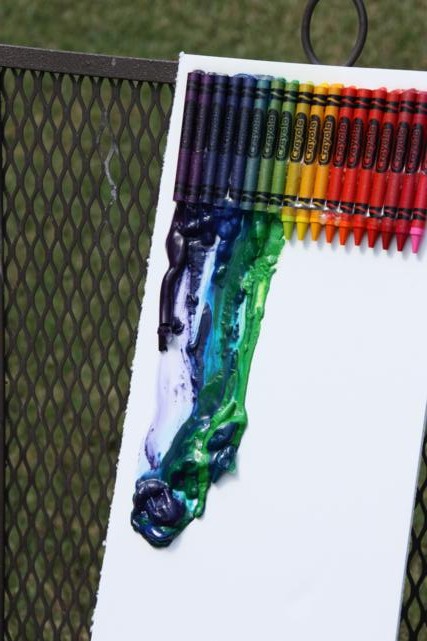
It's like the blue and green were racing down the board and then got stopped by a major crayon wax pile-up.
I was able to make a few observations at this point. First, the darker colors were obviously melting way faster than the lighter colors since they absorb more heat. Second, the purple crayon on the far left was my favorite; it looked like it slid completely out of the paper wrapper all at one time but was still kinda intact. Third, the wax was separating. See the little white spots in between the crayons in the shot two photos up? That's wax that was sweating through the paper. And the lightly smeared purple-y area above the wax pile-up is where all the white wax melted off the purple crayon that's still intact, if that makes any sense. This was shaping up to be quite the science experiment.
Once again, I headed inside so the sun could work its magic without me watching. This time I waited a couple hours before heading back out with my camera. Here's how it looked that time.
Um yea, pretty much the same. The light colors still weren't budging. What the heck? I could tell from barely touching the paper that they were melted inside, they just weren't doing any dripping. I was about to start running out of daylight, so I tried to help speed them along. I grabbed a couple toothpicks and did a little poking and prodding. Then I tapped the board up and down hoping to loosen the wax up a little.
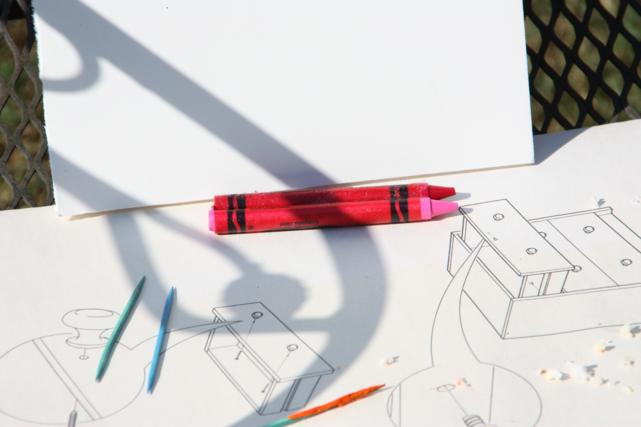
Oh, I loosened it alright. The pink crayons from the far right fell right off. Crap!
(Yes, that's the instructions on how to put together a piece of furniture. Once the melting got into full swing, I slid into under the edge of the board to protect the chair.)
I was majorly bummed about those two falling off. I guess if the point of the project is for things to start melting, then I probably shouldn't use hot glue as my adhesive of choice. Another lesson learned.
The view from the top was pretty cool. You can see how the crayon wrappers are starting to look hollow. I could see all the way through some of the darker ones that had already dripped out, and I could tell that the reds, oranges, and yellows were melted, they just weren't sliding out.
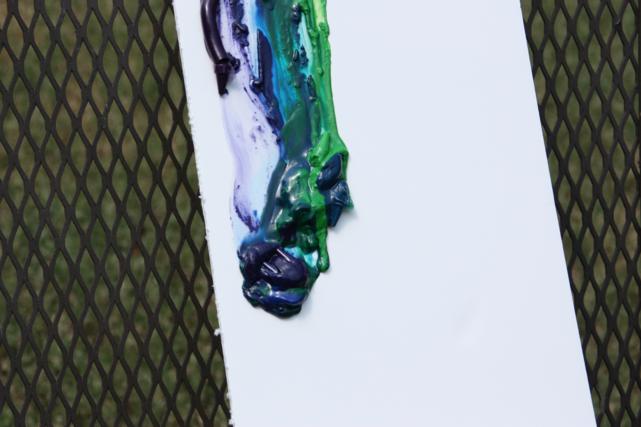
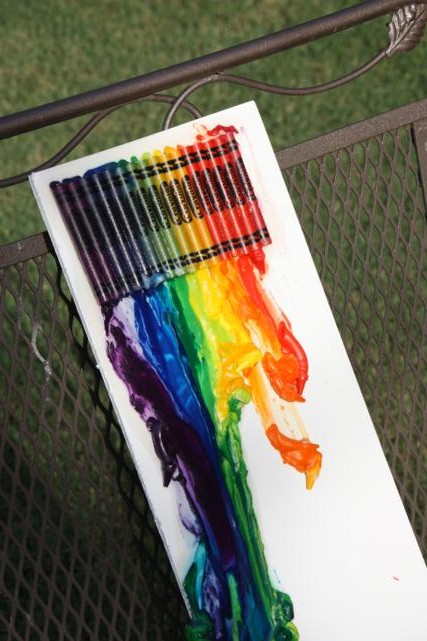
Then, while I was standing there feeling defeated and disappointed over my failed project, the pile-up of wax started sliding again. More drips came from the dark colors too. Can you tell in the picture below how the purple crayon from the left has started melting and there is more blue and green smeared at the top? The glob at the bottom is moving too.
I can't even tell you how fascinating this was to me. It was so fun to watch the drips and try to predict which way they would go!
It was blazing hot outside so I went back in, leaving the crayons out to melt a little longer just in case the lighter colors decided to get in on the action.
An hour-ish later I came back out and booyah! The oranges and yellows finally let loose!
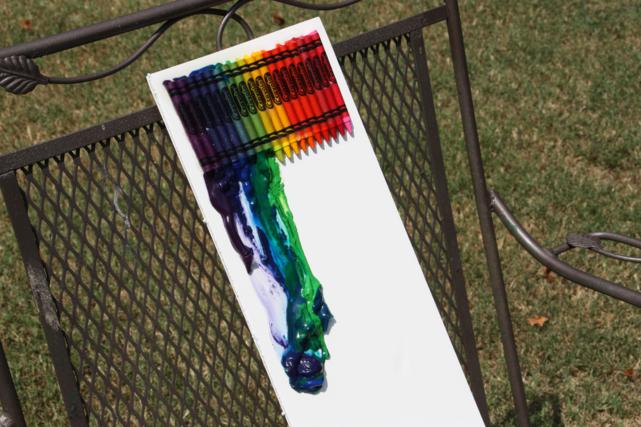
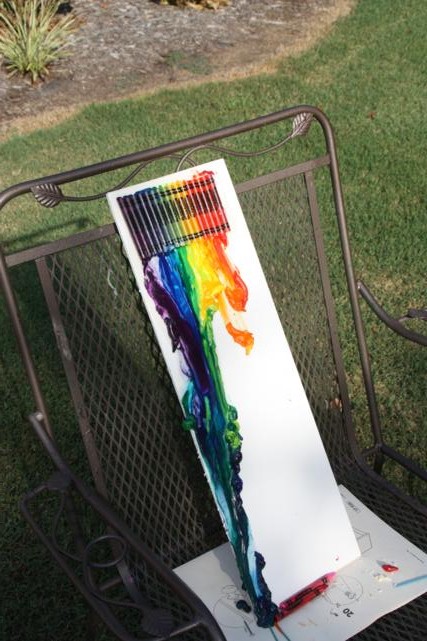
Here's a zoomed out shot where you can see that the blues/greens/purples made it all the way to the bottom. Good thing I put that paper down.
You can see from the shot above that the shade was creeping in, so that's as far as the melting went. Obviously this is not worth framing, which is why I'm calling this project a FAIL.
But! I think I'm going to attempt it again. Maybe I could get better results if I switch up the variables a bit (like how I'm using my science fair lingo?). For instance, what if I used a piece of plywood or something that wasn't so smooth? Then maybe the initial globs wouldn't slide so fast and would leave more of a color streak on their way down. Or, what if I cut off all the tips before I glued the crayons down? That was one of the fascinating parts to me - even though the wax inside the wrappers was completely melted, the tips on the lighter colors were still hard as a rock. Wonder if the colors would melt at an equal pace if I set it up in a hot car? There are so many things to experiment with!
Of course, my dad insisted all day long that there's no way possible to get it right without using some kind of applied heat. He even suggested putting it in an oven somehow. I shot down his ideas, telling him that would just make my foam board melt. My mom suggested I pull up the tutorial to re-read it, but I reminded her that I didn't read a tutorial, I just saw the one picture.
Turns out the joke's on me. When I went back to pull up the original inspiration picture from Etsy (where it's for sale for $70!), I was able to read in the description that the artist uses a heat gun and applies a controlled heat application to get this outcome. Ugh, maybe I should've done my reading before-hand. I don't know, though. Now that I've seen that it's possible to get them to melt from the sun, using a heat gun just seems like cheating. What do you think?
Updated to add: The results are in! Click here to see Sherry's awesome Clothespin Light Shade, here for Katie's really cool basket weave mirror, here for Emily's swanky nailhead trim on closet doors, and here for Lana's bold chalkboard fridge. Looks like I'm the only one that majorly failed. Crap. Oh well, I'm linking up on their blogs anyway!
Updated again to add: I gave it another try! Check out my much more successful attempt here.

