Flowerbed Makeover: Phase Two

If you're just joining us, Phase One: Planning and Preparing can be found here.  Today we're tackling Phase Two: Building and Installing. After all of our boards had been cut and stained, we loaded them back up into our Audi A4 pickup truck and brought them to our house.  We planned to assemble the trellis right beside where it would eventually go so there would be little to no heavy lifting and transporting.

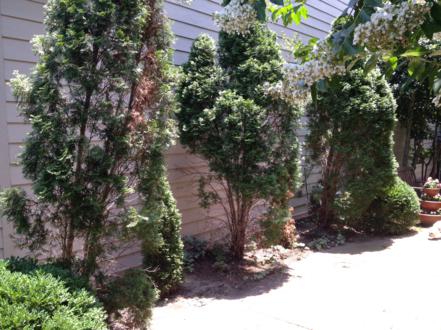
But before we could lay out the boards and start putting them together, we had to get rid of these trees.

My strong husband managed to pull them all out by himself, leaving them in tact and with big root balls attached.  The dead one obviously got pitched and we plan on replanting the healthy baby one.  The three tall adult trees were picked up by a friend of his and headed to a new home.  Yay for recycling trees!

With the trees gone, it felt really weird in our courtyard.  It was so open and so bare.  Kinda blah.

I had thought through the assembly process several times in my head and decided it would be much, much easier if I measured and marked every board before we assembled anything.  So I got to work.  I wasn't going to be much help in the whole process but this part I could actually do.

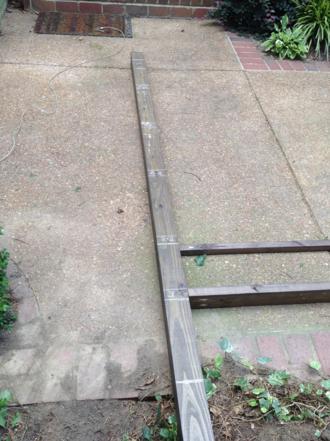
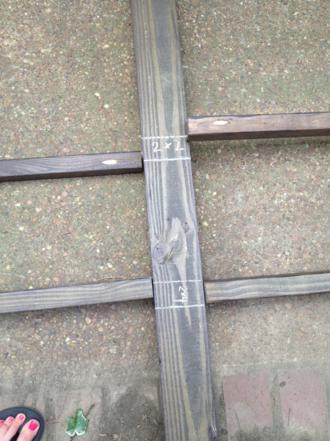
I started with the three 4x4 fence posts and, using chalk, marked where each of the cross boards would attach to them.  The boards are spaced out in this pic but I made the measurements with them all bumped up to each other so they'd be consistant on each post.

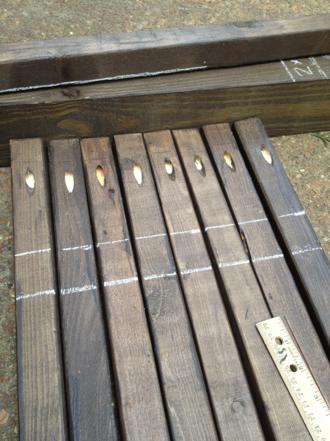
With the posts done, I gathered all 8 of my horizontal 2x2 boards (easy to spot because they all had pocket holes in the ends) and marked where all the vertical 2x2 boards would attach to them.

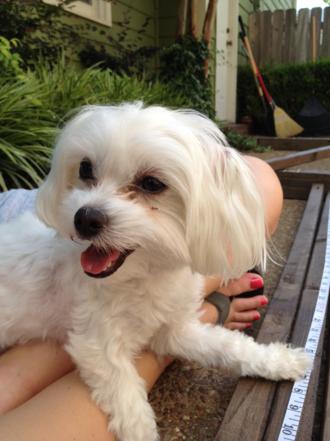
When it's 90+ degrees outside and you're 6 months pregnant trying to move as little as possible, you know what makes it all even better?  When your hot, furry puppy dog insists on sitting in your lap while you measure.

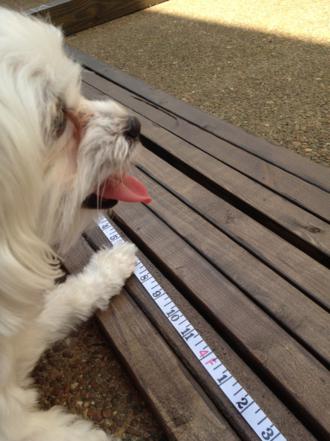
Luckily for her, she's cute.  I did put her to work holding my measuring tape, though.

"Like this, Mom?  Am I doing it right, Mom?"

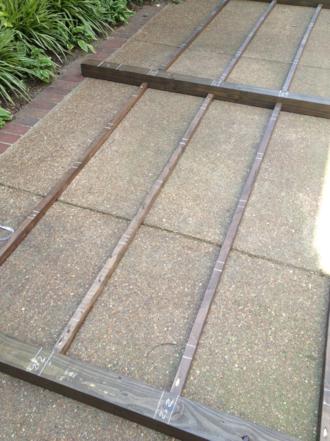
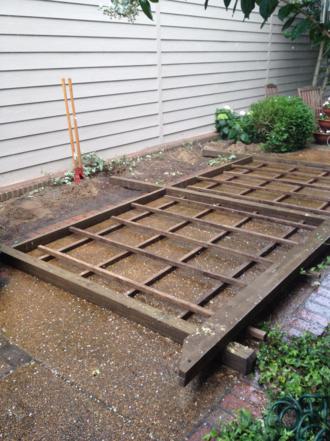
With all the measurements marked, I was able to start laying it all out on the patio.

It was super easy to line everything up since I had drawn both the top and bottom of each board's placement and just had to center the boards between the two. (Obviously in the pic below the boards aren't perfectly lined up yet.)

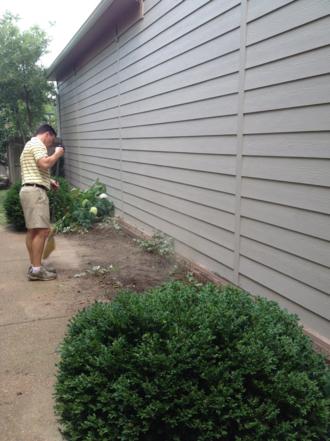
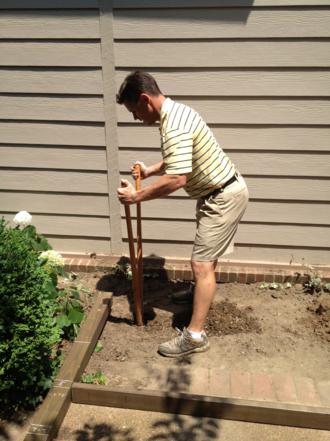
And with it all spread out and centered on the patio, Doc was able to begin digging the post holes for the three fence posts.

He doesn't always do yardwork and projects in khaki shorts with a polo tucked in, but he had just come from the golf course. ;)

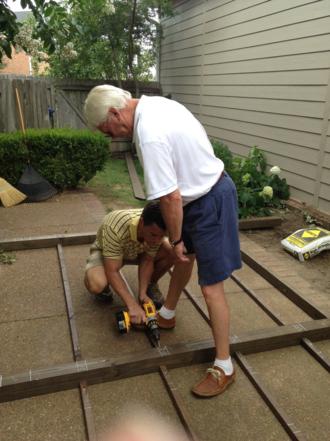
Around this time we called my dad to come over for help.  We had told him to be on standby that afternoon since we knew we'd need help lifting the whole structure into place when the time came, and technically Doc and I could've screwed all the boards together ourselves but we left the drill bit we needed at Dad's house so we told him to come on over and bring the bit with him.

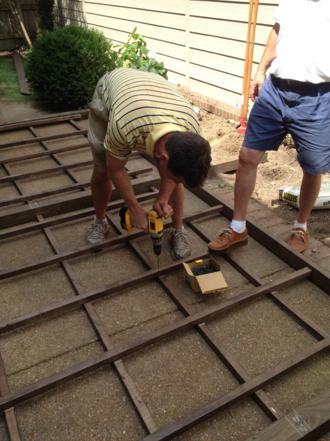
I obvioulsy didn't mind him coming early since it meant I got to sit and watch while the two of them screwed the whole trellis together.

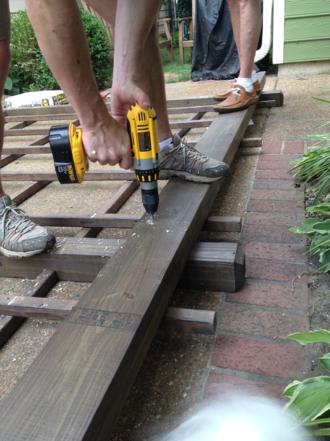
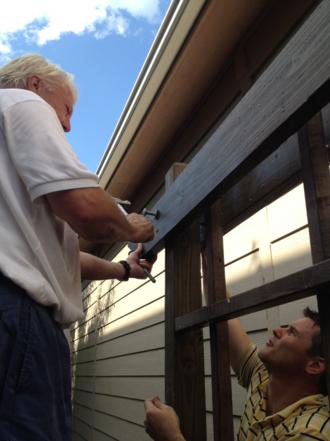
Our plan all along was to assemble everything but the two top boards (the 16 foot 2x6s) before dropping it in the post holes.  Because those boards were so heavy, we were going to put them on at the end.  But we did go ahead and lay them out across the top of the structure to drill the holes where the carriage bolts would go.

Not sure if you can tell or not in this picture but both 2x6 boards are stacked together right on top of the fence posts.  This way, Doc could drill the carriage bolt holes through all three pieces at the same time so they would line up properly.

Doc drug out the 3 80lb. bags of sakrete we would be using to set the posts.  We were so close to being done!

And, just like that, the rains came.  Seriously, out of nowhere, the bottom just fell out of the sky and it was pouring down rain.  The guys lifted those heavy bags back up and took them back to the garage while I picked up all the power tools and unplugged our fan.

I guess that was God's way of telling us we should take a little break.  I am SO glad the whole trellis had already been screwed together because the rain washed off every one of my chalk lines.  Obviously I was planning on doing that with the water hose at the end anyway so I'm thankful that it did it for me, but man! what if we hadn't already put it together?  I would've been majorly bummed to have to start over with my measurements.  Small victory!

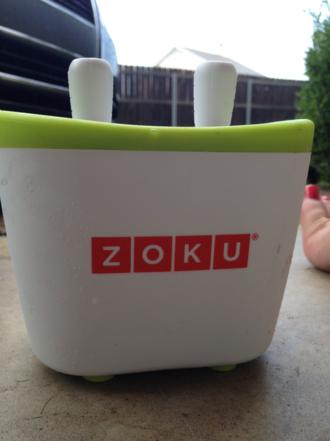
While we hung out in the garage and waited for the summer shower to pass, I decided to make a little treat for my boys.  Have you ever heard of Zoku?  If you have kids, you should really have one of these for the summers!  It makes homemade popsicles in just 7-9 minutes.

You keep the base of it in your freezer so it's always ready to go, and then just pour in whatever you want to make a popsicle out of.  The popsicles come out like a normal popsicle texture, not like the frozen blocks of koolaid ice that we made when I was little.

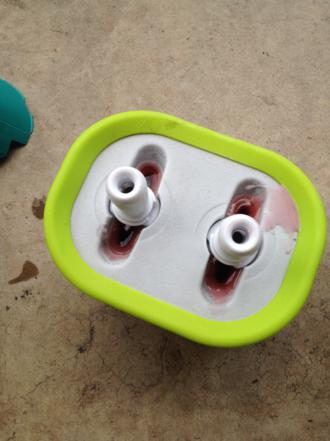
My Zoku only makes 2 popsicles at a time but I think you can get one that makes up to 4.  I used this juice box that I had in the fridge to make berry popsicles.

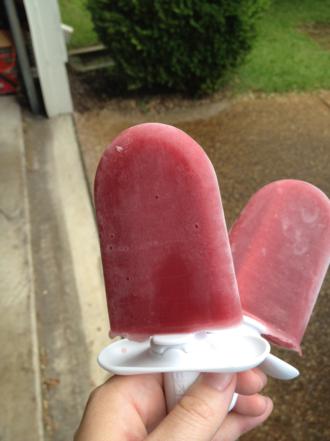
Just a few minutes later and voila!  Treats for my hardworking guys.

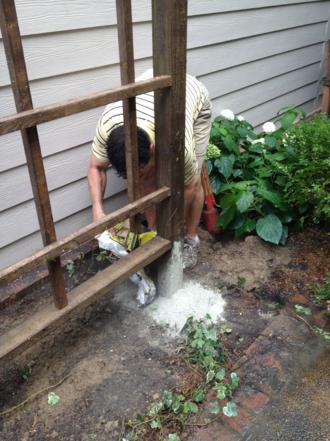
The guys went back to work when the rain simmered down to just sprinkles.  We all lifted the trellis right into the post holes (don't worry, I was mostly just a guide, I didn't have any weight) and they went to town adding the sakrete.

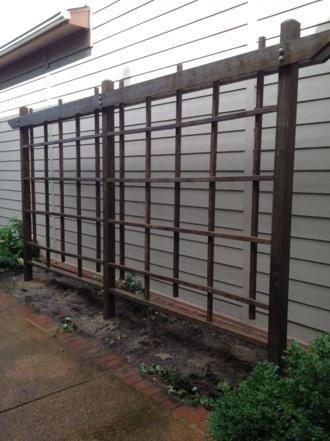
The sakrete got watered in and all that was left to do was add the two boards across the top.  Easier said than done, I'm sure.  The boards were really heavy and one of them had to hold it up while the other tapped in the carriage bolts.  You can see in the picture below that we used two 2x6s - one in the front and one in the back to sandwich the whole trellis between them.

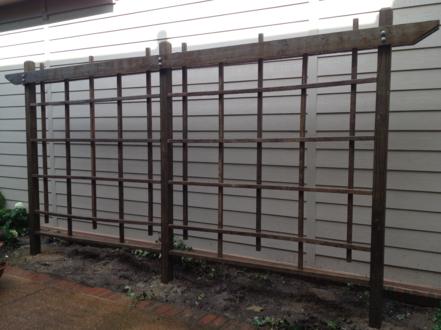
And finally, we could stand back and admire our work.

Here's where I should tell you that if you're planning on coming over with a level to check it out, don't bother.  I can tell you myself that no, it's not level.  It has a bit of a slant to it that I don't think would be all that noticeable if the wall behind it wasn't perfectly straight siding.  We think what happened is, when the rain came, some dirt and mud fell into the far right hole.  We had them all at the same depth before the rain, but we stupidly did not remeasure their depthness after the rain.  So the right post is a smidge higher, making all the boards slant upward on that end.  Live and learn, I guess.

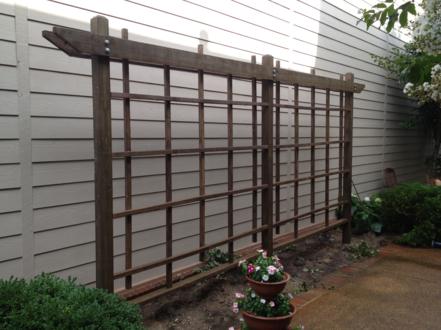
Crooked or not, we're really proud of our new trellis!

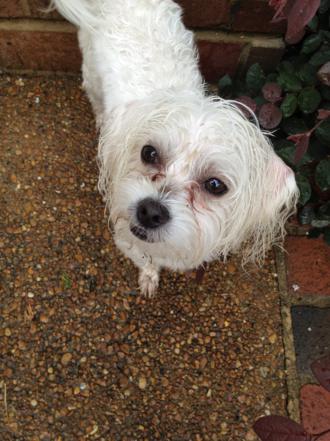
By this point, we all looked a little like this - wet and dirty, tired and weary.

We called it a day and headed for the showers.  I'm sure we all slept well that night!

Join me soon for phase three where we finished up the flowerbed by adding a few plants.

Thinkin' Pink!

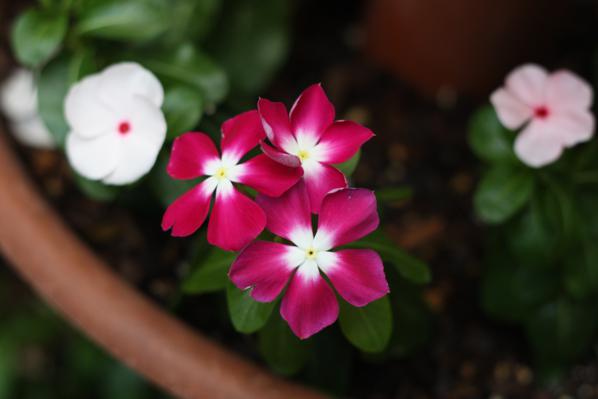
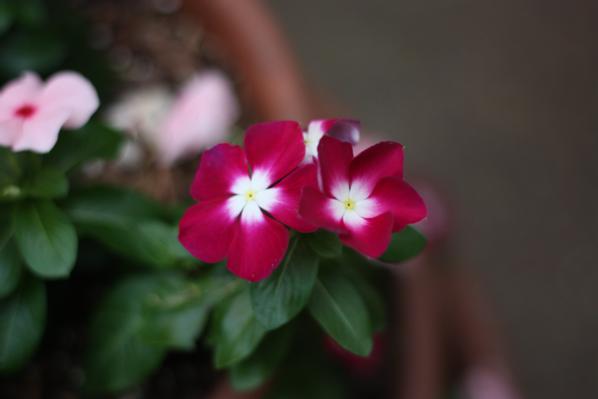
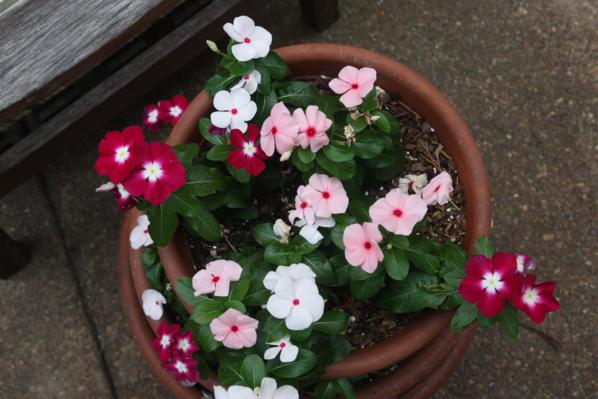
Doc and I knocked out a big outdoor project over the last two weekends that I can't wait to share with you all.  But first, to get you in the outdoor mood, wanna see the flowers I planted this year? It wasn't long after our gender revealment party that I headed to Home Depot to get new flowers for all of our beds.  I must've had pink on the brain because that's the only color I came home with!  I have two triple-tier flower pots on our patio that I love and for them, I bought a bunch of vincas (similar to impatiens, but better!).  I chose an assortment of pinks to fill up the pots; we have some that are bright fuschia with white centers like these.


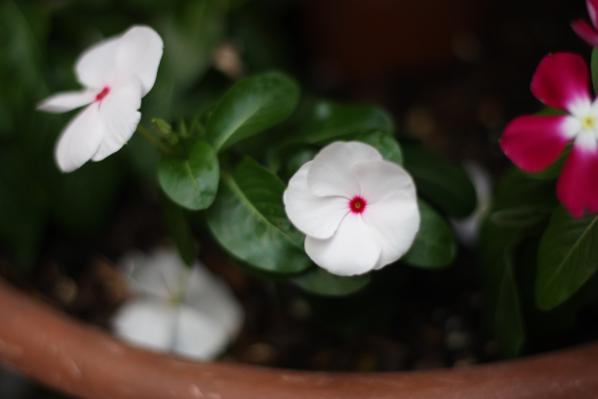
And we have some that are the opposite - white with fuschia centers.


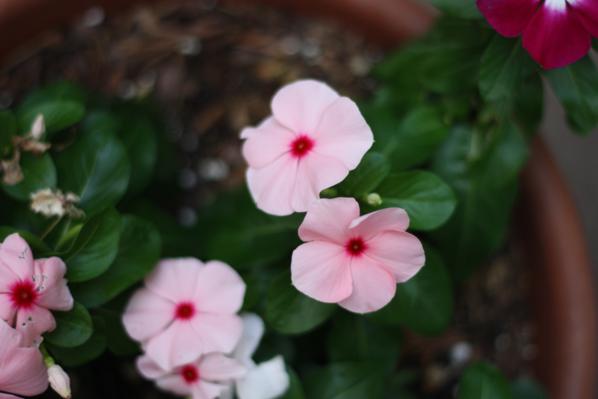
If those two were to kiss and make baby flowers, they'd probably look like these pale pink ones.


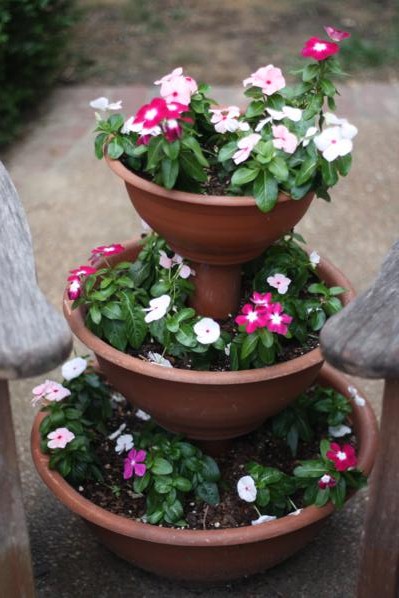
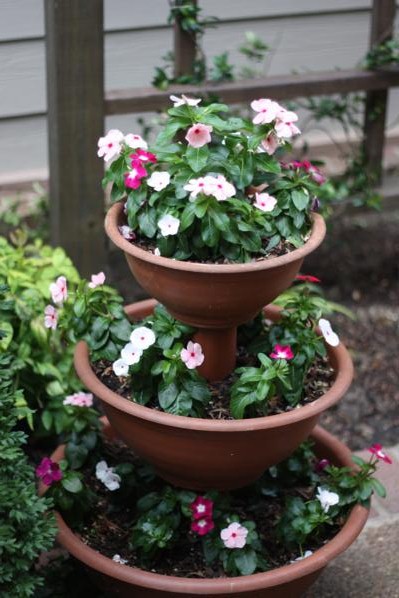
So now our two triple-tier pots are occupied by a big family of happy pink flowers!


A view from the top.  I'm pleased with how these have already started filling in.

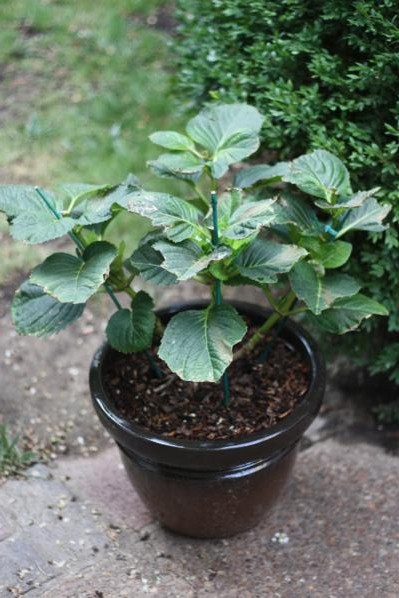
Staying in the courtyard, we also have this potted hydrangea.  My sister-in-law Beth gave it to me for Mother's Day - it's pink for baby girl.  It had beautiful pink blooms on it but they didn't survive while we were at the beach for a week.  I'm currently nursing it back to health and really hope we get to see more blooms this summer.

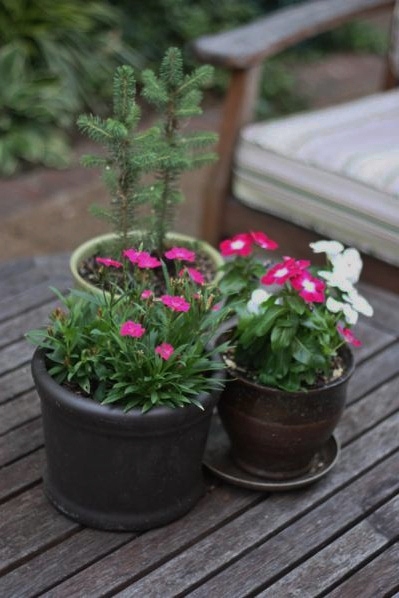
Also in the courtyard are these three pots that sit on the patio table.  Two are full of more fuschia flowers leftover from the beds.  The other has two teeny, tiny pine trees.  Each employee at my work was given a small pine tree last fall at a tree planting ceremony to celebrate our 50th anniversary (I ended up with two thanks to a coworker that didn't want hers).  They've definitely grown since I planted them but at the rate they're going, it may be years before I can put them in the ground!

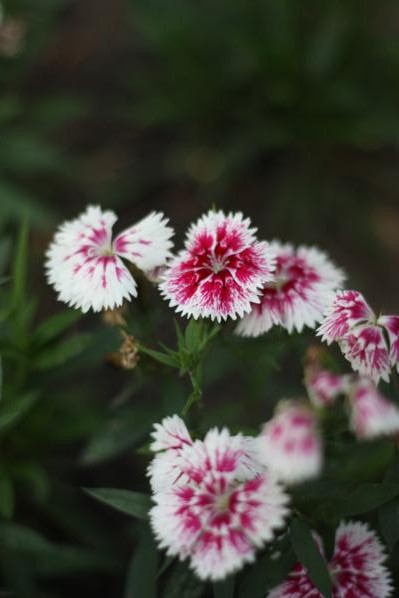
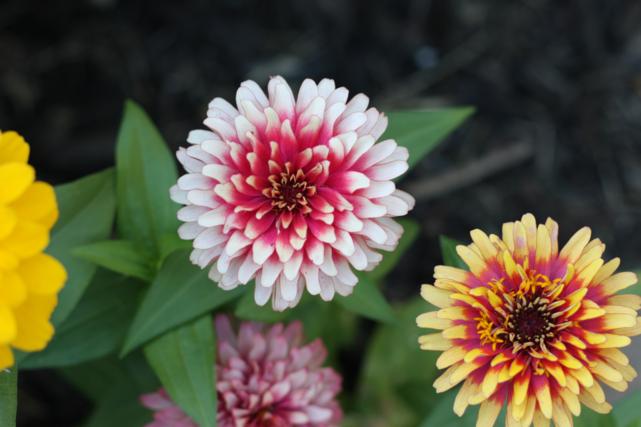
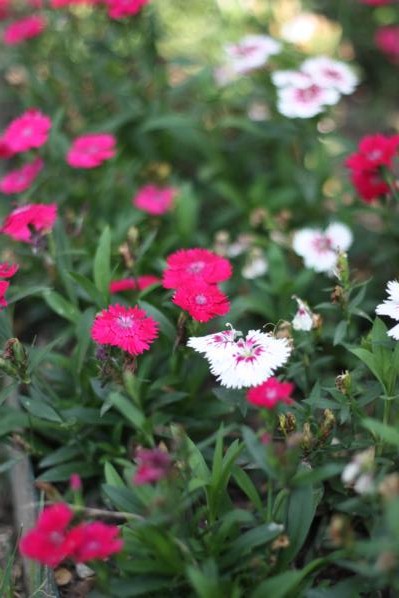
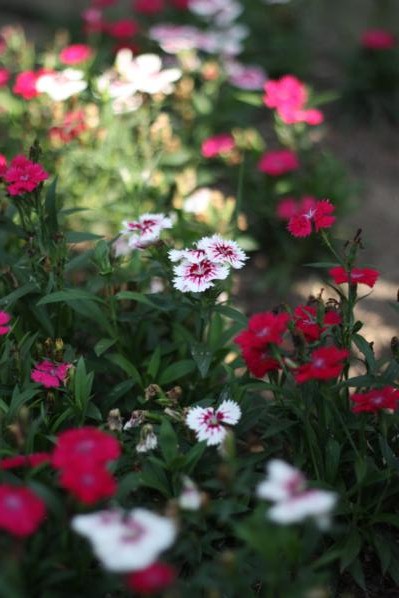
Moving on to the backyard - if you can even call it that - we have a row of more fuschia and white flowers.


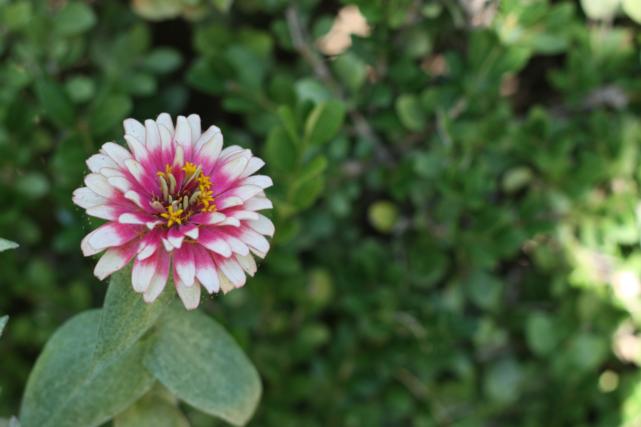
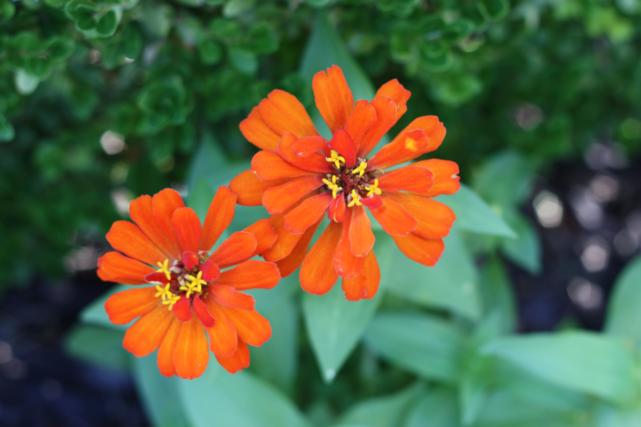
I don't remember what these are called - anyone know their name?  The fuschia ones are solid and the white ones look a little tie-dyed-ish.


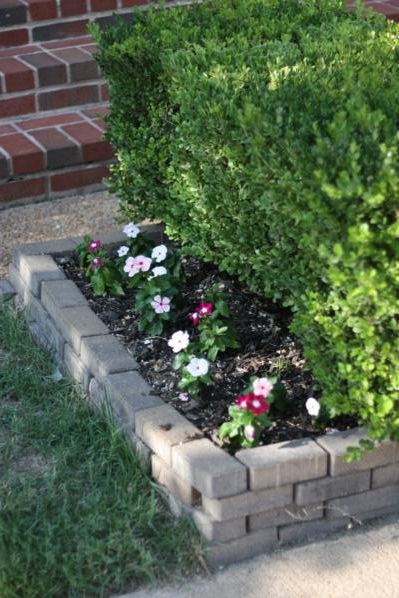
In the front yard, I planted more vincas in the two flower beds that line our sidewalk.  They haven't started multiplying as well as the ones in the pots yet.

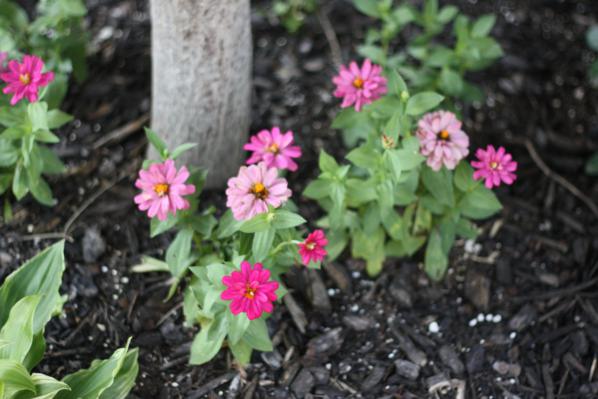
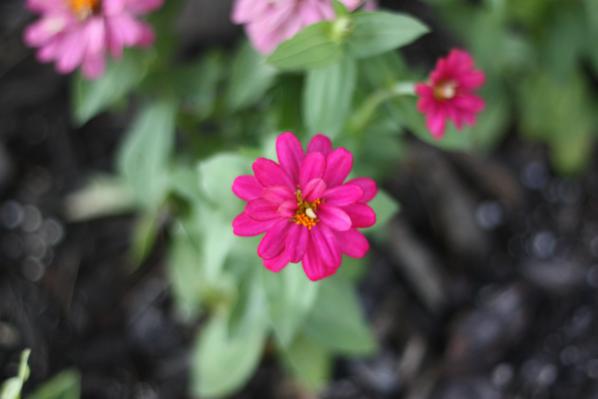
And, keeping with tradition, I planted zinnias underneath our Japanese Maple.

I usually go with lots of colors for the zinnias, but Home Depot only had pink at the time.  It's like they knew my color scheme!

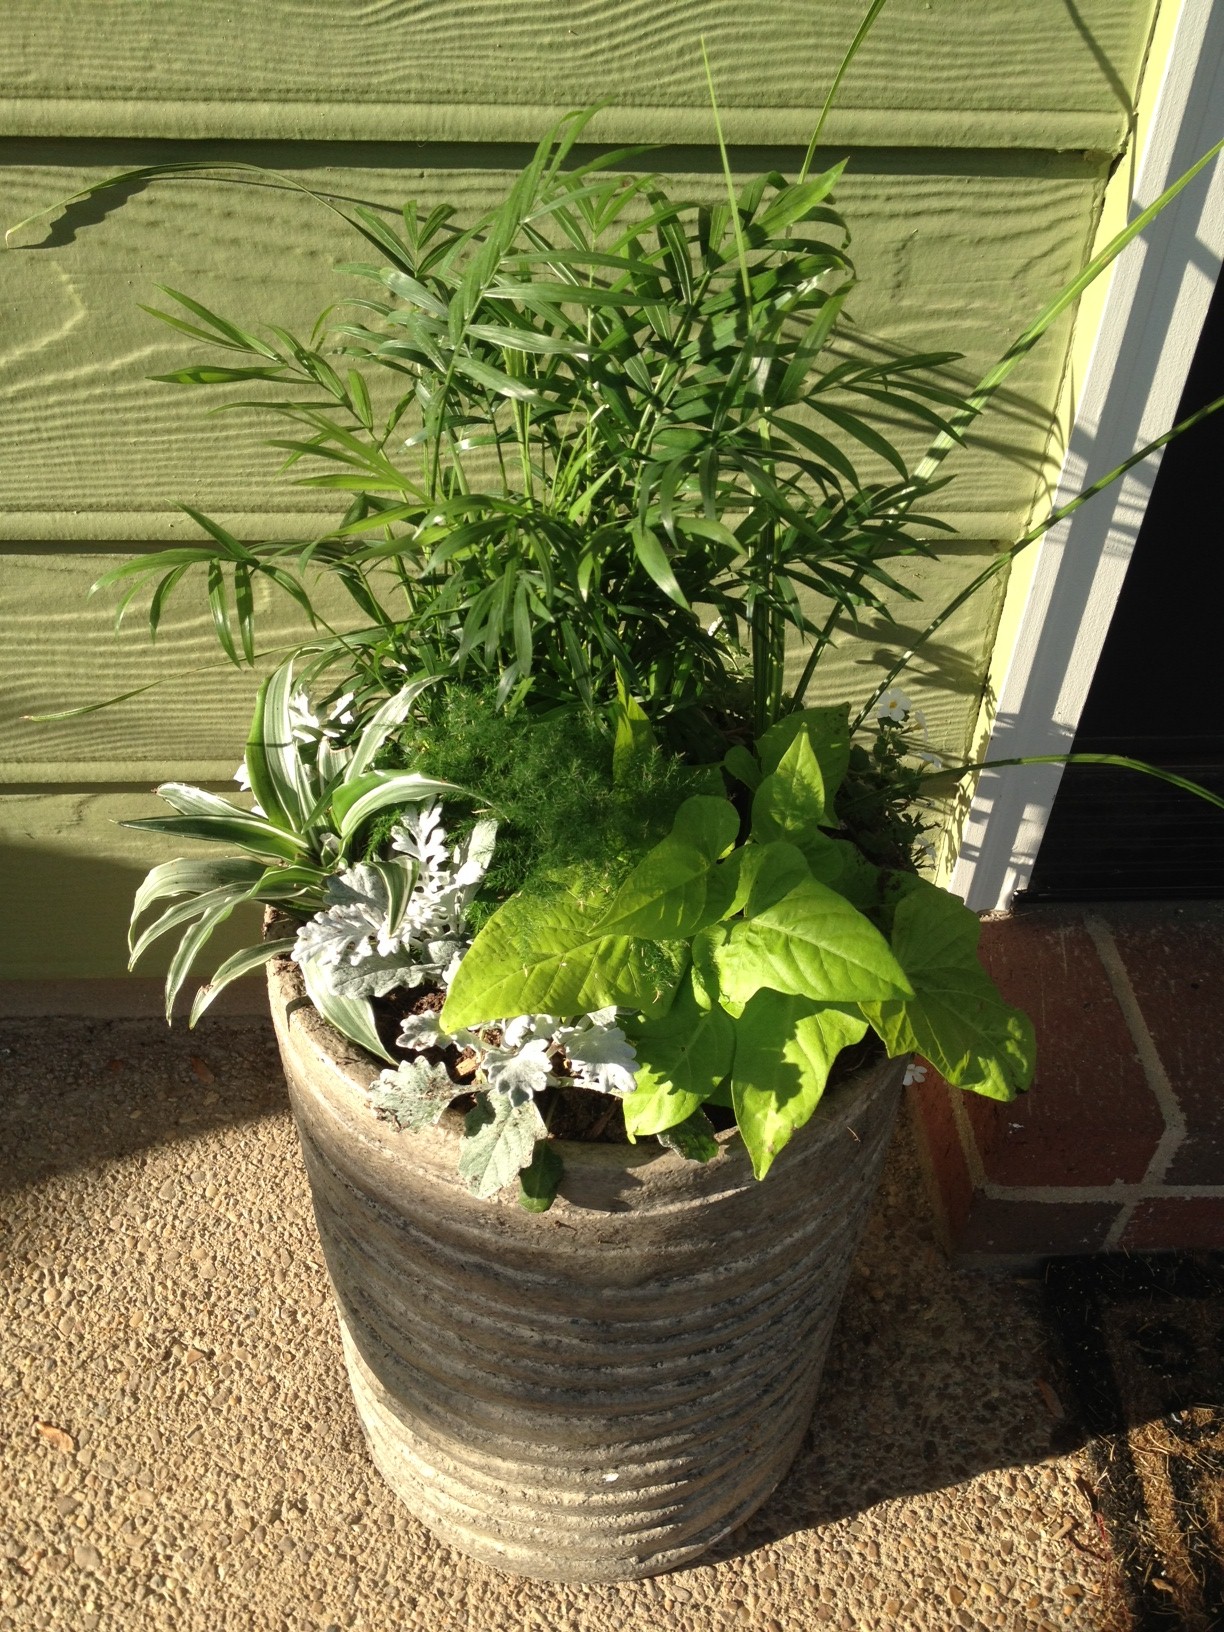
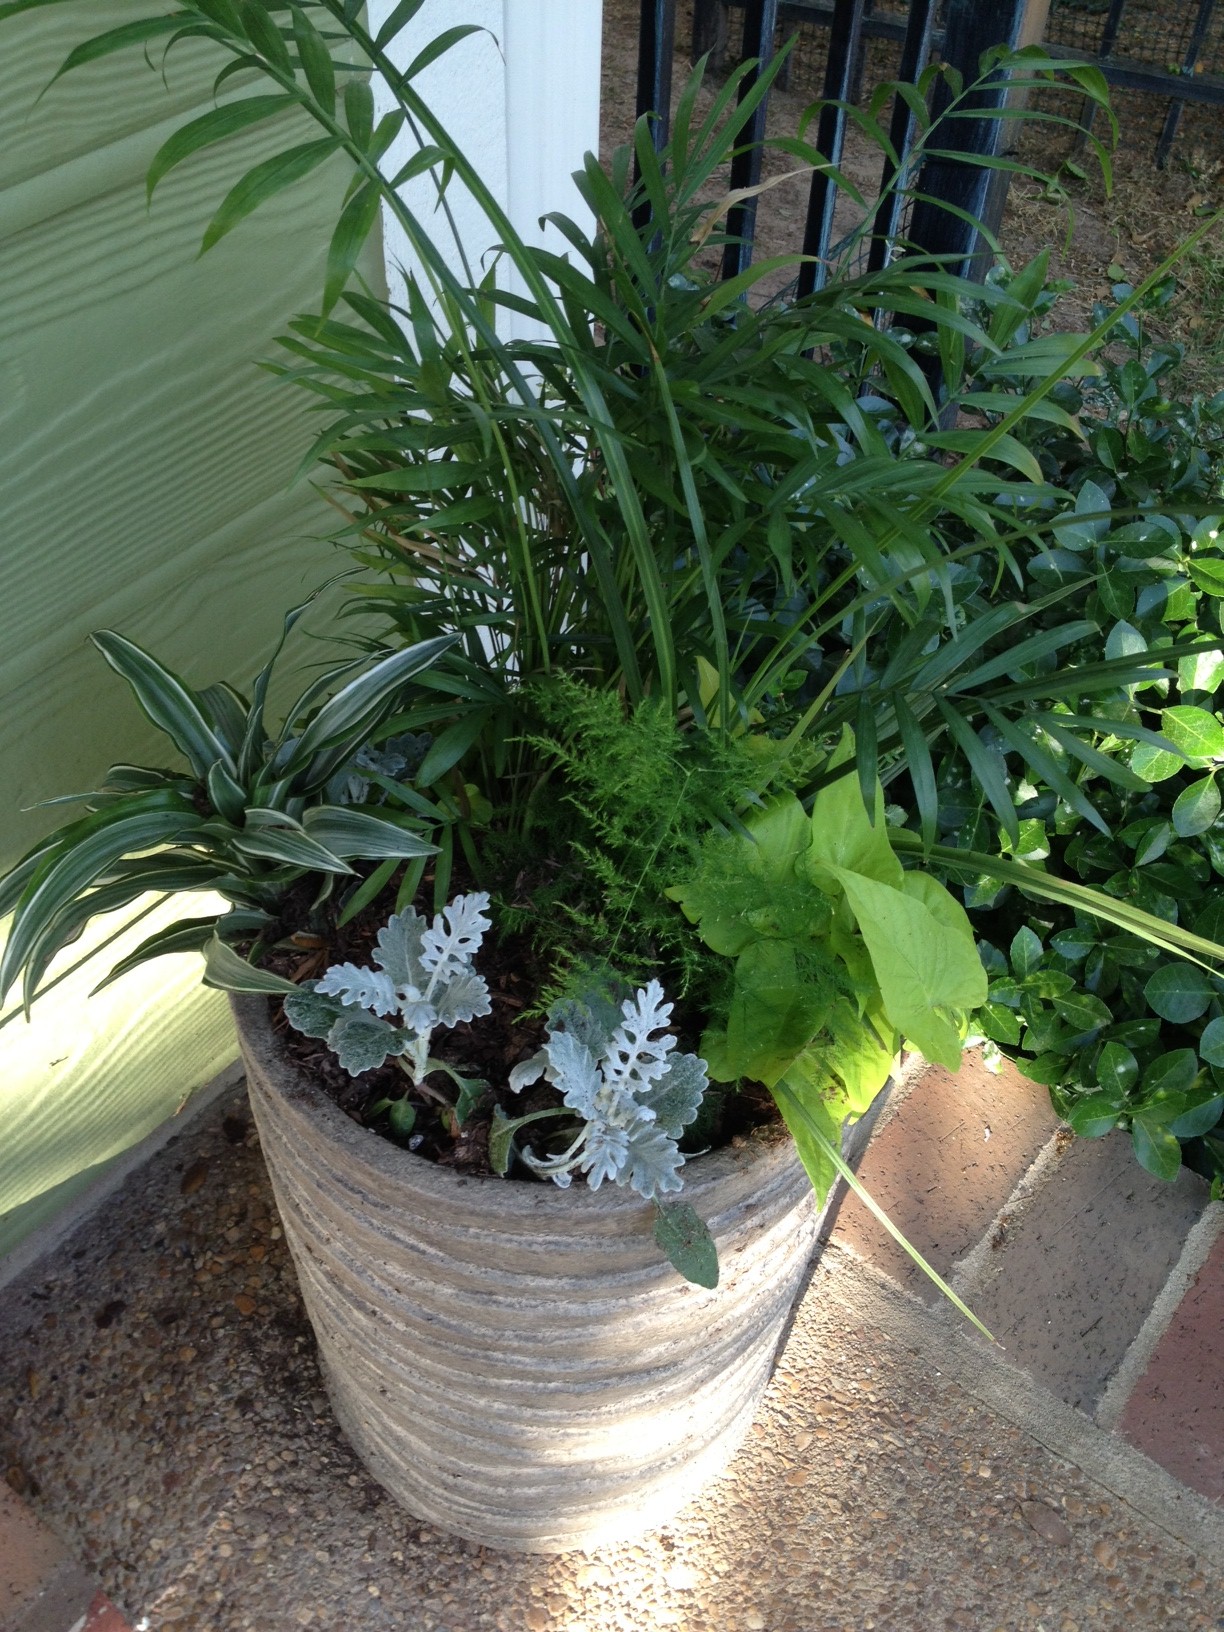
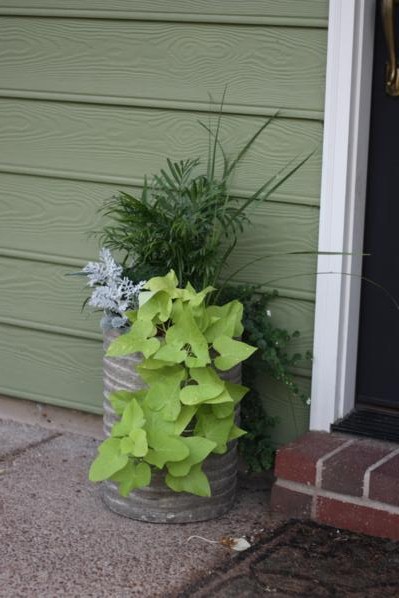
That completes our Tour de Pink.  I do have another plant update for you, though.  Remember these pots I did back in April?  They started out like this.


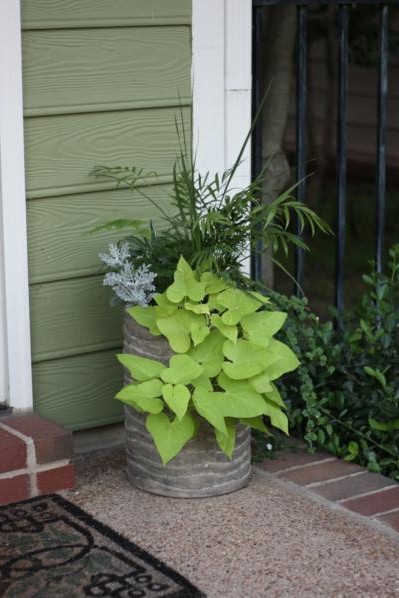
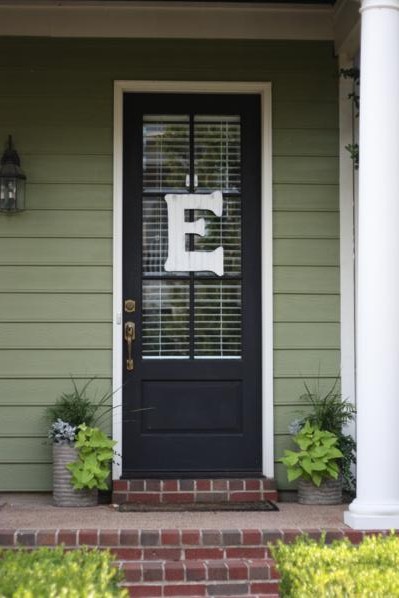
Well, they've definitely done some growing!  They've filled in quite nicely.


I love the way they look flanking our front door.

And now this gets us teed up and ready to talk about the project we just completed.  I'll start working on those posts tonight!

Mason Jar Shower

My mom hosted a couples' shower at her house Saturday night.  There were several other couples helping host and since it was my mom's house, she was just responsible for decorating and dessert.  Everyone else brought the food and drinks.  This meant that, by extension, I was responsible for decorating and dessert.  Centerpieces are something I love though, so I was happy to pitch in the help. After I finished all my baking Friday night and Saturday morning, I packed it all up to take over to Mom's around noon.  We had already done some pre-work on the centerpieces but flowers would need to be arranged too.  There was lots to do before the guests arrived!

When we started brainstorming about themes and ideas a while ago, my mom's only stipulation that it wasn't Eastery.  Being the night before Easter, it would've been really easy to go with that, but she didn't want the bride to look back years later and all the pics from the shower have bunnies and chicks in them.  She told me the bride had chosen yellow and turquoise for the wedding colors and so I suggested we go with a country-chic-ish theme with lots of mason jars.  So my mom spent the last month buying mason jars every time she was at the grocery store and we hit up every candy store for turquoise and yellow candy.

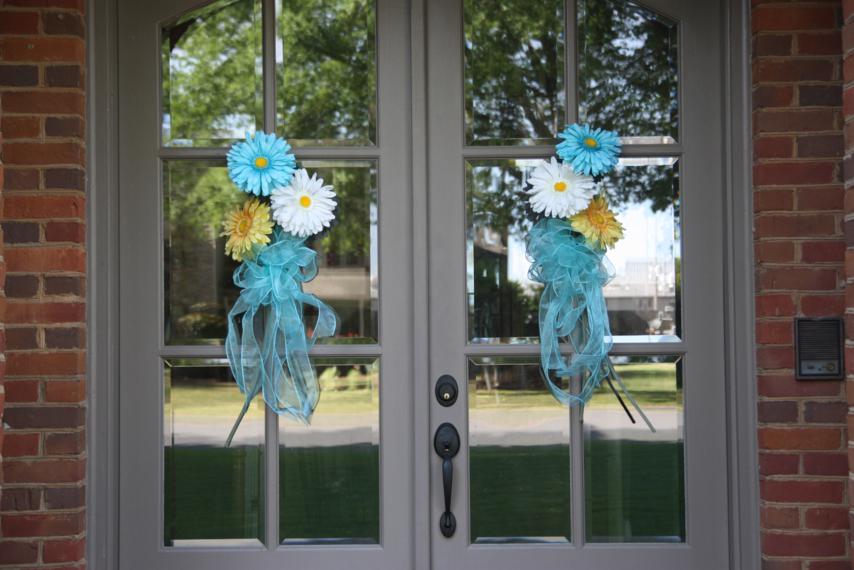
I'll spare you the details of us putting it all together and skip straight to the shots of how everything looked all set up.  No better place than to start with the front doors.  My mom picked up these big daisies at Michaels and used ribbon to tie them in bunches.

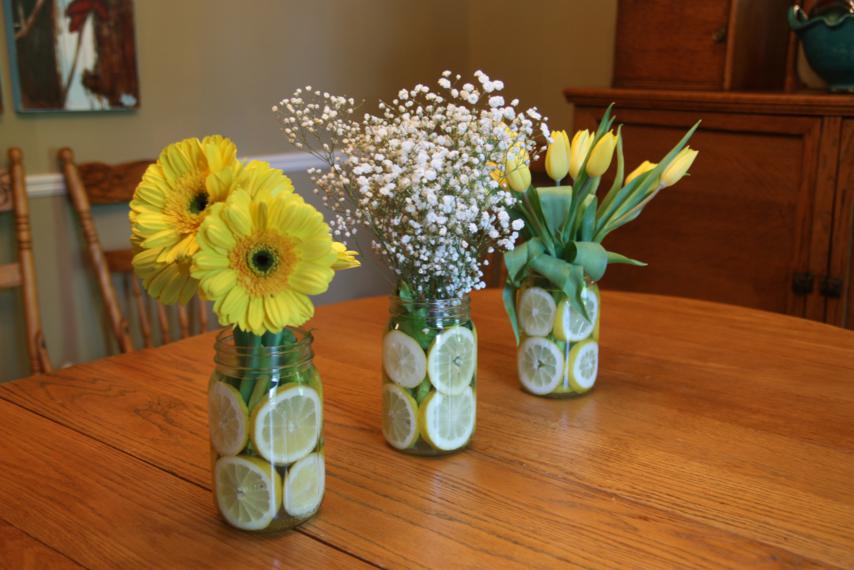
Right off the entry hall is the dining room.  We kept the centerpieces in this room simple since all the food would go here.  (I never got to see the food since I wasn't even invited to the party!)  Three large lemon-filled mason jars with daisies, baby's breath, and tulips.  Easy, simple, cute.

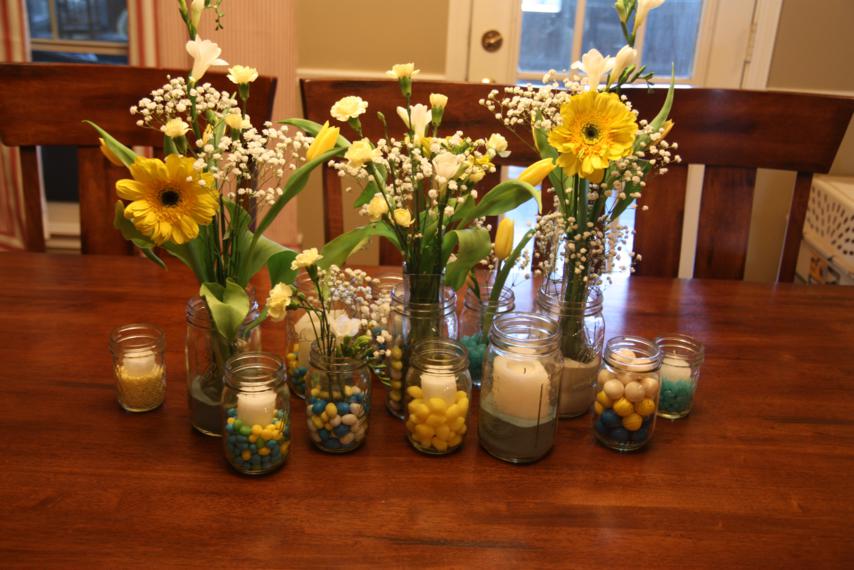
The centerpiece on the kitchen table wasn't quite as plain and simple.  We grouped mason jars in all sizes together and filled them with colorful candy, sprinkles, or sand.  Most of them also had either flowers or a candle in them.

View from the other side of the table.

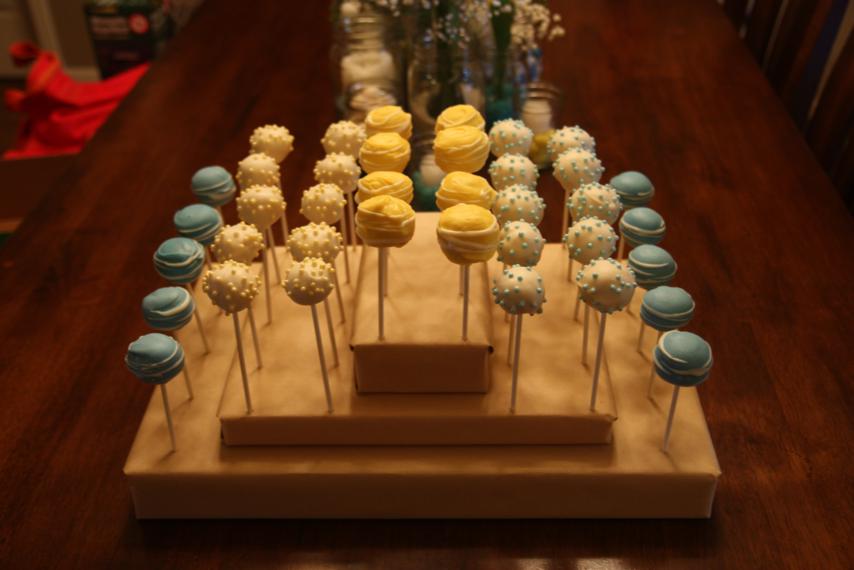
Since all the dinner food would be on the dining table, the kitchen table would hold all the desserts.  On one end, was my display of cake pops.  I layered three pieces of styrofoam that were covered in brown paper and carefully measured out my spacing.  I think my triple-tiered cake pops were cute!
From left to right: chocolate cake, white cake, lemon cake, yellow cake, and more chocolate.

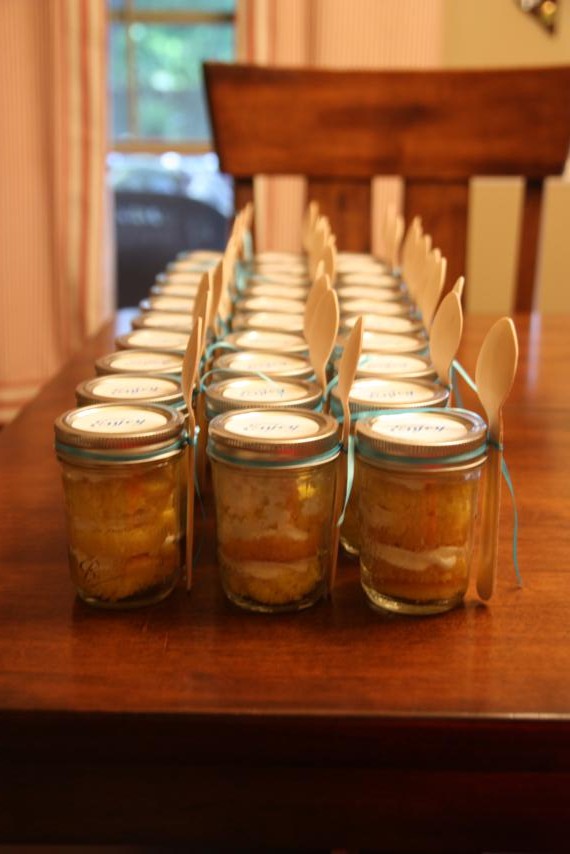
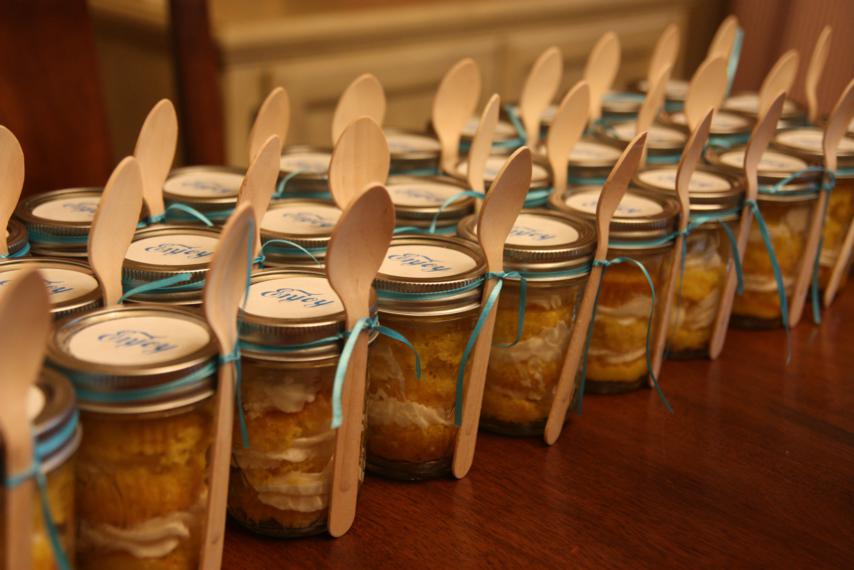
On the other side of the table were all the lemon cupcakes in jars, each with their own individual spoon.

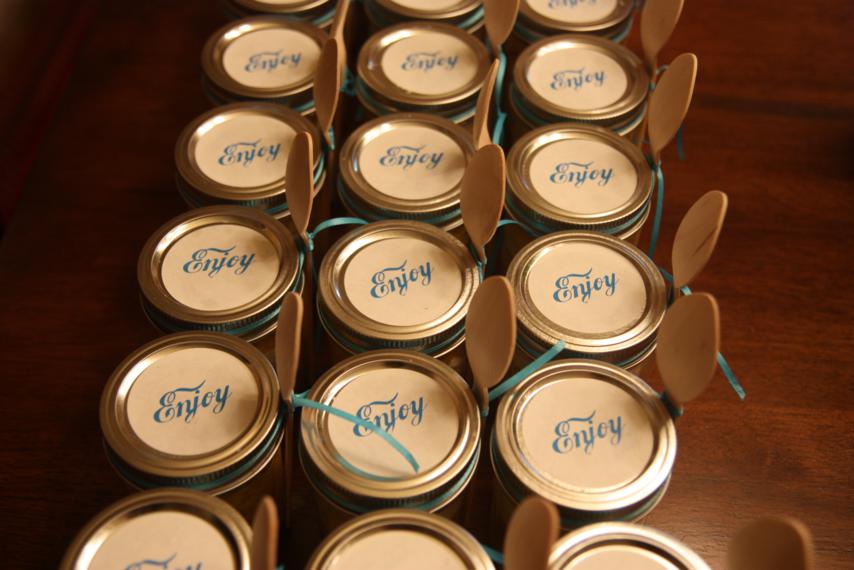
Coca-cola font!

And one last shot because I think they're so cute.

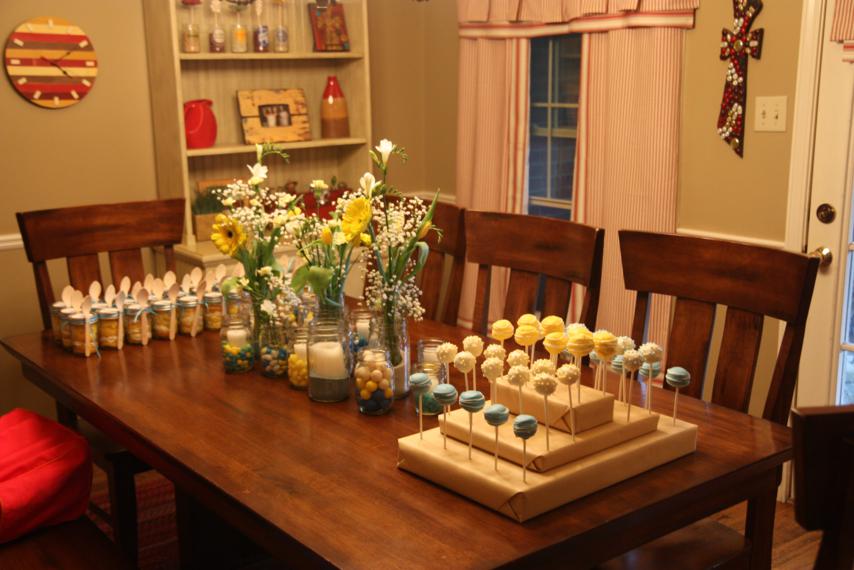
So the full table looked something like this.  Very yellow, very turquoise.

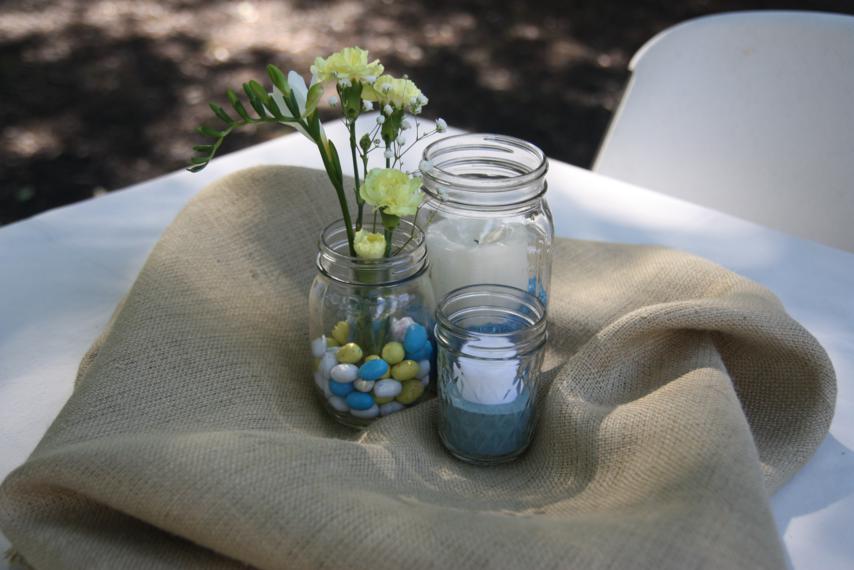
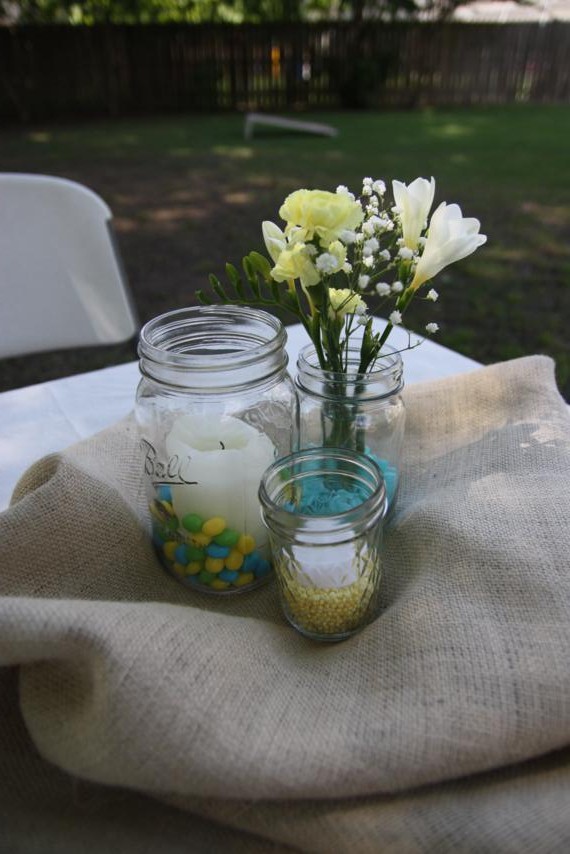
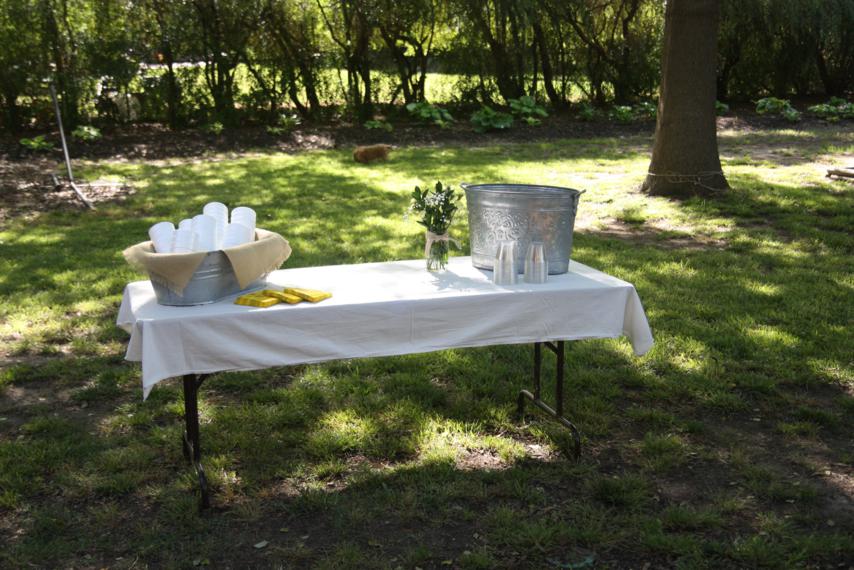
The inside tables weren't the only ones we had to decorate.  Because the weather was so nice and my mom's house gets crowded first, she also set up a few card tables outside where all the drinks were.  Those tables each got a simple table cloth topped with a piece of burlap and 3 mason jars.

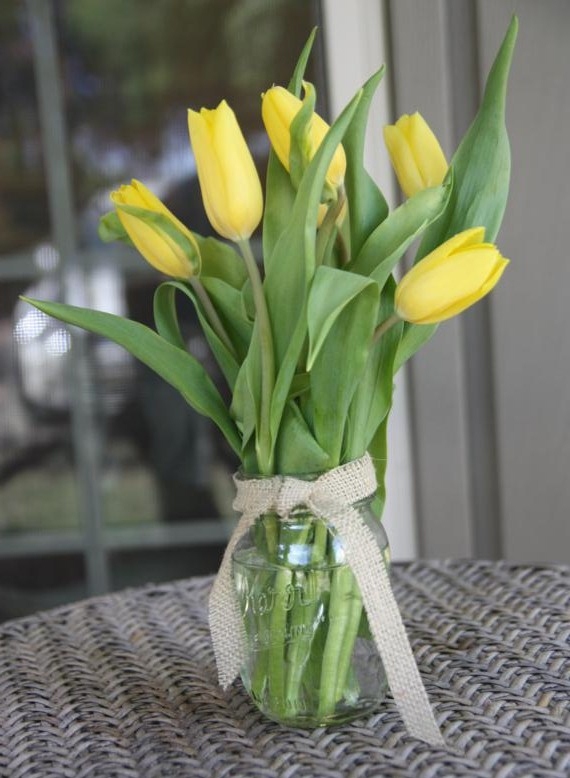
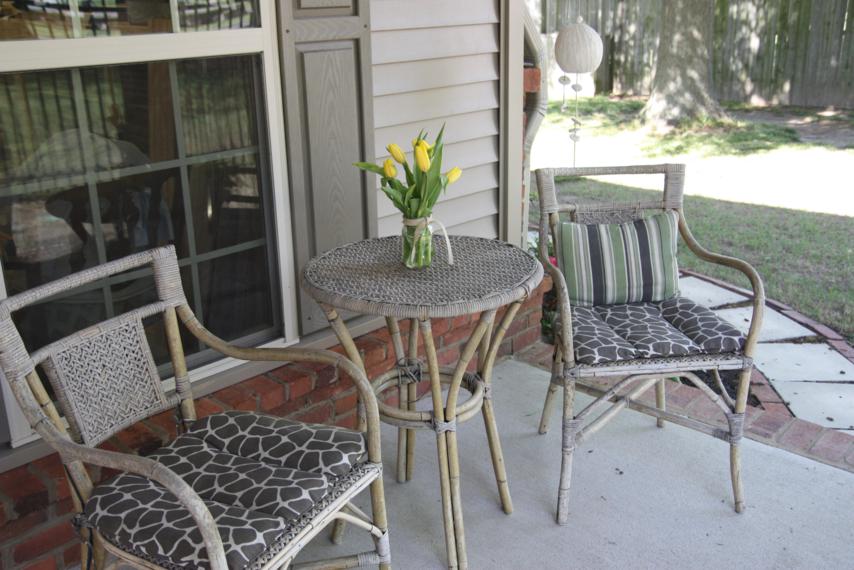
Once all the flower arrangements were done, we still had a bundle of tulips left over.  We split them between two more mason jars and tied a strip of burlap around them.  They were perfect to sit out on the shop patio.

The drink table was outside too.

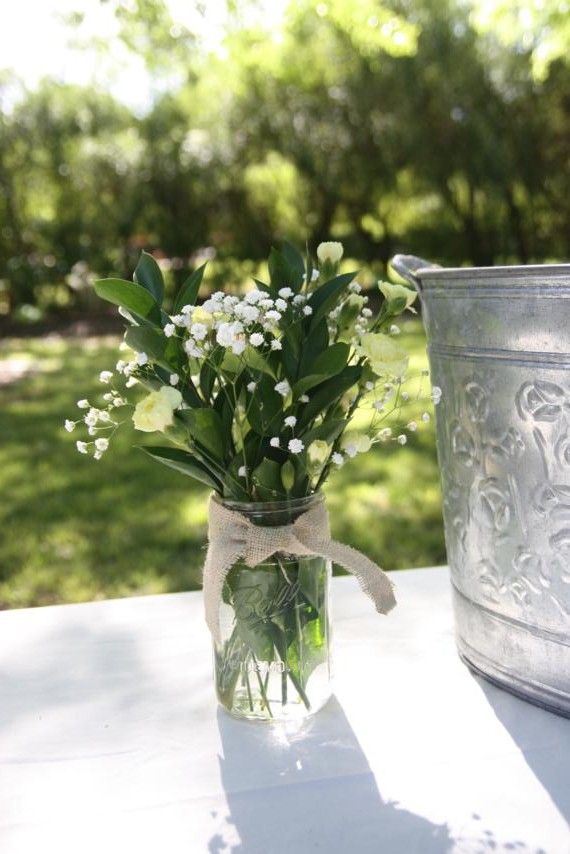
I only had a few sprigs of baby's breath and a couple of yellow carnations left, so I added some greenery to them for one last arrangement on this table.

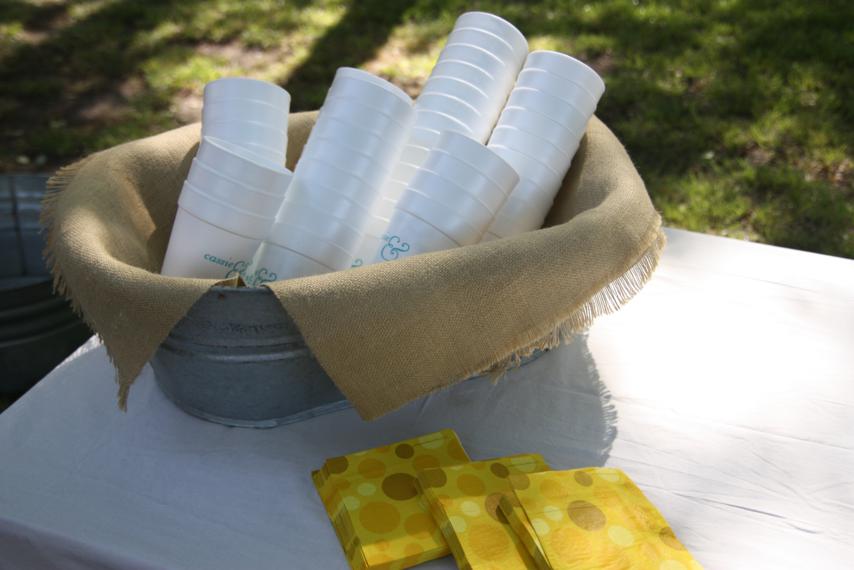
The burlap was used here too, this time in a bucket for the styrofoam cups.

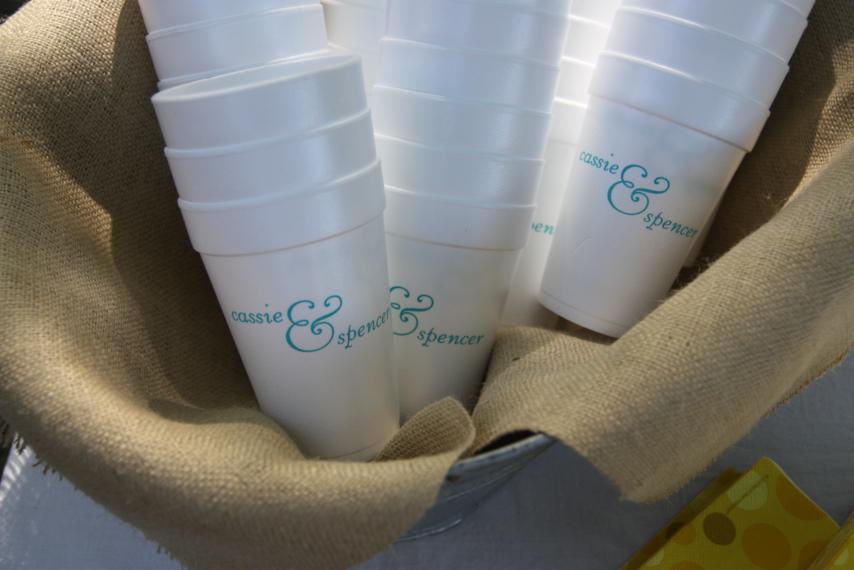
The cups were personalized for the bride and groom.

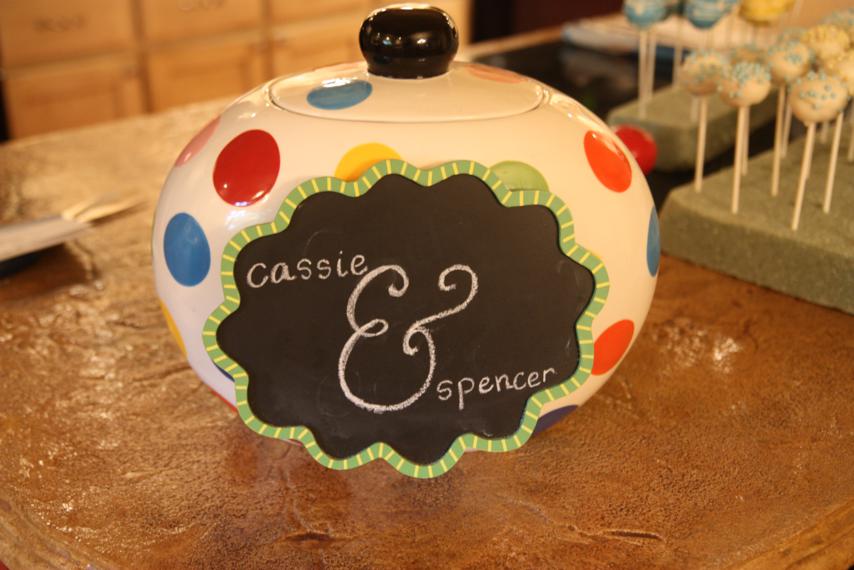
And with that, my job here was done.  For one last finishing touch, I personalized my mom's cookie jar for the bride and groom before walking out the door.

Now that I've posted this all here, it might be harder for me to reuse these ideas for the next shower I host.  Rats.  If you see the mason jars again, act suprised, ok?

Apple Vases

Hi, friends!  Hope you all had a great weekend.  I did even if it did feel a little short.  But really, don't they all? My mom hosted a bridal shower at her house yesterday afternoon and she roped me into doing the centerpieces for it.  Considering she practically cooked all the food for the last shower I hosted, I figured I probably owed her.  I think I even got off a little easy with just having to do centerpieces.

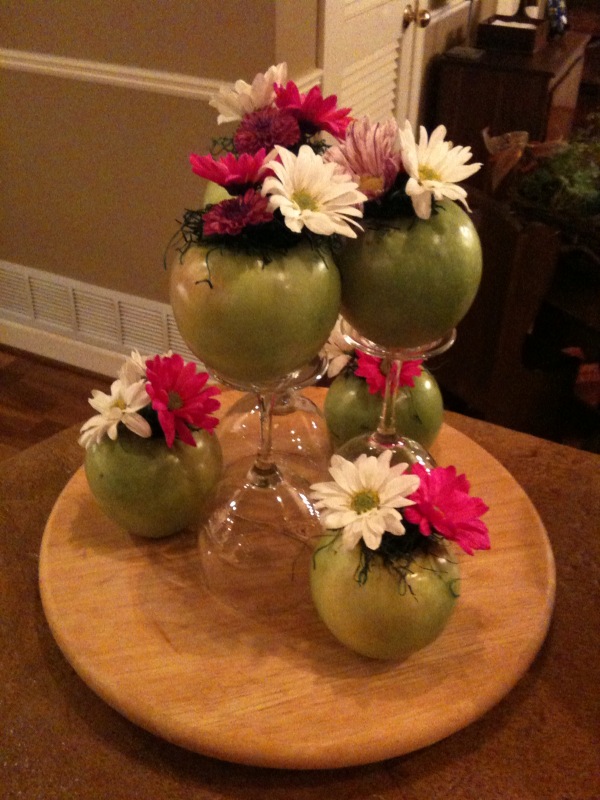
So, you've seen how I turned apples into candle holders here, and how I covered a votive with a balloon to make a bud vase like this, and now I'm going to show you how I combined the two ideas.  I took the apple-as-a-base thought and combined it with the lots-of-small-flower-arrangements thought, and ended up with apple vases.  Need a visual?

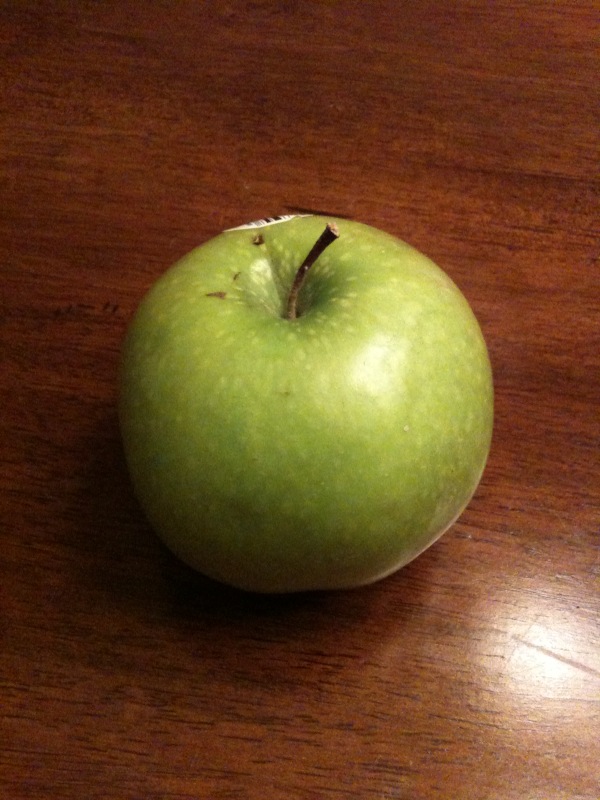
If you attended my wedding (or even if you've just seen pictures), you know that green apples are my favorite.  The bride that this shower was for is using black, white, and green as her wedding colors but the color scheme for this shower was pink and green.  So it was perfect for me to use more green apples.

You'll have to excuse the quality of these pictures because they were all taken with my phone.  Once again, I forgot to bring my camera with me.

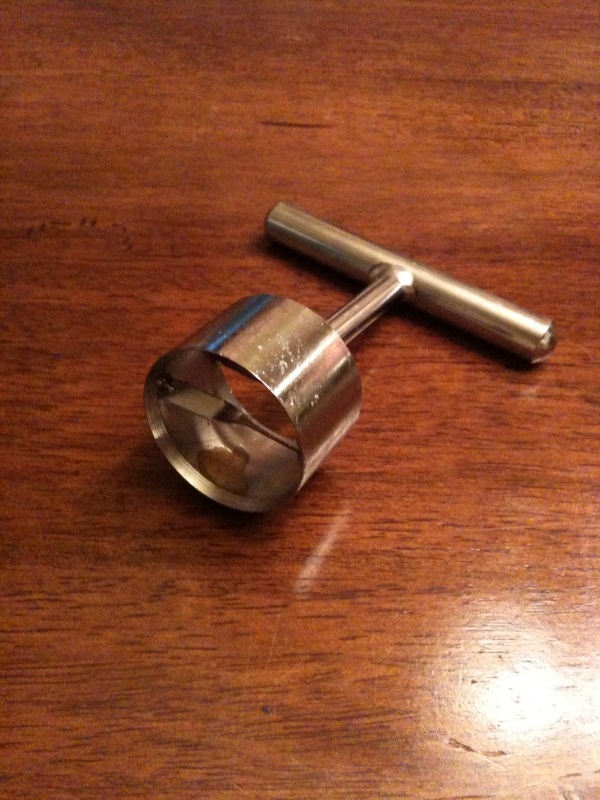
I ordered this handy-dandy tool about a year or so ago.  It's the Tea Light Fruit Candle Carver Tool.  How's that for a name?  When I ordered mine, they were sold out on every US website that I could find so I had to order it from somewhere in Canada.  Didn't really expect it to get held up in customs but it did.  It took months for it to come in.

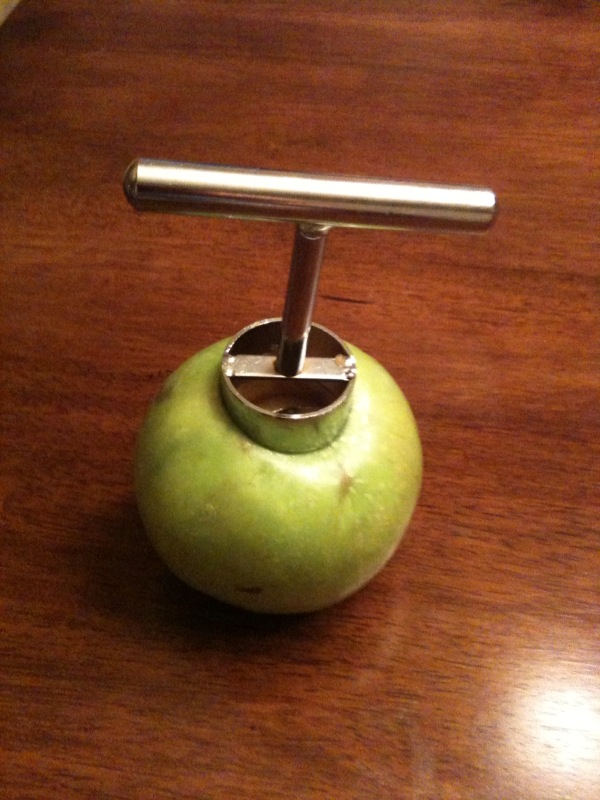
The tool twists into a piece of fruit like this:

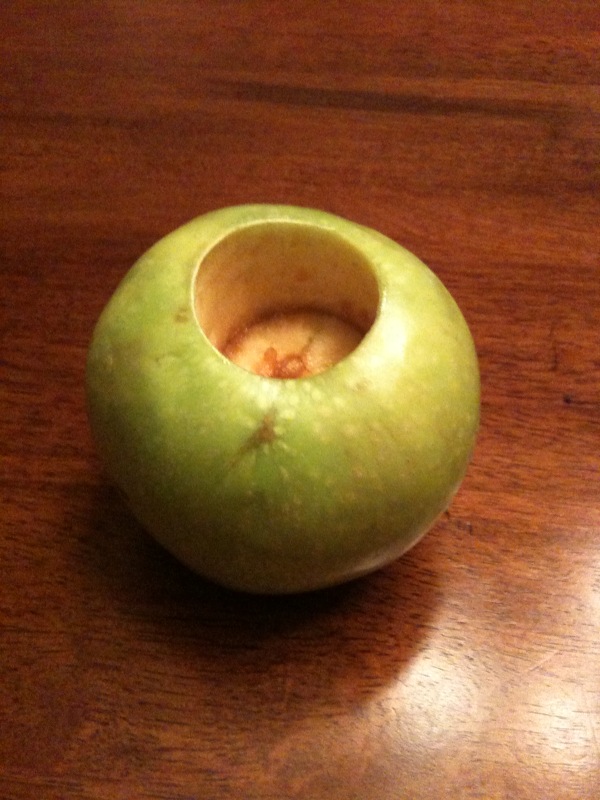
And then carves out a perfectly sized hole.

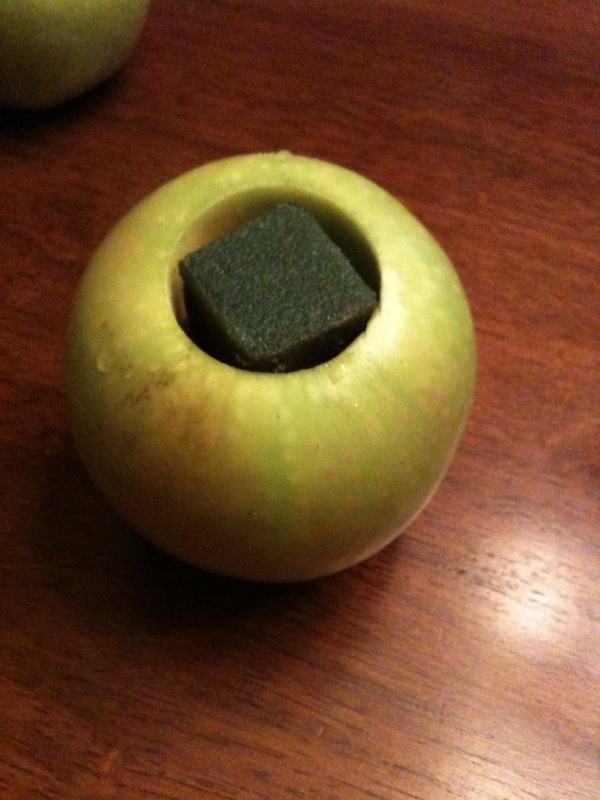
Usually I'd just pop a tea light into that hole and call it a done deal, but I was going for a different look this time.  Instead of popping in a tea light, I popped in a piece of oasis.

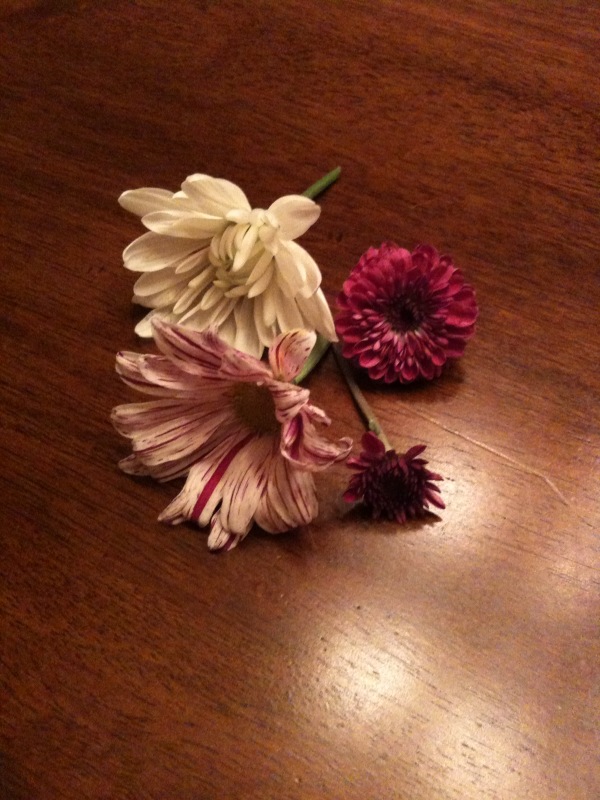
I had a limited amount of flowers so I just wanted to use 2 or 3 per apple.  I clipped the stems short.

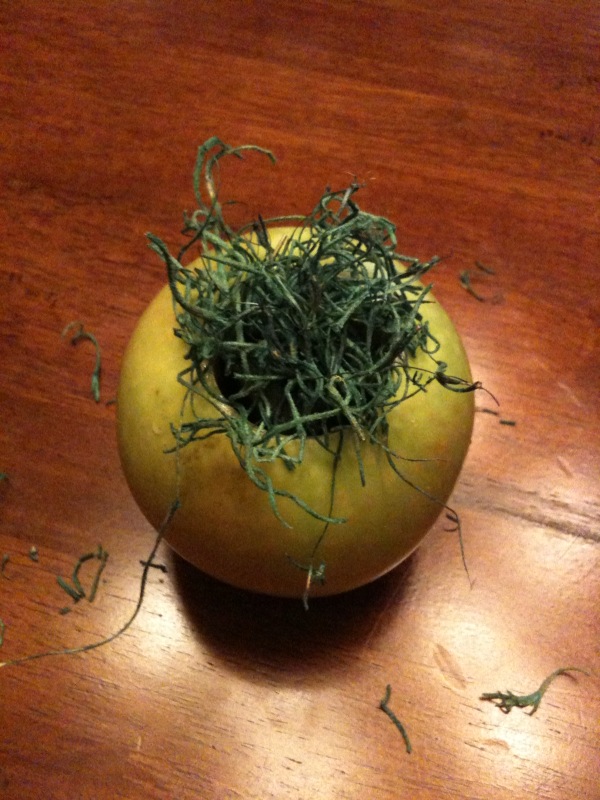
Now, I could've just stuck the flowers in the oasis and called it a day, and that is what I did at first.  Turns out, though, that you could see the oasis and part of the holed-out apple through the flowers, and I didn't like that.  To solve that problem, I stuck a small ball of green moss on top of the oasis.  This is when things started getting messy.

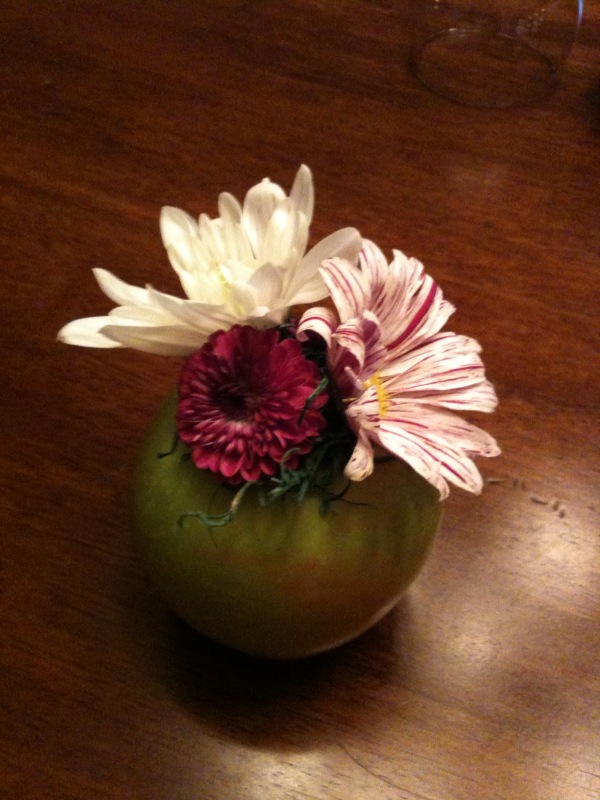
With the moss on top, then it was just a matter of poking in the flowers.  I didn't attach the moss at all, I just held it on there and let the flower stems go through it and hold it in place.

Kinda cute, right?

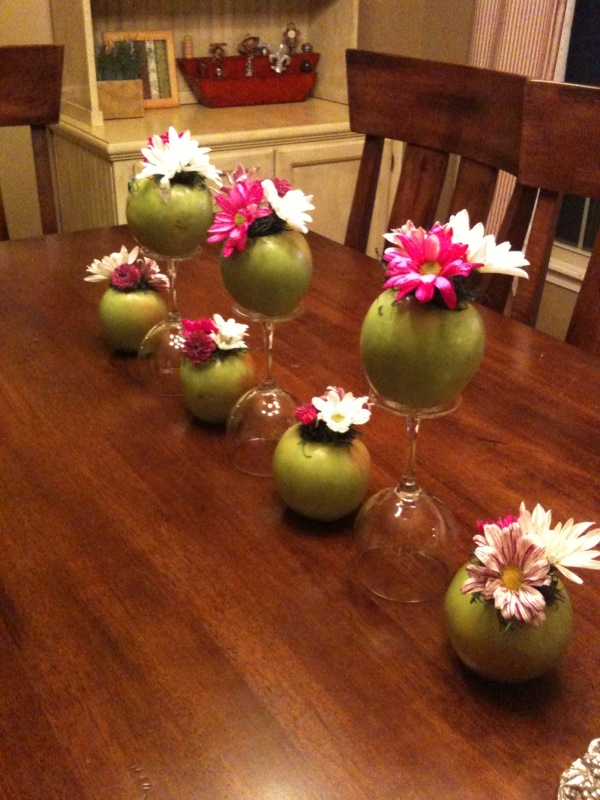
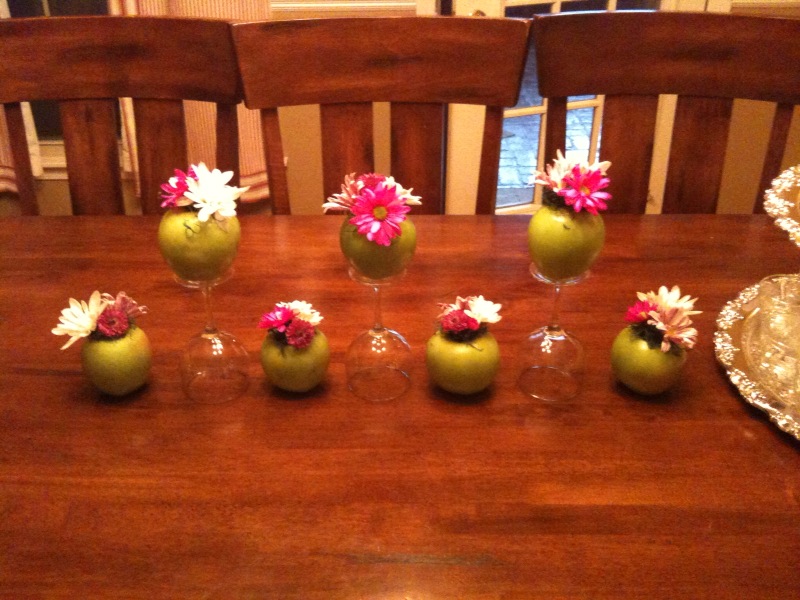
But obviously one apple with four measly flowers does not a centerpiece make.  The real magic was in arranging them! (Oh geez, what a corny line.)  I originally thought I'd just line them up in a row on the table, but then we decided it needed a little height.  Definitely something a couple of upside down wine glasses could solve.

I loved it!

Here's a straight-on view.

We placed some on the corner of the kitchen bar too.

What do you think?  Like 'em?  One of the women at the party asked for a centerpiece idea for an engagement party that she was doing around the 4th of July.  I just suggested doing the same thing but with red apples and white flowers.  Not only would it be cute, but it'd stick with the patriotic color scheme but without being stars and stripes.

I should've brought all the leftover apple flower arrangements to work with me for a little happy on each of my coworkers' desks, but I didn't think of that until now.  Oh well.

Doc just called from his plane - he's leaving me for Philadelphia tonight.  I'm home alone, the laundry has been folded and put away, my clothes for tomorrow have been picked out and ironed, my workout (mini as it may be) has been done, and this post has been written.  Since it's Monday night, there's only one thing left to do: settle in on the couch and get ready for The Bachelorette!

(Judge me if you want, it's my guilty pleasure.)