Today, I have a super cute tutorial to share with you. I can't take credit for the cute idea or even for finding it online. My friend Mary Elizabeth sent me a link to the tutorial because she thought I might like it, and she was right. If you're interested in trying this yourself, I suggest clicking the link to that tutorial. I'll walk you through my experience but her tutorial is very good and easy to follow. It all started with this Jos A. Banks shirt that Doc was ready to donate to Goodwill. I intercepted it a few months ago thinking I might make something out of it, only at the time I had no idea what.
It was a little too big for me to wear.
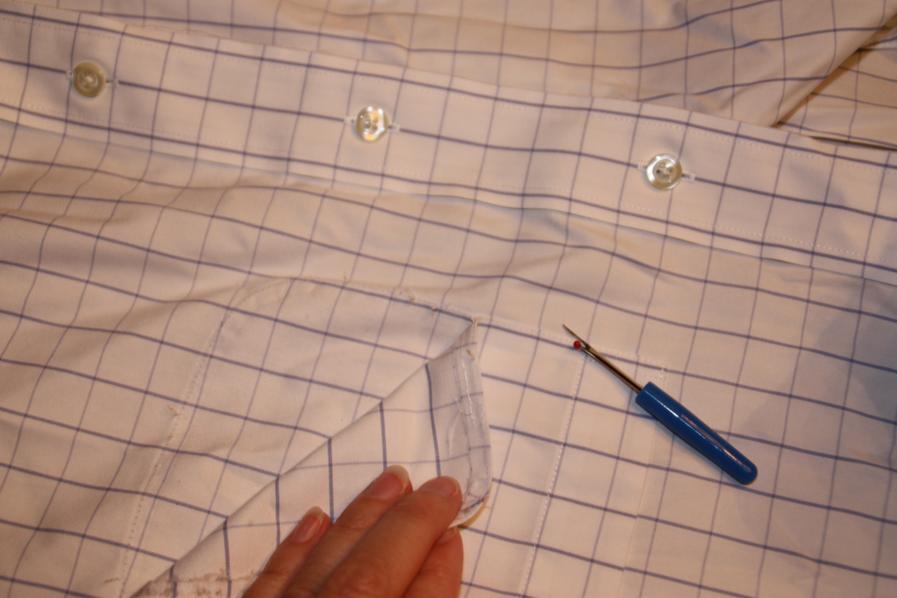
Following the tutorial, the first thing I had to do was get rid of the pocket.
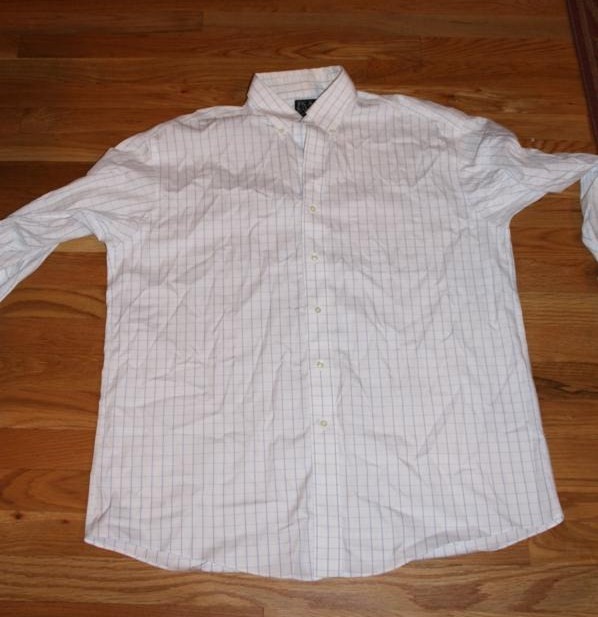
Then, I laid the pocket-less shirt out on the floor...
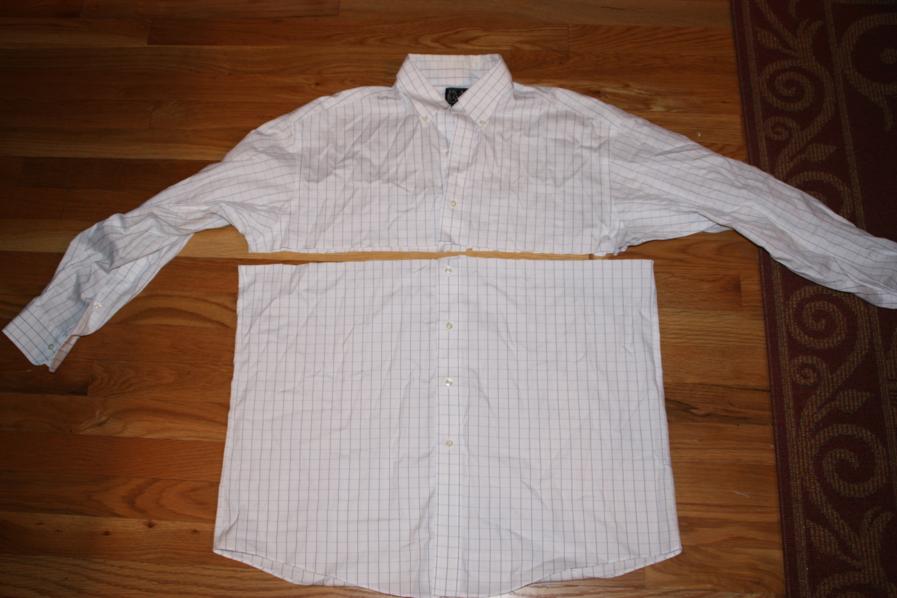
...and cut it half right under the arms.
This was when Doc and Anna started looking at me like I was crazy. Oh, my family of little faith.
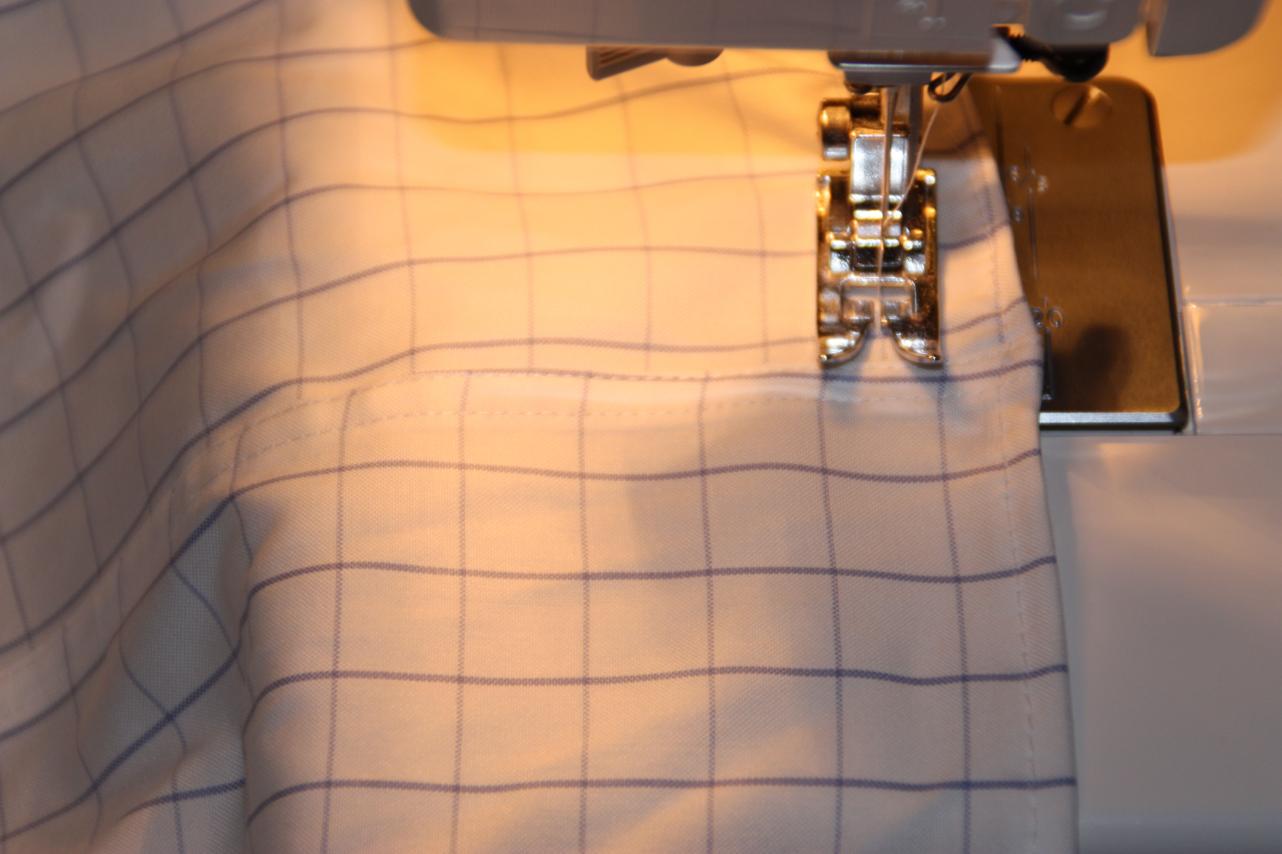
I hemmed the freshly cut edge to match the hem at the bottom.
Now, shirring was the next step and because it was getting late and I was very intimidated by the shirring tutorial, I decided to put it up for the night.
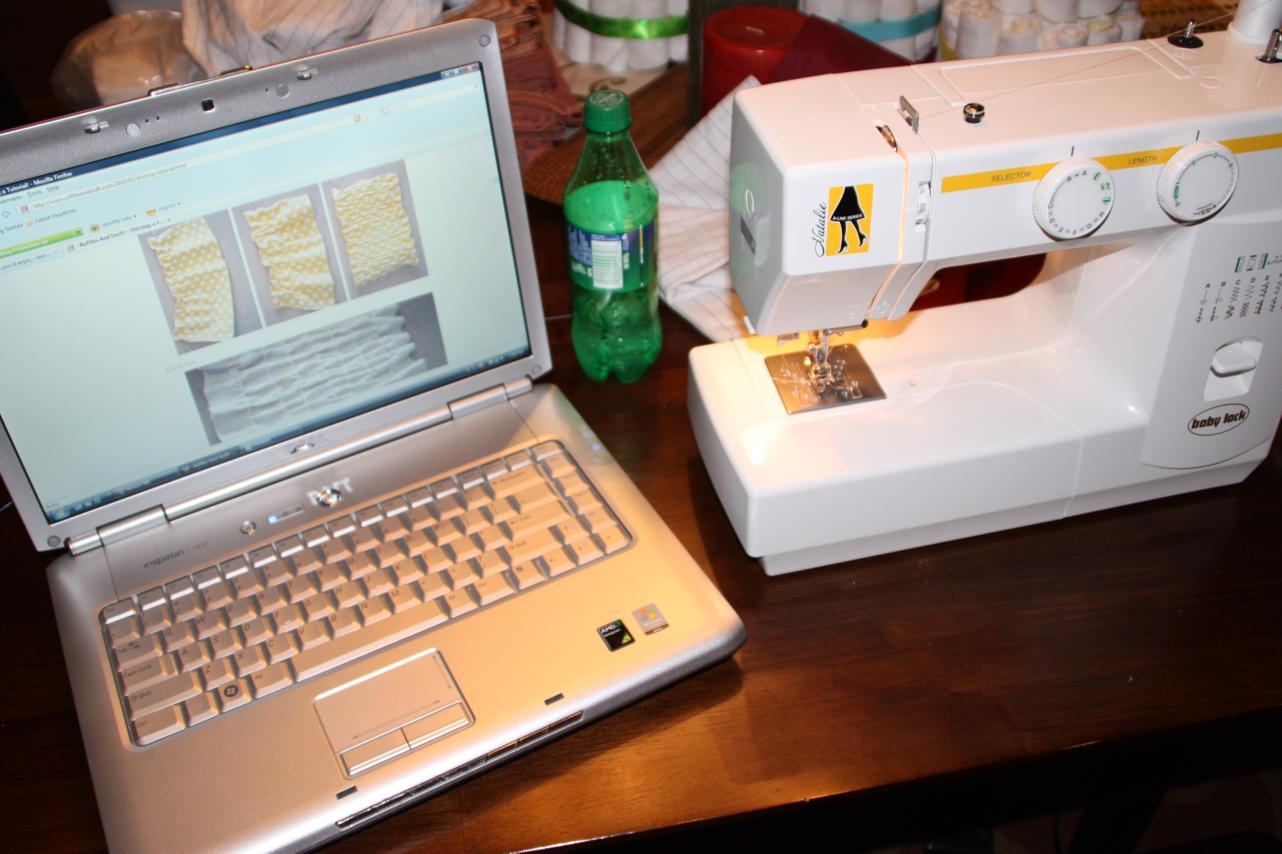
On Wednesday, Doc was off gallivanting in Virginia so I got brave and decided to give the shirring a try. I set the tutorial up as close to my sewing machine as possible.
The first step on the shirring tutorial is to lightly mark straight lines on your fabric. I congratulated myself for being the smartest person in the world by choosing a fabric that already had straight lines. I put the elastic thread on my bobbin, and it was time to get started!
Everything was going great until I got to the seam. Apparently Jos A. Banks doesn't see the importance of matching the lines of their fabric together.
I decided to just barely slant until I made it to the next line. It's under the arm, right? Who's going to be looking there?
Let me stop here and tell you that if you want to learn how to gather fabric, then you absolutely must check out this shirring tutorial. It is "sew" easy to follow you won't even have to call your mom halfway through to have her figure out what you did wrong over the phone.
If I can do it, anyone can do it!
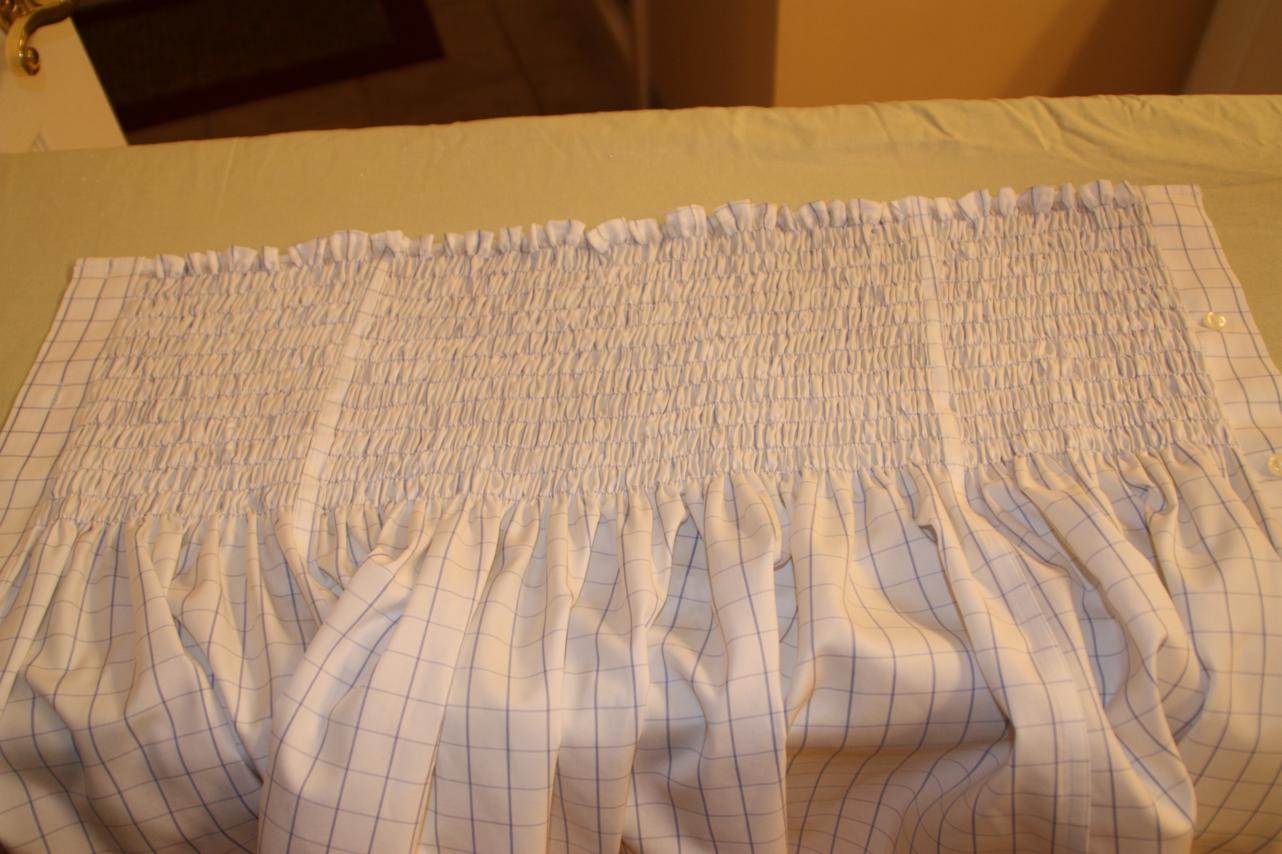
Since I followed the existing lines on my fabric, mine were a little bit more spread out than those on the tutorial. I think she recommends doing 13 rows, but I only did 12.
Up next came the ironing part. I laid it out on my ironing board,
sprayed it with some water, and then gently set the iron on it. This causes the elastic to draw up and pulls the gathers in closer.
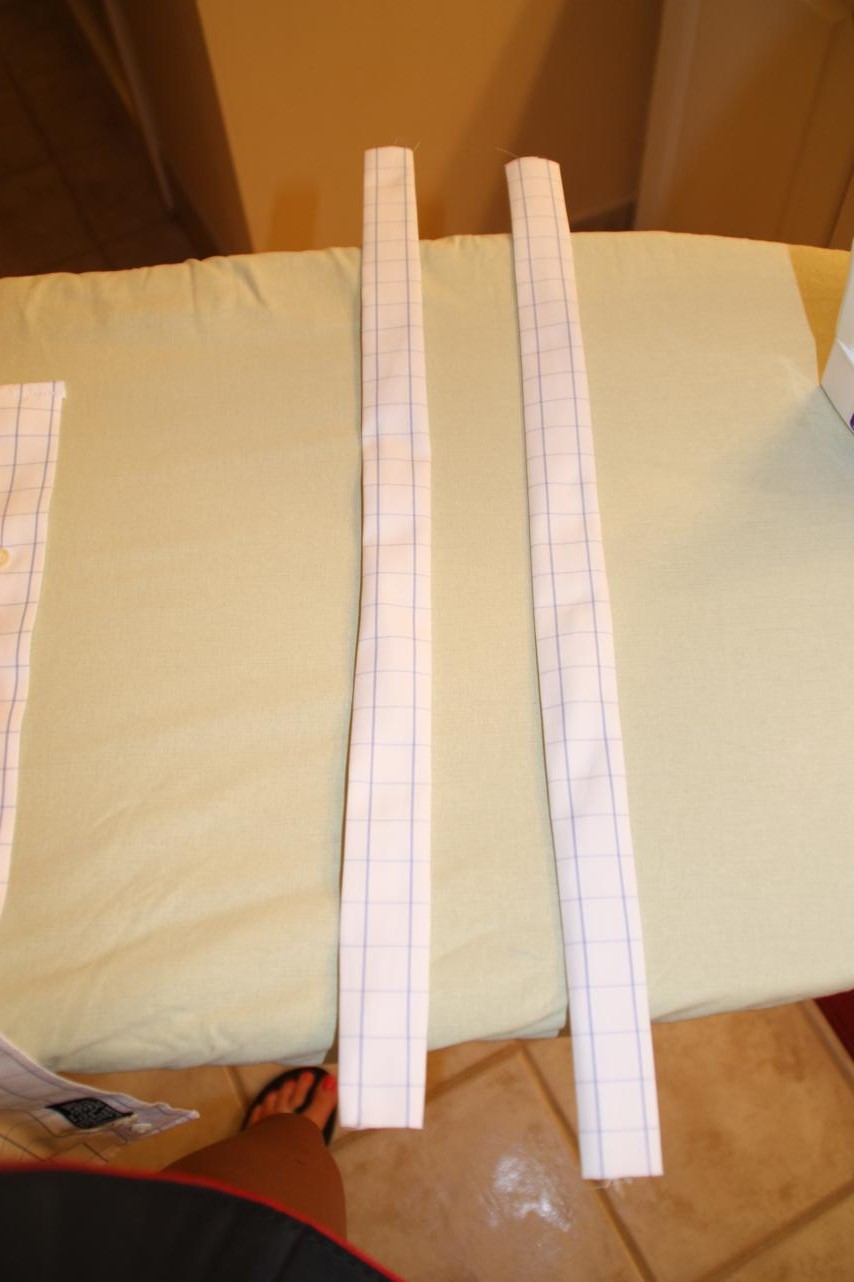
The base of my shirt was now done! I used a leftover sleeve to cut strips to make my straps.
The tutorial says to make four straps - two for each side that you tie together at the top. Because I hate wearing a strapless bra, I decided I'd just make two straps and make them a little bit wider so they would cover my bra straps.
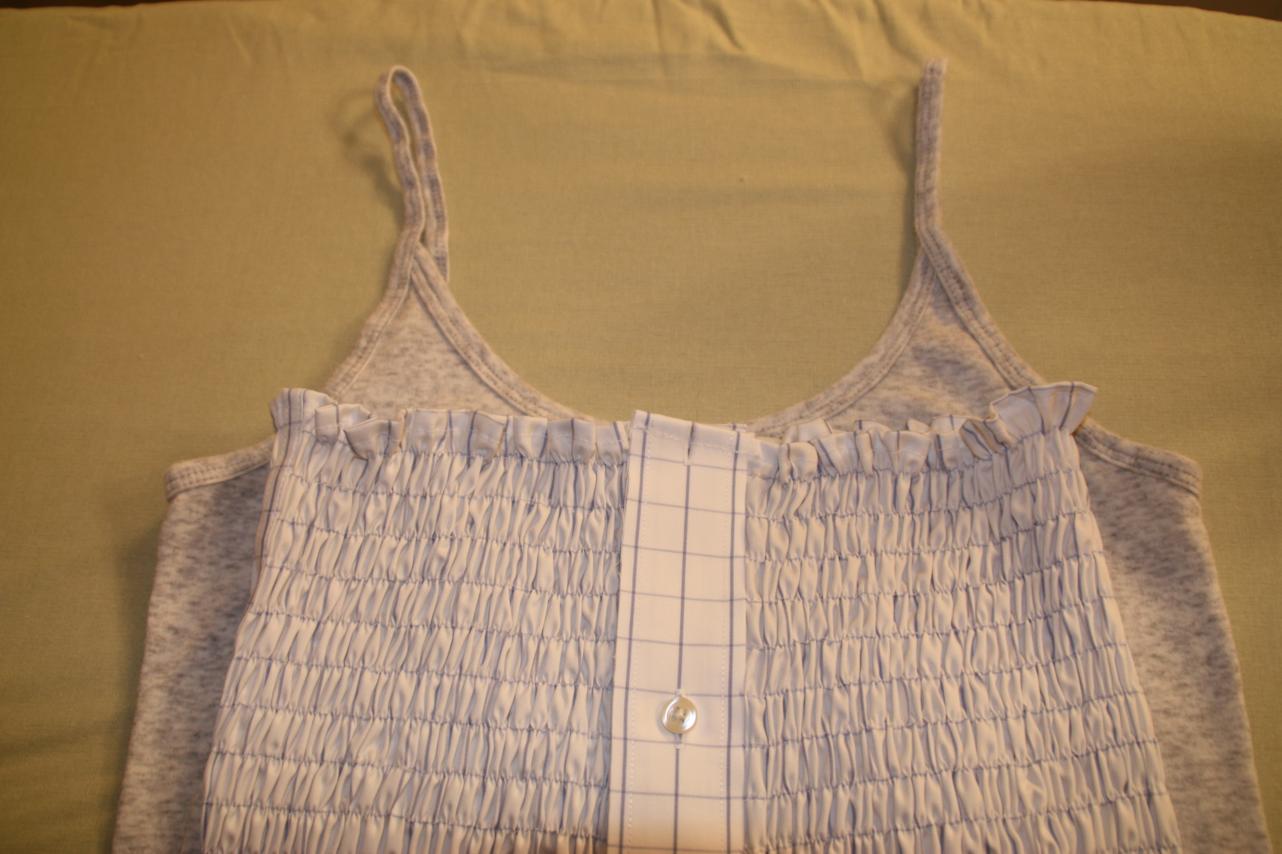
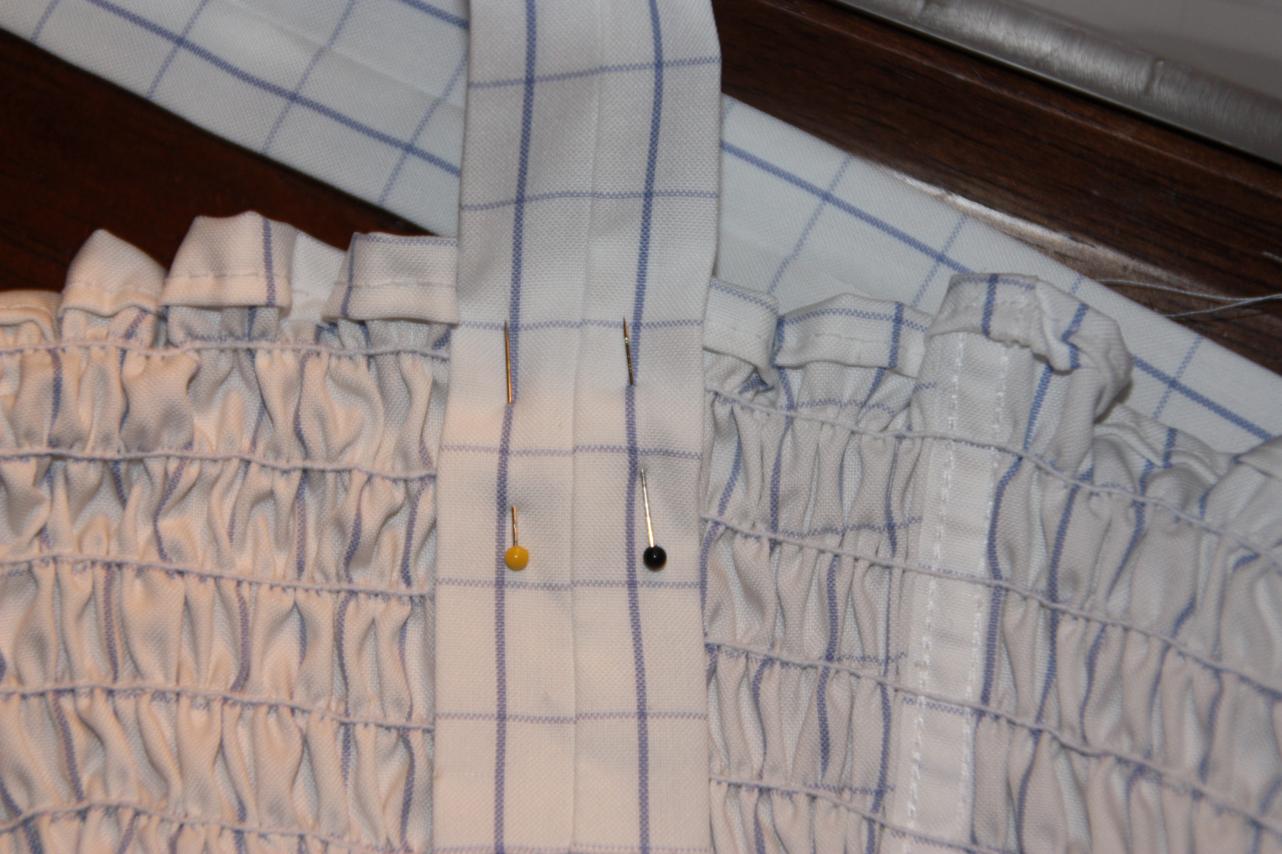
I laid the shirred shirt on top of one of my tank tops and used it as a guide for where to pin the straps.
Sounds like a brilliant idea, but it's not. In fact, it was a very stupid idea. When I tried it on after pinning the straps, both straps were in my underarms. I didn't take into account the stretch of the shirt when I pinned.
So then I tried to pin the straps while I had it on. This was very difficult since I was home alone and had no help, but I finally got them pinned.
If you're determined to have them cover your bra straps, I can almost guarantee you won't get it right on the first try. You will have to yank them off and try again. And then you will get so tired of switching your shirts over and over again to try it on that you'll end up sitting at your dining room table in just your bra while sewing to save yourself some time. IF that happens to you and IF you just purchased a new front door that has windows in it, you should remember to close the blinds first. Not that I speak from experience...
After lots of strap-replacement, I finally got them where I wanted them! And it works - if I wear my cream-colored bra with the straps at just the right amount of tightness and then don't move at all, the shirt totally covers them!
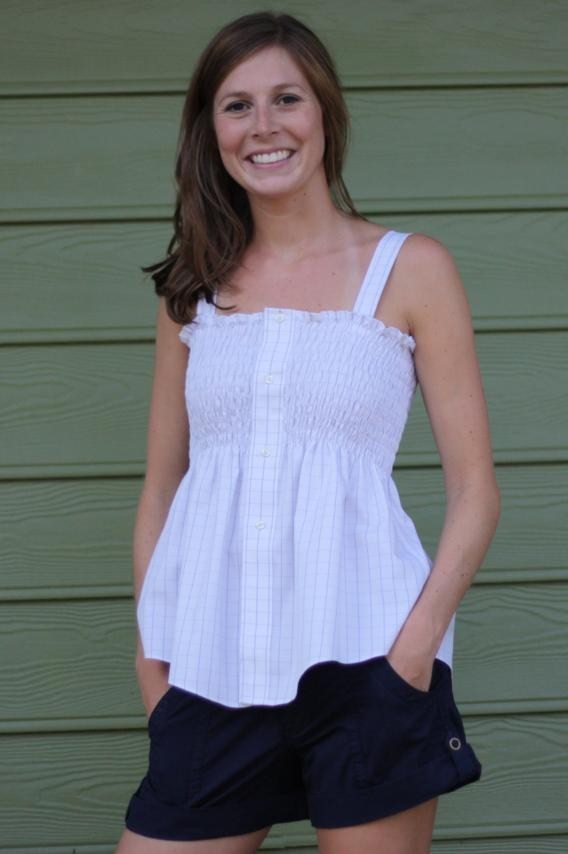
Are you ready to see the final product? First, let's remember what we started with.
Doc's trash, way too big and manly looking:
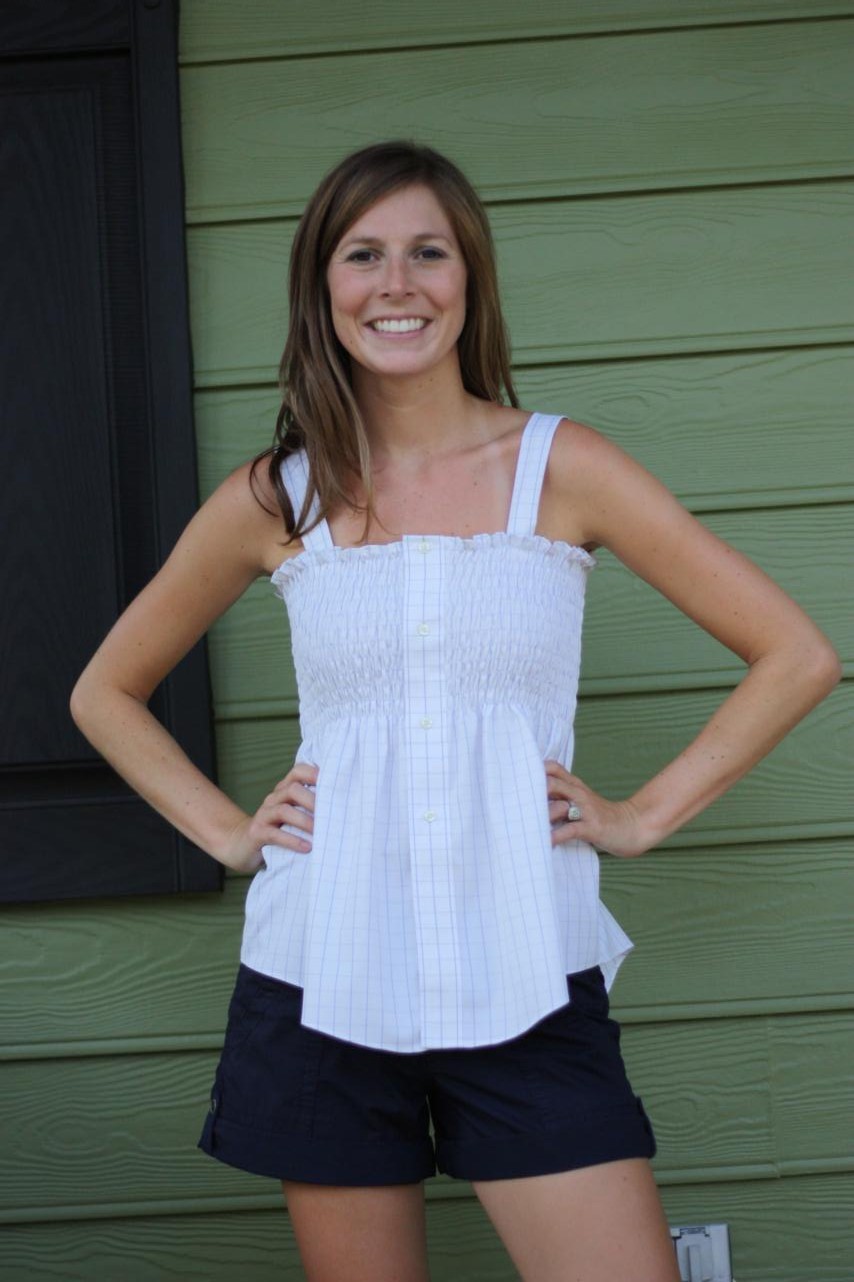
My treasure, cute and girly!
Do you like?
The tutorial was so easy to follow and I would definitely make this again. If you want to try it yourself, follow the tutorial I linked to, but also learn from my mistakes:
--If you cut your shirt right where a button and buttonhole are and then decide to yank the button off so you can hem it easily, you will curse yourself later when you have to re-attach the button.
--The straps are by far the hardest part. Pin them while the shirt is on, but don't try to pin them yourself; have your spouse, child, sibling, boss at work, anyone, pin them for you.
--Do the 4 straps and tie them at the top. Seriously, go with the girl who wrote the tutorial on this, she obviously knows what she's talking about. Tying them makes attaching the straps much easier - you don't have to figure out the length they should be.
One last thing - I still have this pocket left over.
I considered sewing it back on as a low pocket. What do you think? Will it mess up the way the bottom of the shirt is gathered and falls? Will it be too much?
If anyone decides to give this a try, I'd love to see pictures!


