Well, with the Master Bedroom Re-do done, it was time to move on to the next project. This one had been sitting in the shop for a month (or two?) while I pondered what exactly I could do to it. You see, this project was a really old mantle that my friend bought and asked if I could work some magic on. But it wasn't just any old mantle. Oh no, this mantle was covered in paint. Lots of paint. Lead paint. And yellow glaze. And it had rotted wood. And termite damage. And had possibly caught on fire at some point. So, yeah. I pondered. Plan A was a good one. I was going to soak that bad boy in the strongest stripper I could find, let it sit, and then just easily scrape all the paint chips away. Except no, that's not exactly what happened. I did soak it in the strongest stripper I could find, and I did let it sit for a while. But then guess what happened? Um, nothing. Nothing happened at all. Not even a little bubble for me to just scrape away. By the time I wiped all the stripper off, you couldn't even tell anything had happened to it. It was still covered in paint. Lots of paint. Lead paint. And yellow glaze.
Sigh.
On to Plan B! This is going to be great! I will put the roughest, toughest sand paper on my mouse sander and I will just sand that paint right off! I will have it down to its bare bones in no time! Except no, that's not what happened. Let me tell you something - whoever put that yellow glaze on the mantle was serious about glaze. Seriously. That stuff was on for life.
At this point, I had to come to terms with the fact that I was not going to be getting this mantle down to its bare wood. I decided Plan C would be to make it look as best as I could with all of the paint staying on. I continued on with the sanding from Plan B and tried to get it sanded as smooth as possible. I sanded for seven (seven!) hours in one day and decided that was a smooth as we were getting. I tore off a couple of pieces of rotted wood and used Bondo to fill in the termite damage. After washing off all the dust and caulking any cracks, it was finally ready to be painted. Here's a couple pictures from this point. (Sorry, bad quality...iPhone pics.)
I was so glad to be done with all the prep work and ready to paint. Normally, I'm lazy and skip the primer step. But, because I did not want any of that yellow glaze making an appearance once the mantle was white, I decided I better put on some primer.
Well, hmph. Now I'm confused. I thought that after sanding on this thing for seven (seven!) hours that it would surely look all nice and smooth and pretty once it was painted a solid color. Right? Wrong. The white primer did nothing but highlight all of the little chips and scratches and glaze drippings that I had worked so hard to try to sand smooth. After a quick email to my friend we agreed that a distressed look was going to be best. Thinking ahead, I decided it would look better if I started with a brown coat, painted white on top of it, and then sanded the white off as opposed to continuing with the white and then adding brown glaze to the top. I knew my friend wanted the mantle to still look white and that sometimes glazing brown over white can make the white look dingy. Plus, this thing had most definitely already met its quota in glaze.
Bring on the brown paint!
I know what you're thinking and yes, you're right. The flaws are much less noticeable with it painted brown. But remember, my friend wanted a white mantle, not a brown one. So, bring on the white paint!
The picture above is after only one coat of white. I had to do two, obviously, but I forgot to take a picture after the second coat. Use your imagination.
With the mantle solid white, it was time to distress it. Which means...more sanding! This time I kept the electric sander in its case. The goal was to sand through the two layers of white to show some of the brown, but NOT go through the brown and expose the yellow glaze. I was afraid the electric (mouse) sander would sand off too much, too fast and I did not want to have to paint this thing again. The white paint that I used is the same that was used on the trim at my friend's house. It had a little bit of a shine to it, but as I sanded, I sanded off some of the shine. Because of this, I painted on a thin thin thin coat of polyurethane after I was done sanding. I was very careful to wipe up any drips or puddles because I didn't want it to make the white look yellow.
Here's how it all turned out:
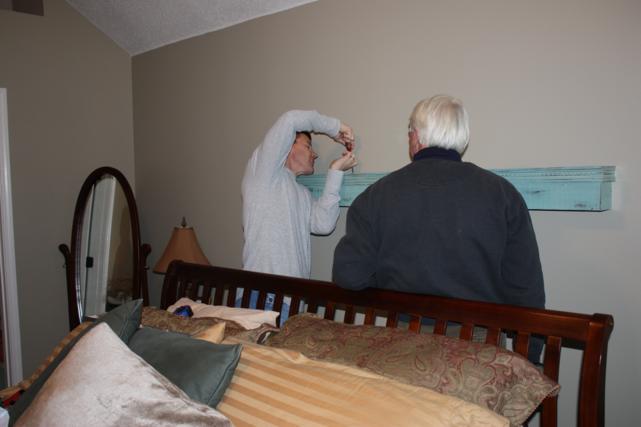
I really hope my friend likes it. She is scheduled to come pick it up this weekend so I guess I'll find out then. I can't wait to see how it looks in her house too. As soon as they get it secured to the wall and I make it over there to see it, I'll post a picture!


