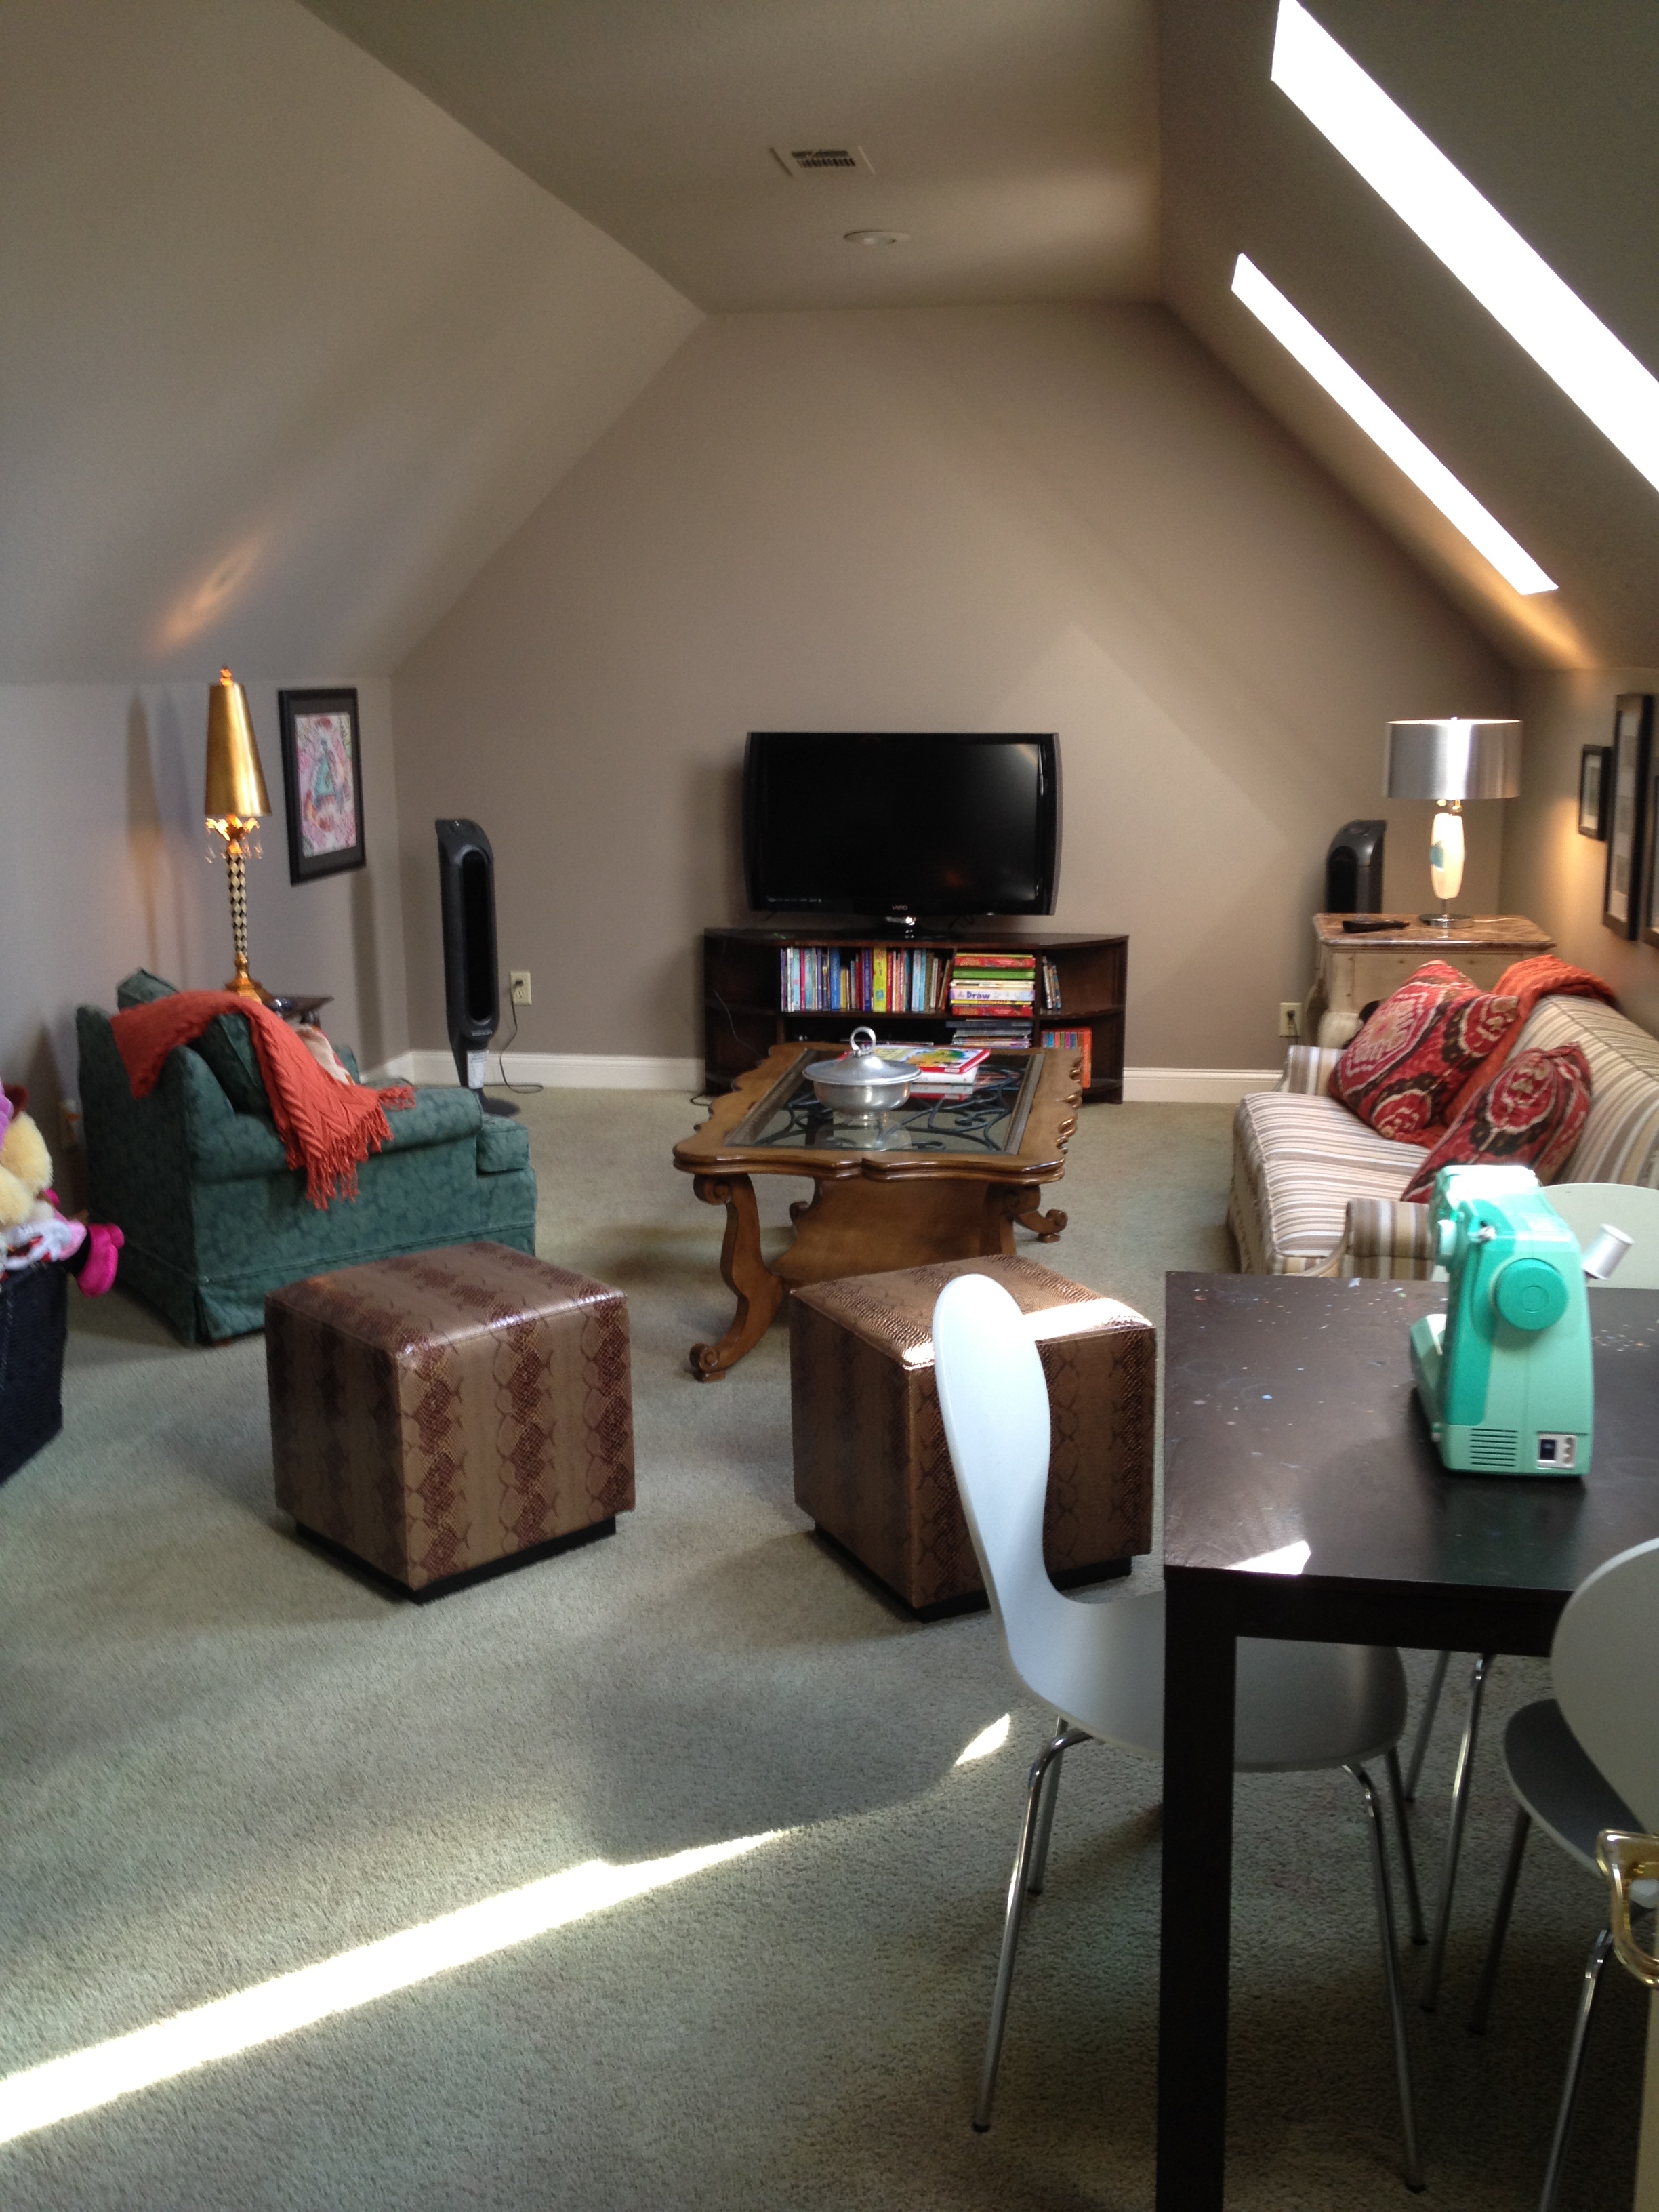
We have a playroom in our house that has its own set of stairs and resides over the garage. I think it's the only room in the house that has not ever been on the blog (that I can remember). For good reason, too, because it was a bit of a disaster when we moved in and has stayed that way for about 4.5 years.
I cannot find a good "before" picture of the room, but here it is when we toured the house before putting an offer on it.

Once the room was empty of furniture, we could tell how horrible the carpet was. Something had happened to discolored it bad - was it green? Was it brown? You couldn't tell. And the accent chalkboard wall? It had neon paint splattered on it. We used the room as a place to drop junk when we moved in. And over the last four years, more junk and extra furniture has just rotated in and out of it.
Now that the kids are big enough to go upstairs on their own, it seemed like a good time to give the playroom a makeover. First on the agenda: adding in some storage for all of the toys. And a designated spot for the tv too.
Just like I did with for the built-ins in Thomas's room, I sketched out my design on the wall in chalk.

Last May (yes, that's how behind I am on this update!), I met with Cesar, the same carpenter that did the built-ins in our mudroom and in Thomas's room, and got everything squared away for him to build them while we were away at the beach. I love letting him work while we're away because we leave with nothing on the wall and come back to it finished, and we never have to deal with the mess and sawdust.
When we left for the beach, the room looked like the picture above, and we came home to it looking like this!

I know that's far from looking finished. With Cesar, he does the carpentry and then we do the painting and finishing. Then he comes back to hang the doors. We had one small misunderstanding. With plans to replace the carpet as soon as these are painted, we wanted him to peel back the carpet to build the unit directly on the sub-floor. That didn't end up happening but it's ok. It just means the built-ins sit on an inch of old carpet that will just be under it forever!
Here was my progress after a full morning of painting. Cubbies are always the WORST thing to paint.

Finished the primer by the end of the afternoon.

I had to do 2-3 coats of paint after the primer to get a good even finish. The picture above was taken on May 31st, and the finished paint job picture below was taken June 14, about two weeks later. I worked off and on in the evenings after work.

The nice thing about having the carpet removed and the room empty was that we could spread the doors out on the floor to paint.

We let Cesar know that we were finished painting and he came to hang the doors for us.

That middle section is left open for the cable box and any future gaming toys the kids get. The cords are able to pass through holes drilled in the back. By the time these pictures were taken, we had also painted the walls grey.

One of my favorite parts of the built-ins, other than the awesome storage they'll provide! - is these fun little boy and girl knobs I found. I wanted something a little quirky and kid-friendly to use and these were perfect.

Since finishing painting, I've had lots of fun decorating those shelves with colorful toys and books! But you'll have to wait to see that when I reveal the rest of the room.
Now, if you really pay close attention to detail, you might've noticed that in the picture of the doors laying out on the floor, there were three extras. That's because while Cesar was at our house working on these, we also had him do a tiny upgrade in our master closet.
This picture below is from the weekend we moved in, so before we did a first round of upgrades. But it's the only picture I have of the tall set of open shelves there in the middle.

We were tired of those shelves always looking like a mess, so we had Cesar convert the bottom half of them to drawers. We have LOVED having this upgrade in our closet. (Excuse the messy piles of clothes waiting to go into the drawers.)

So that's the built-ins in the playroom! I can't wait to show you what we did to cover up that chalkboard wall. Hopefully I'll have pictures of it soon.