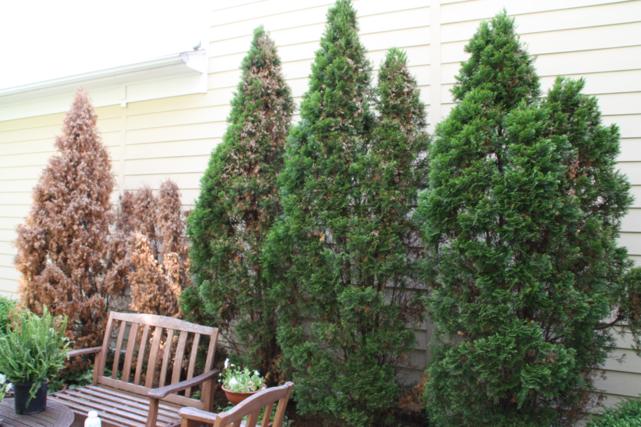
Sorry for the delay in sharing this project - this week has turned into the busiest week ever! I've finally gotten a chance to sit down tonight and since our cable is currently on the fritz, might as well blog, right? The big project that we knocked out over the past two weekends is a complete flowerbed makeover. The chosen flowerbed is one I've mentioned on the blog before. It's in our courtyard and had five large arborvitaes lining the wall of our neighbor's house. (In our 'hood, each house has windows on only one side. The other side of the house backs up to the neighbor's "yard" so it's a big blank wall.) When we moved in, the trees were big and full. The winter of 2010/2011 was harsh on our trees and 2 of them ended up dying a slow death.
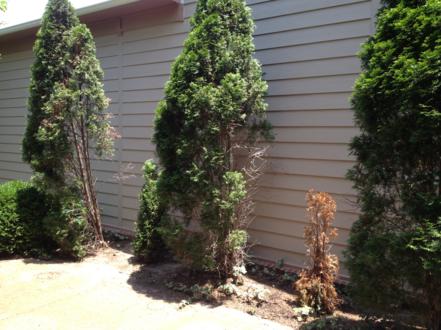
This picture isn't the best. The 3 green trees on the right are the ones that were still healthy. You can see one shrimpy dead tree on the left of the picture and there's another one on the other side of it.
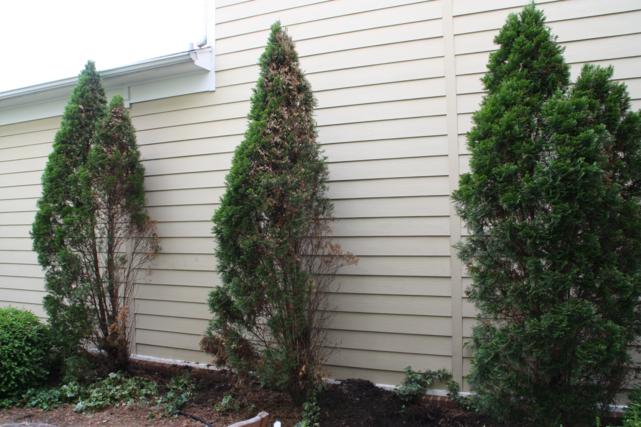
In April of last year, we dug up the two dead trees and bid them farewell. At the same time, we did a little rearranging with the two tall trees. The middle healthy one was dug up and replanted in the far left spot. The updated flower bed now went tall tree - empty space - tall tree - empty space - tall tree.
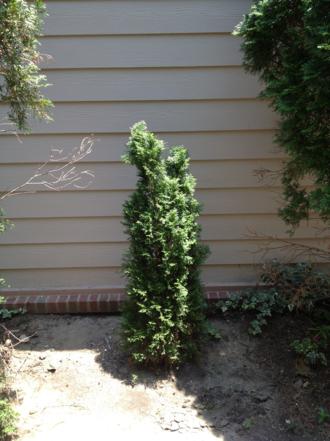
Three months later, in July, with the help of Doc's dad Bill, we finally planted two new baby arborvitaes in the empty spaces. Sure, they were teeny tiny, but we hoped they would take hold and catch up quickly to the adult trees.
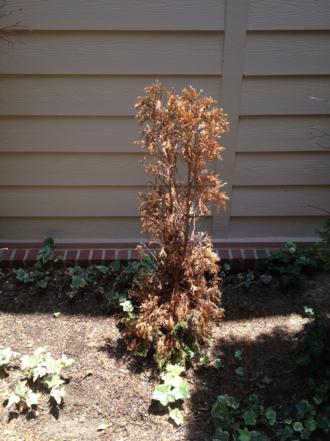
Fast forward almost a year later and not only had they not grown an inch, but one of them had gone in the complete opposite direction.
Our flowerbed was starting to look like a hot mess...three tall trees (one of which - the transplanted one - had a bit of a leaning problem), one tiny green tree, and one brown dead-as-a-doornail tree.
Two weeks ago I decided I'd had enough. I couldn't stand to look at the pathetic trees anymore and wanted them gone. The only problem was figuring out to do with the flowerbed if we got rid of them all. The good thing about the tall trees is that they broke up the large expanse of blank wall from our neighbor's house and made our courtyard feel a bit homier. After a bit of brainstorming, I decided that a tall trellis with vines growing up it would be the perfect replacement.
I pitched my idea to Doc and seemed on board as long as I could come up with plans for it. I didn't know exactly what I wanted it to look like but I did know one thing for sure - no diagonal lattice! I did not want something that looked like it belonged in a Country Chapel of Love.
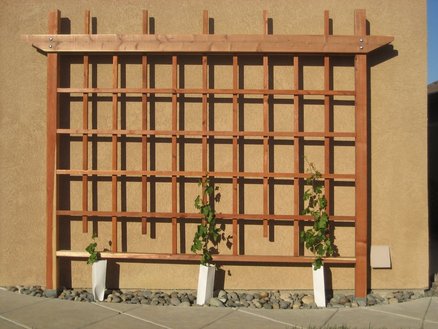
I spent a few minutes on Google searching for trellis designs and eventually found one that I liked and that seemed like it would be easy to build.
So now that you know the backstory and how we got to this point, we'll call Phase One of the Flowerbed Makeover the Planning and Preparing phase.
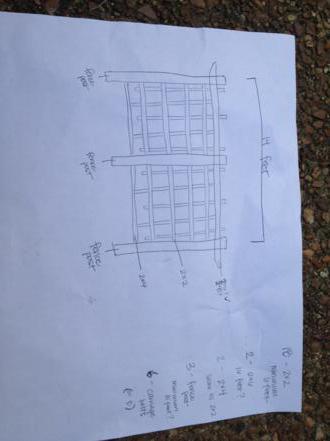
Step one was to draw out my plans and create a supply list. I figured our trellis was going to be wider than the one found online (pictured above) so I had to make some slight modifications.
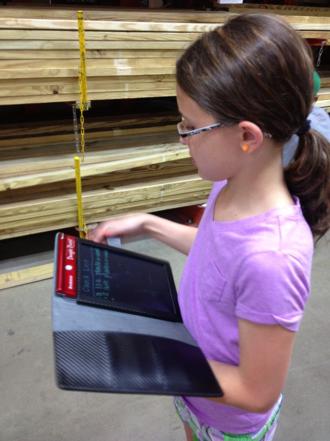
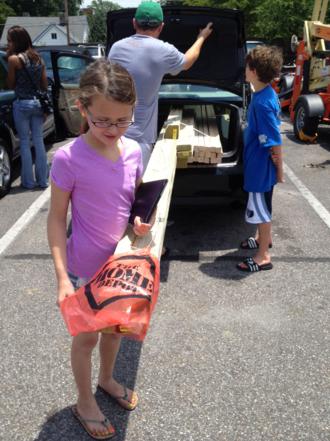
With supply list in hand, we loaded up the kids and headed to Home Depot.
Anna was the official list-checker-offer.
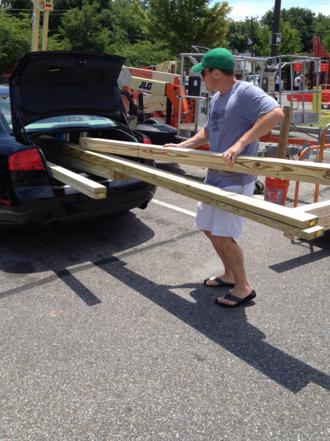
Most people would take their pickup truck to lug home a pile of lumber, but since we don't have a pickup truck, we had to improvise.
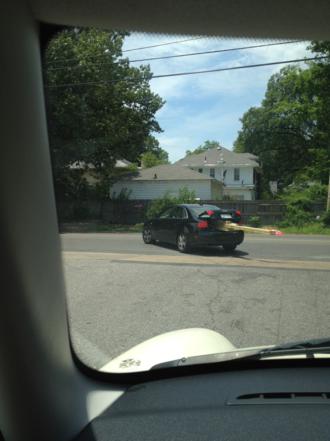
In case you've been wondering, yes, you can fit a 16 foot 2x6 in an Audi A6. Well, most of it anyway. We added a bright flag to the end that hung out of the trunk.
Anna and I were the lucky ones that got to follow behind the "pickup truck." We stayed a safe distance back and were ready to swerve at any moment.
We took the pile-o-lumber to my parents' house so we could do all the prep work. We probably could've done it at our house, but they have more yard pace and the tools live there.
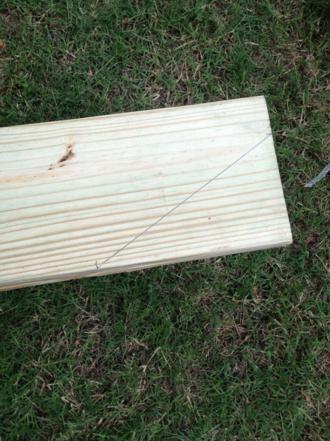
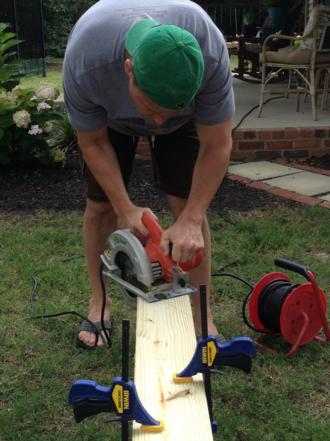
The prep work actually went fairly quickly. We cut all the boards down to the correct sizes and added pocket holes where necessary. We only had one angled cut to make. I just eyeballed it and drew the line where I thought looked best.
Doc was able to cut through both 2x6 boards at the same time so the cuts would match.
With cuts made, there was only one thing left to do in the Planning and Preparing phase and that was to stain the boards. We bought an outdoor stain that is water resistant so hopefully it will last. We had to buy a full gallon of it and now have enough left over to stain about 25 decks...let us know if you need some stain!
Since the stain wasn't VOC free, I couldn't participate. I owe Doc and HUGE thank you for tackling this task. It was hot, hot, hot outside when he was staining. We did two coats on all four sides of every board. There are 25 boards total. So 25 boards times 4 sides each times 2 coats of stain equals 200 sides that Doc painted. Thanks, dear!
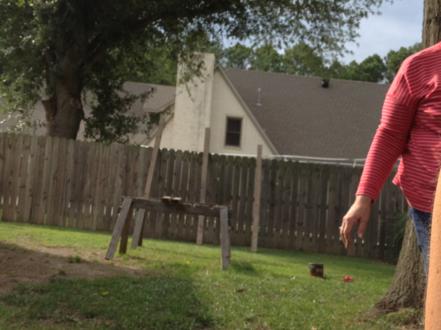
Believe it or not, this is the only picture I took of the staining process and there's a good chance this one was taken on accident since it's so far away. You can kinda see the already stained boards leaning up against the fence and others are on the saw horses.
Doc was able to get the first coat done late Saturday afternoon right before the rain came in. Sunday afternoon he knocked out the second coat and that wrapped up Phase One!
It took two more phases to complete the project. I'll have the details and pics for you soon.

