I considered titling this post "New Bookshelf" but since we completed it last January - as in, January 2015 - it probably can't really be considered new anymore. That's how far behind I am on this update!
It all started when we came home from our first Christmas with small children and had SO many new toys with no where to put them. I was desperate for some kind of toy storage in our living room so we could keep some in there for them to play with. Luckily, we had plenty of space to add some storage. If you'll remember from this Living Room post, we pretty much had a big blank wall to play with.

I started thinking maybe a big bookcase of some kind with baskets for toys would A) fill up some empty wall space and B) solve the no-place-for-toys problem. That fall, before Christmas, Matt had used some plans from Ana White's website to make us a new coffee table.
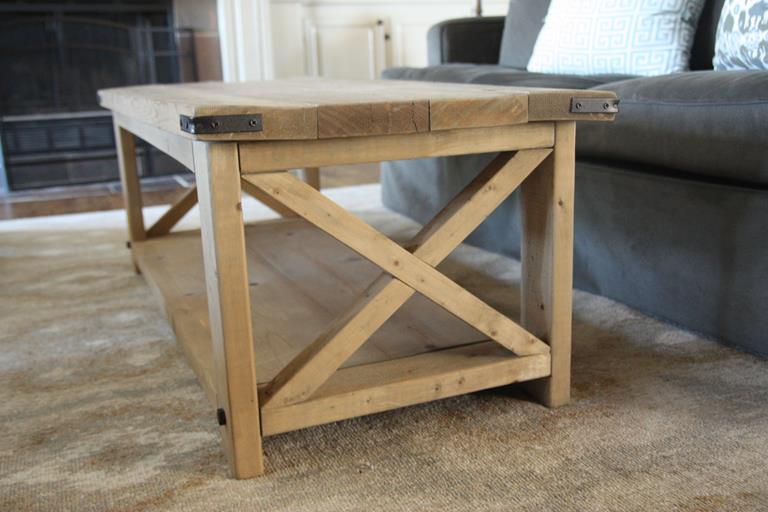
I have LOVED the Rustic X Coffee Table and was so excited to see that she also had plans for a matching Rustic X Bookshelf. Perfect solution to our problem! My sweet husband (and Dad) listened to my idea and graciously built the bookshelf for me in January. We modified the original plans a bit to better fit our space and to perfectly match the coffee table. They had the bones of the bookshelf complete in one afternoon.

They finished up the following day with the X's on the ends. It's never fun trying to figure out those angled cuts!

Just like with the coffee table, my job was to stain it using this driftwood medium. I love working with that wood finish because it goes on easily and dries quickly. And no polyurethane is required with this look! It does kinda stink though...
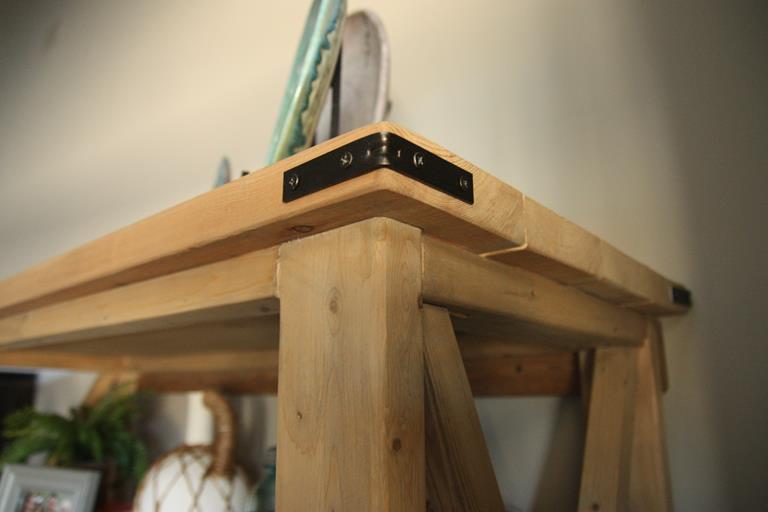
The veeeery last steps were to add the same L-brackets and hex bolts that we used on the coffee table to give it a little more detail. I love how they just take the style up a notch.
The dirty truth: the bookshelf was finished and put in place in our living room in January but it was months later before I put anything cute and decorative on it! The baskets of toys were there immediately, though, so at least it was serving its purpose. :)

I'm so glad that it fills up that big empty corner that we had before! I love that it ties in with the coffee table and that it's light in color to keep that corner bright. I added the McCarty plates on top of the bookshelf to keep it and the entertainment center from being a straight line at the same height. I think I will continue to collect things - vases and plates? - to fill up the top of it.

The hubs and my dad did a really good job, didn't they?? One of the best things they did is add a 2X4 across the back right under the top shelf so that we could bolt it to the wall. No toppling over on little people at our house!

I bought a few knickknacks and shopped my house to fill up the shelves. Any of it could be changed at anytime. I like having a space where I can work in new things that I buy or receive as gifts. Here's the top shelf.

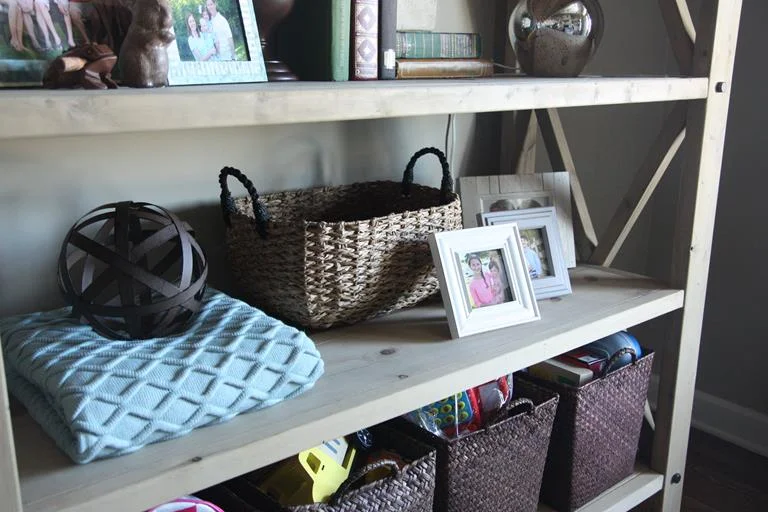
Second shelf...that silver ball is actually a lamp that adds a nice little glow to the corner in the evenings.

Third shelf.
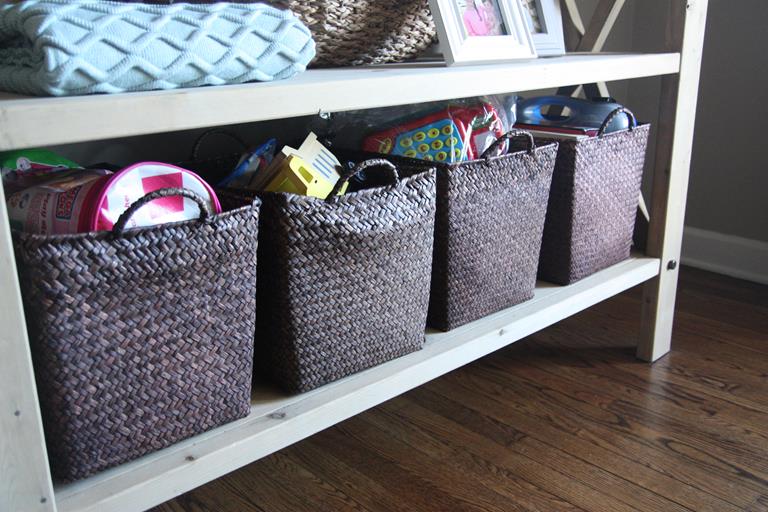
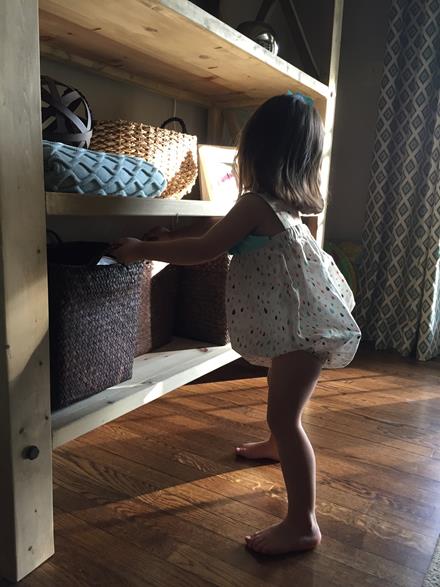
And the bottom shelf with its aforementioned baskets full of toys. It took forever to find the right size baskets. I ended up finding them at Hobby Lobby but had to go to four different store locations to get them all. And you can see one of them has already taken a little bit of a beating but it still holds toys so who cares?!
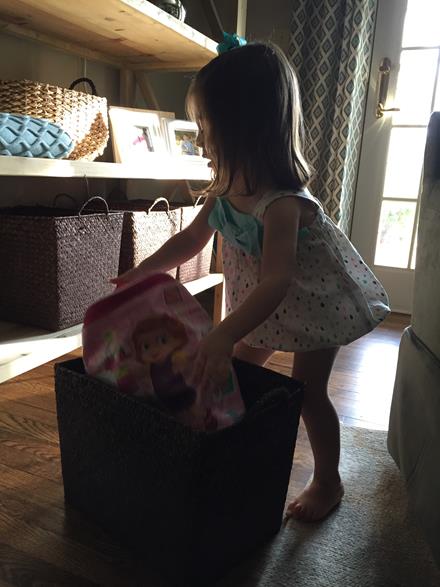
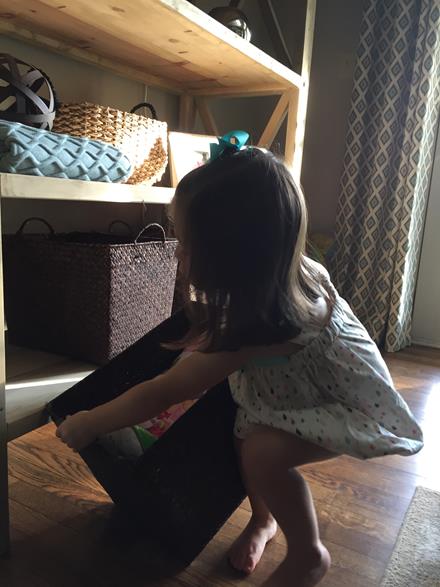
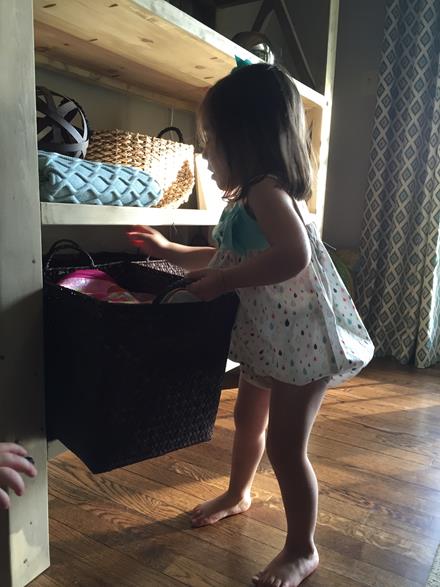
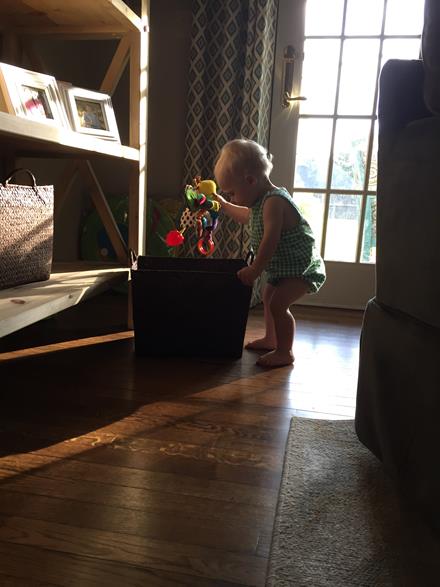
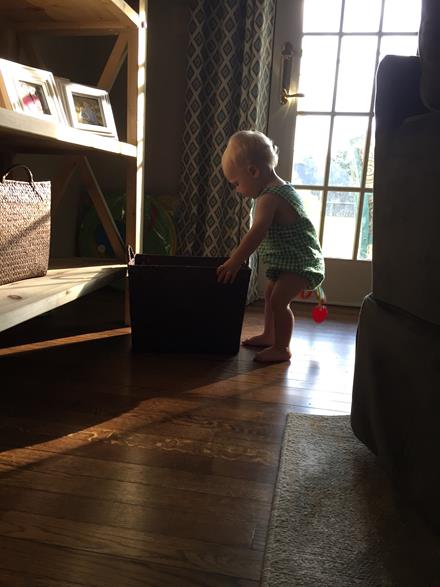
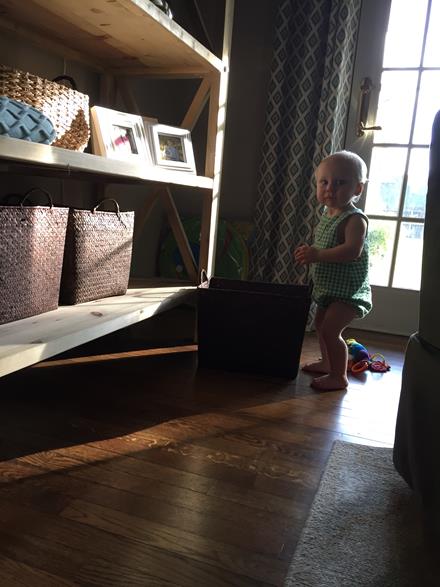
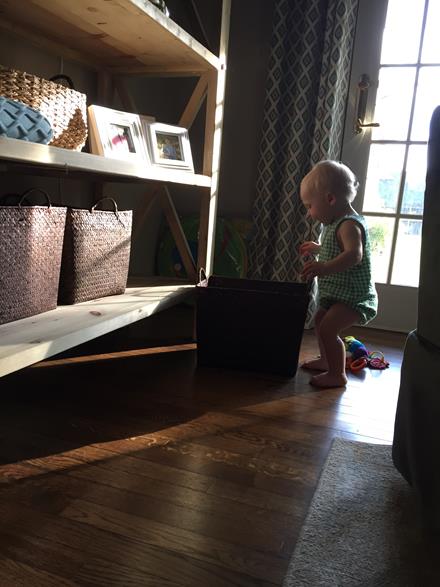
The baskets work great for the kids! They both know how to pull them off to dig for toys and are both pretty good about putting the toys back in them when it's time to clean up. Here are some pictures of them using them from last summer. They look so little!
Tiny Thomas! Please stop growing!
Man, am I glad to have finally written about this bookshelf! Now I can stop thinking that every time I walk through the living room and see it. I'll be back next with another tiny update on this same wall...